
How to Revive Dried Sourdough Starter (Step-by-Step + Fast Track)
If you’ve ever received dried sourdough starter from a friend, you’ll need to bring it back to life before you can bake. The good news is that it’s simple to revive dried sourdough starter at home with just flour, water, and a little patience. In this guide, I’ll show you exactly how to rehydrate and reactivate sourdough starter so it’s bubbly, healthy, and ready to bake in less than a week (or even faster with a quick method).
Reviving Your Dried Sourdough Starter
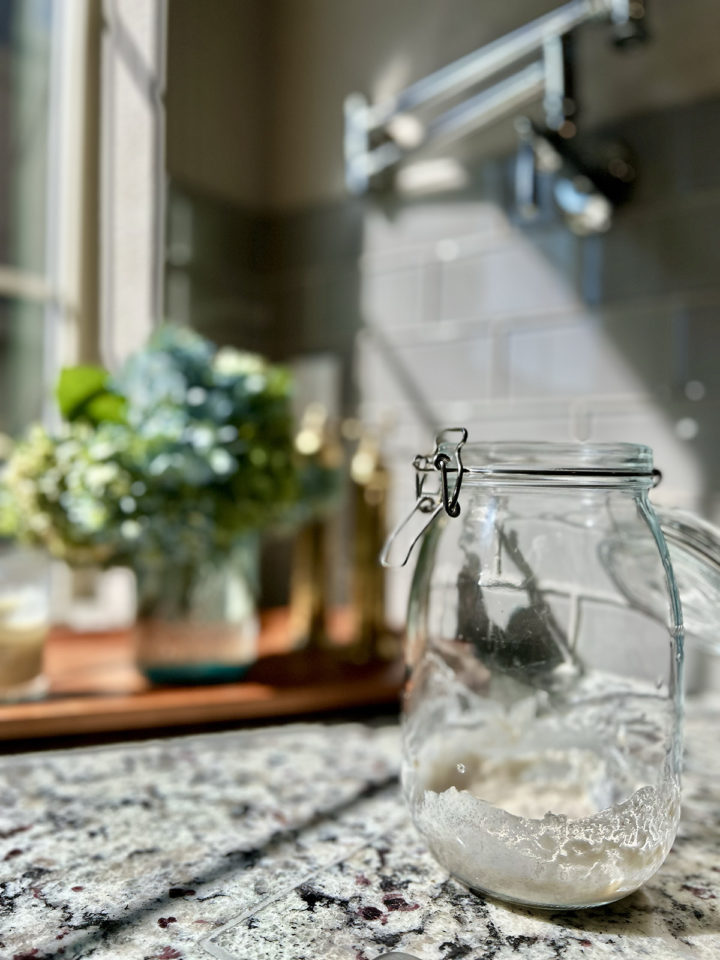
If someone has shared dried sourdough starter with you, you’re holding a little time capsule of flour, water, and wild yeast. Once it’s rehydrated and fed, it will spring back to life and be ready for bread baking.
Fast Track vs Standard Timeline:
I’m sharing two different timelines for reactivating your starter. They both work equally well, it just depends on how soon you want to start baking.
- Standard: Once-a-day feeding, ready in 5–7 days
- Fast Track: Twice-a-day feeding after bubbles appear, ready in 3–4 days
Within about a week (or less if you opt to fast track) your dried starter will be active, bubbly, and ready to bake with. After that, feed it daily at room temperature if you’re baking often, or store it in the fridge and feed once a week if you’re baking occasionally.
Standard Method (Ready in About a Week)
Step 1: Soften the Flakes
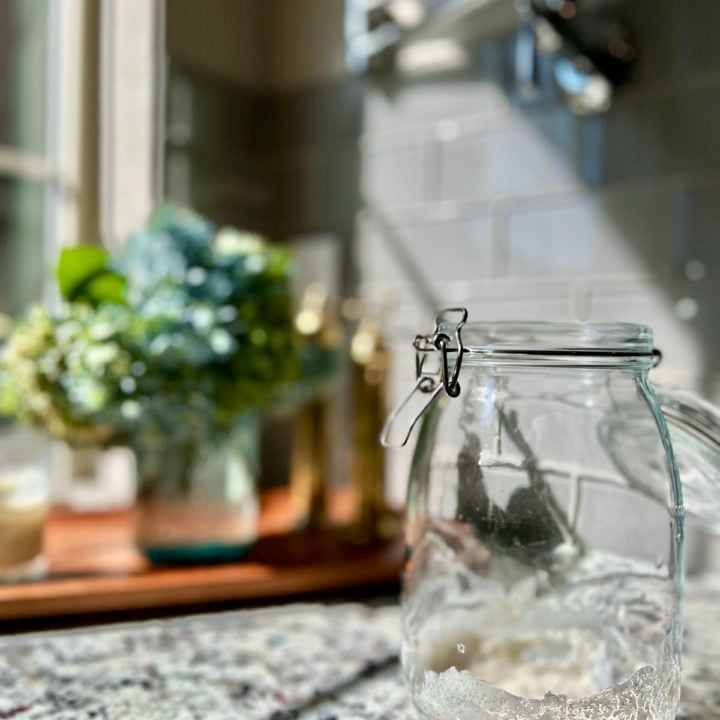
- Weigh the dried starter you received. Place it in a clean jar.
- Add twice that weight in warm water (75–80°F) and stir to soften. Let sit 15–30 minutes.
Step 2: First Feeding
- Add the same weight of flour as water (this makes a 1:2:2 ratio of starter:water:flour).
- Mix into a thick paste.
- Cover loosely and leave at room temperature (70–75°F) for 24 hours.
Step 3: Daily Feeding Routine
For the next several days:
- Discard all but about 30 g of starter.
- Add 30 g water and 30 g flour (all-purpose works fine, or a mix with a spoonful of rye or whole wheat).
- Stir, cover loosely, and let sit at room temperature.
Step 4: Watch for Activity
- Day 2–3: a few bubbles and mild aroma
- Day 4–5: stronger rise, more bubbles, tangier smell
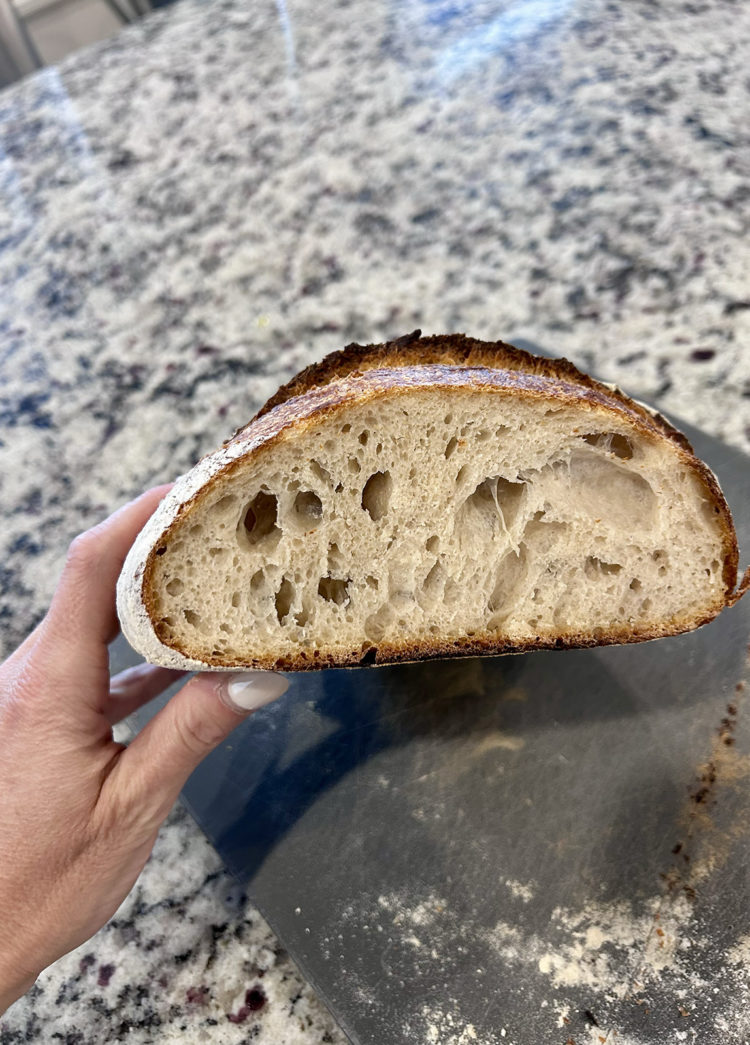
- Day 5–7: starter should double within 4–6 hours of feeding. It is ready to bake with
Sourdough Starter Tips
- A spoonful of rye or whole wheat flour can help jump-start activity.
- Keep your starter warm, ideally 70–75°F. If your kitchen runs cool, tuck the jar into an upper cabinet or near a gentle heat source.
- If you notice liquid (called hooch) on top, stir it in or pour it off—the starter is just hungry.
- A sharp or vinegary smell in the beginning is normal. The aroma will mellow as the yeast population balances.
- If your starter rises and falls too quickly, give it a little more food (try a 1:3:3 ratio) so it stays strong between feedings.
Fast-Track Revival (Ready in About 3–4 Days)
If you don’t want to wait a full week, you can speed things up with more frequent feedings once you see signs of life.
Step 1: Soften and First Feeding
Same as above: weigh your dried starter, add twice that weight in water, then the same weight of flour (1:2:2). Let rest 12–24 hours.
Step 2: Begin Twice-Daily Feedings
As soon as you see any bubbles (usually by Day 2):
- Discard all but about 30 g.
- Add 30 g water and 30 g flour.
- Repeat every 12 hours, morning and evening.
Step 3: Watch for Strength
By Day 3–4, the starter should be doubling within 4–6 hours after feeding. The smell will shift from sharp and vinegary to pleasantly tangy and bready.
Step 4: Ready to Bake
Once it doubles reliably within 4–6 hours after a feeding, it’s strong enough to use in bread recipes.
Baking Instructions
For more tips on baking with your revived starter, head over to my post Easy Sourdough: A Beginner’s Guide. It walks you through the entire process from mixing to baking, step by step.
Stay Inspired in the Kitchen!
Want more delicious recipes, kitchen tips, and meal inspiration? Sign up for the Good Life Eats Newsletter and get:
✔ Tried-and-true recipes—from quick weeknight meals to special occasion favorites.
✔ Seasonal meal ideas—helping you make the most of fresh, in-season ingredients.
✔ Time-saving kitchen tips—boosting your confidence and creativity in the kitchen.
Reviving Dried Sourdough Starter
Bring your dried sourdough starter back to life with just flour, water, and a few days of patient feeding. This guide walks you through the simple steps to rehydrate, feed, and build up your starter until it’s bubbly, doubled, and strong enough to bake with again. Includes both a standard 5–7 day method and a faster 3–4 day option. Perfect for reviving a shared starter or storing your own for the future.
Ingredients
- Dried sourdough starter flakes (any amount)
- Flour (all-purpose, or AP + small % rye/whole wheat)
- Warm water (75–80°F)
Instructions
- Weigh your dried starter. Add 2× that weight in warm water (for example, if you have 15 g dried starter, add 30 g water).
- Let sit 15–30 minutes to soften.
- Add flour equal to the water weight (30 g in this example). Stir into a thick paste.
- Cover loosely and rest 12–24 hrs at room temp.
- Each day: discard all but about 20–30 g of starter. Feed it with equal amounts of flour and water (for example, 20 g starter + 40 g flour + 40 g water).
- By day 5–7: the starter should double in 4–6 hrs after feeding. At that point, it’s strong enough to bake with.
Notes
Sourdough Starter Tips
- A spoonful of rye or whole wheat flour can help jump-start activity.
- Keep your starter warm, ideally 70–75°F. If your kitchen runs cool, tuck the jar into an upper cabinet or near a gentle heat source.
- If you notice liquid (called hooch) on top, stir it in or pour it off—the starter is just hungry.
- A sharp or vinegary smell in the beginning is normal. The aroma will mellow as the yeast population balances.
- If your starter rises and falls too quickly, give it a little more food (try a 1:3:3 ratio) so it stays strong between feedings.


Leave a Comment