
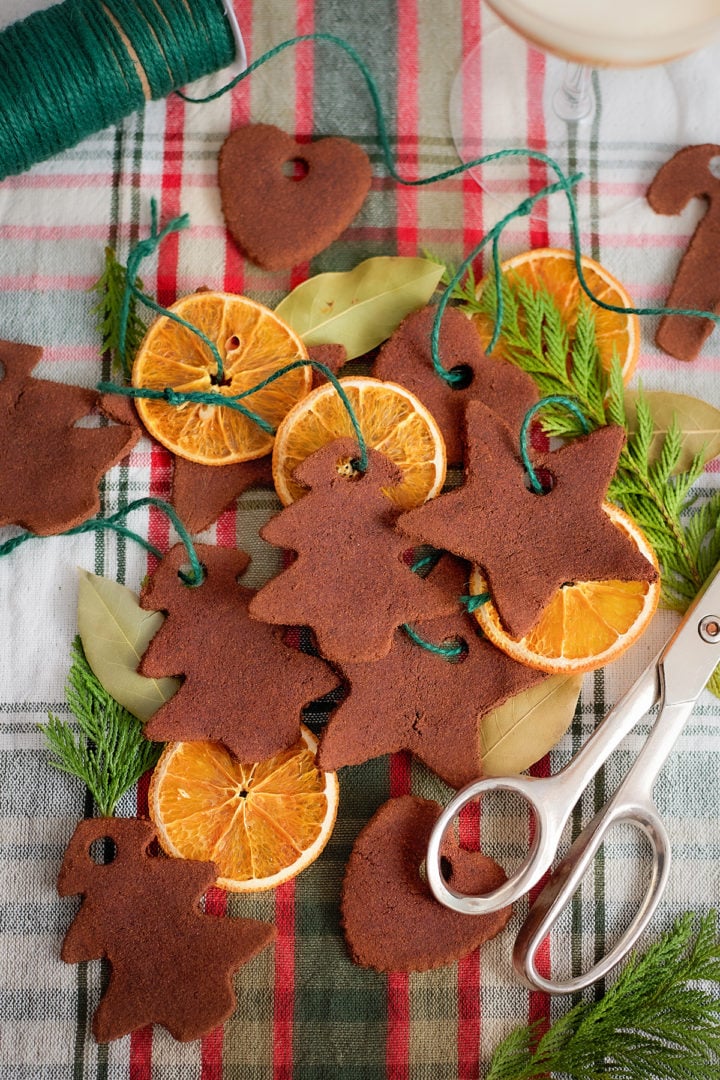
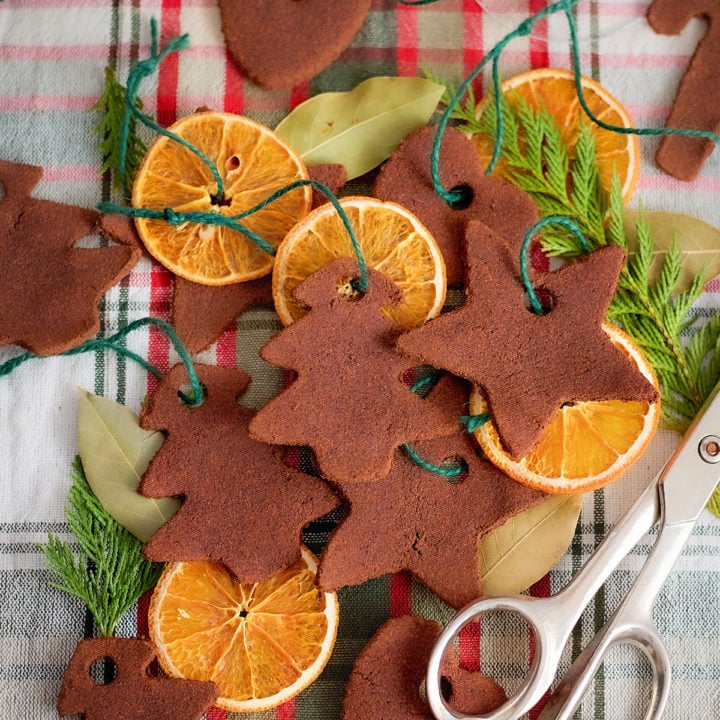
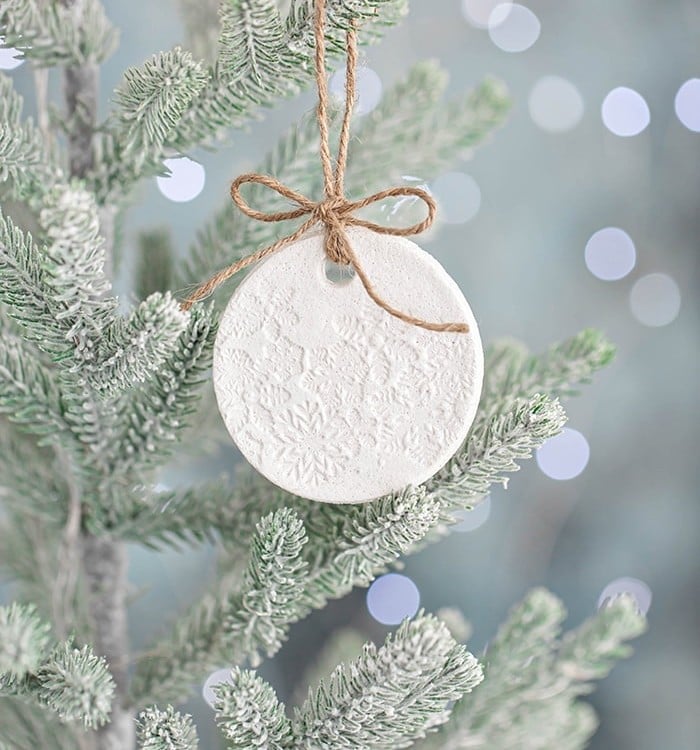
Cinnamon Applesauce Ornaments
Made with just 3 basic ingredients, these Cinnamon Applesauce Ornaments are an easy Christmas craft that kids and adults both love. Use your ornaments to decorate the Christmas tree, string onto garland, or top gift wrapping.
This post may include affiliate links. As an Amazon Associate and member of other affiliate programs, I earn a small commission from qualifying purchases.
Handmade Cinnamon Ornaments You Can Enjoy Year After Year
These fragrant cinnamon Christmas ornaments are an easy holiday craft that requires minimal effort but allows for unlimited creativity. Just applesauce, white school glue, and ground cinnamon are needed to make rustic ornaments that look a bit like gingerbread dough.
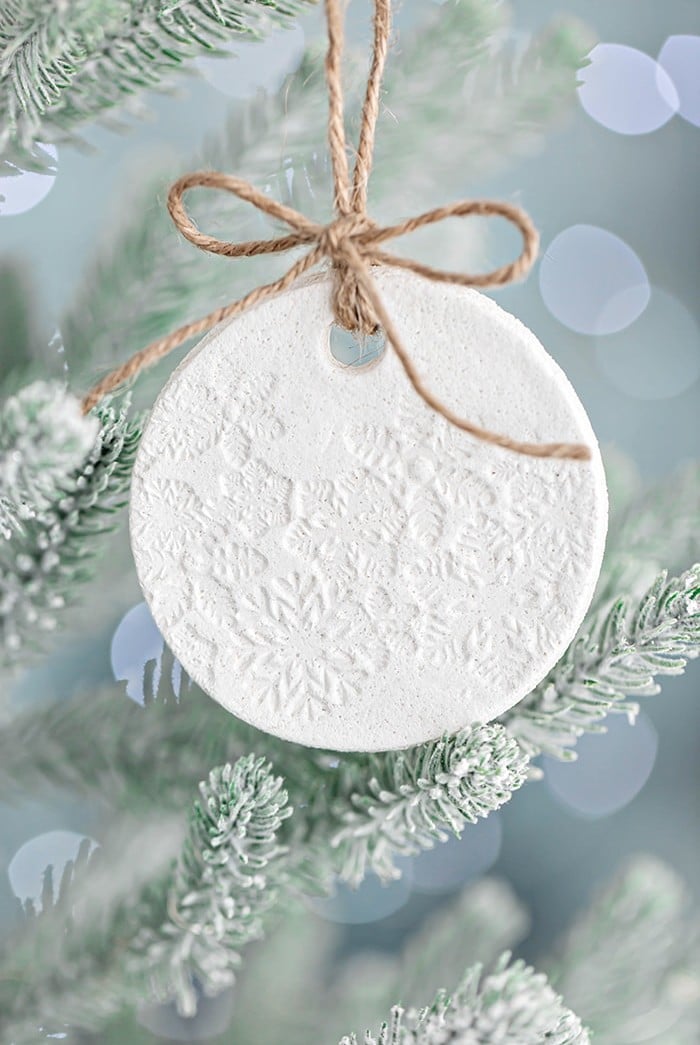
If you enjoy making salt dough ornaments but have been looking for an even simpler DIY, try making cinnamon dough ornaments instead this year!
Here’s why you’re going to love these ornaments:
✔ Super Simple Craft: The ornaments are beautiful as is and don’t need to be painted if you don’t have the time or desire to do so. They look like gingerbread cookies when they’re plain, which I think is so festive!
✔ Natural Cozy Fragrance: Your whole house will smell like Christmas while these dry. The scent of warm cinnamon and cloves will linger on the ornaments even after they’ve dried and have been hanging up for weeks.
✔ Lots of Uses: You can use the ornaments as tree decorations, gift tags, or tie them onto jars of hot cocoa mix.
Happy Crafting!
-Katie
Equipment You’ll Need
The exact supplies you’ll need will vary depending on whether you plan on painting or decorating your ornaments. Feel free to mix and match the cookie cutters you use to cut out any shapes you want, and if you don’t own cookie cutters you can use the top of a mason jar or glass.
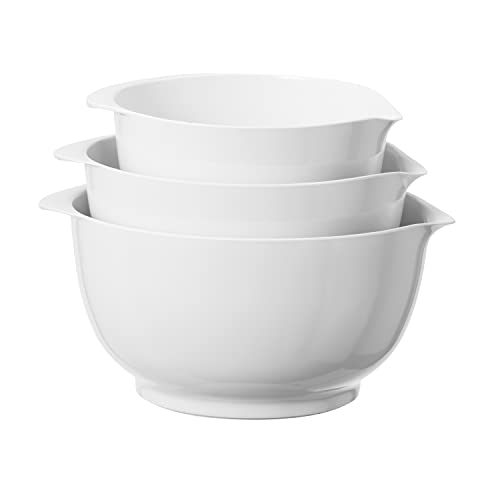
- Mixing bowl
- Plastic wrap
- Rolling pin
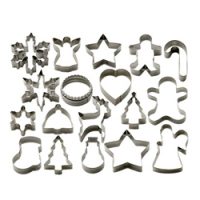
- Cookie cutters
- Baking racks and baking sheets
- Oven, food dehydrator, or a spot to air dry
- Drinking straw (for making the holes)
- Optional decorating supplies (glitter, puffy paints, rhinestones, etc.)
- Ribbon or ornament hooks (for hanging)
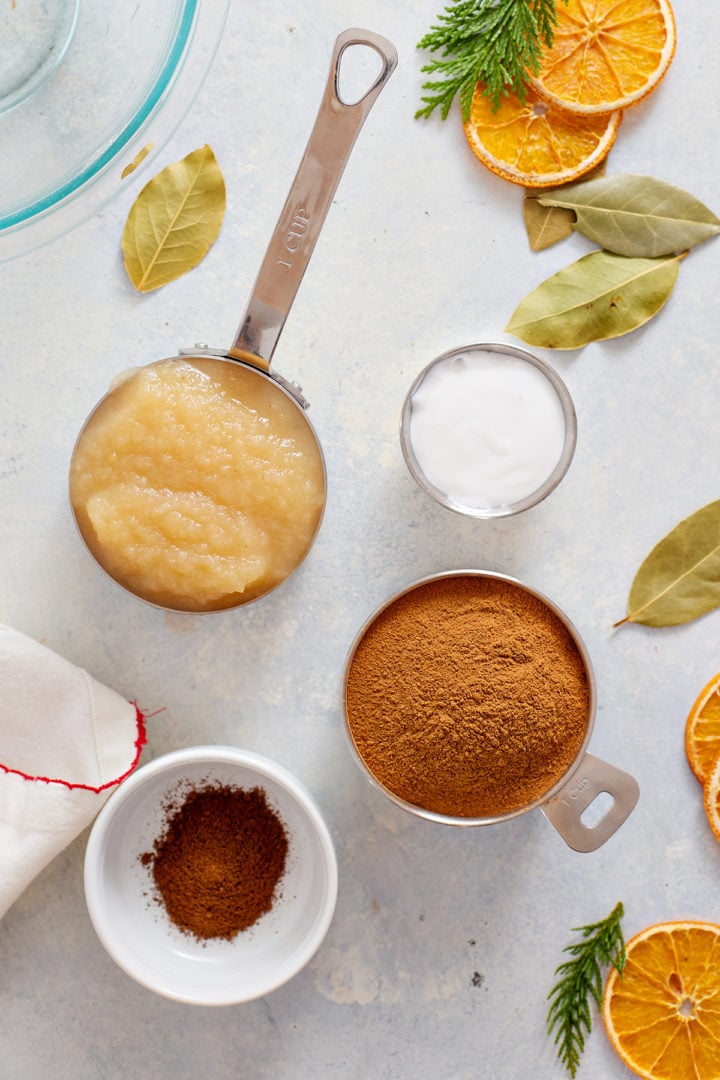
The 3 Ingredients for Making the Cinnamon Dough
You can find a detailed list of ingredients with their measurements in the tutorial below, but let’s review the key items you’ll need to make applesauce, glue, and cinnamon ornaments.
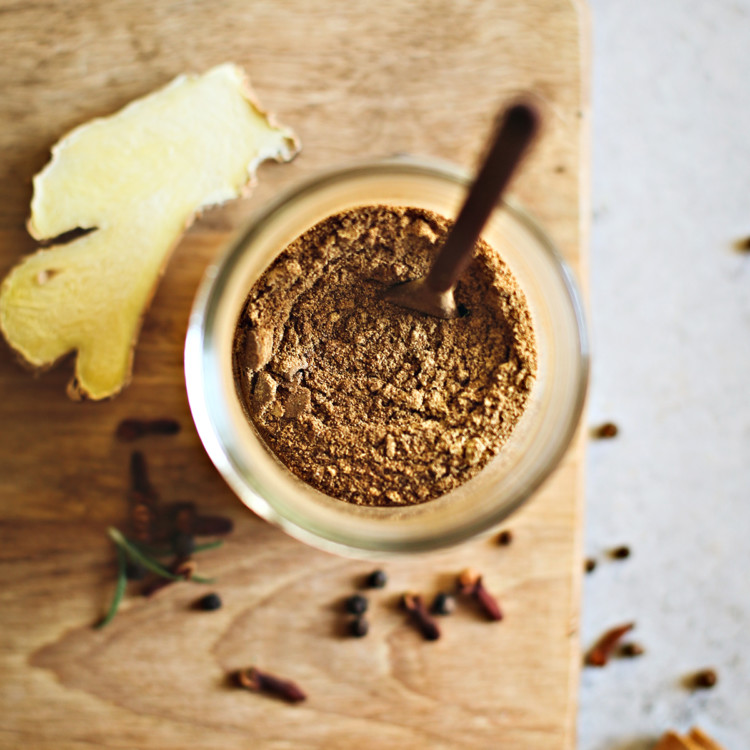
- Ground Spices — I like to add 1 tablespoon of ground cloves to the ground cinnamon to deepen the fragrance, but you can use just ground cinnamon if desired.
- White School Glue — Something like Elmer’s is perfect.
- Applesauce — Homemade and store-bought both work, but since we won’t be eating the ornaments I suggest buying the cheapest applesauce you can find at the store.
Katie’s Tip: If you live somewhere humid, I suggest adding 1 tablespoon of cornstarch to the cinnamon dough to help the ornaments dry faster.
How to Make Cinnamon Applesauce Ornaments
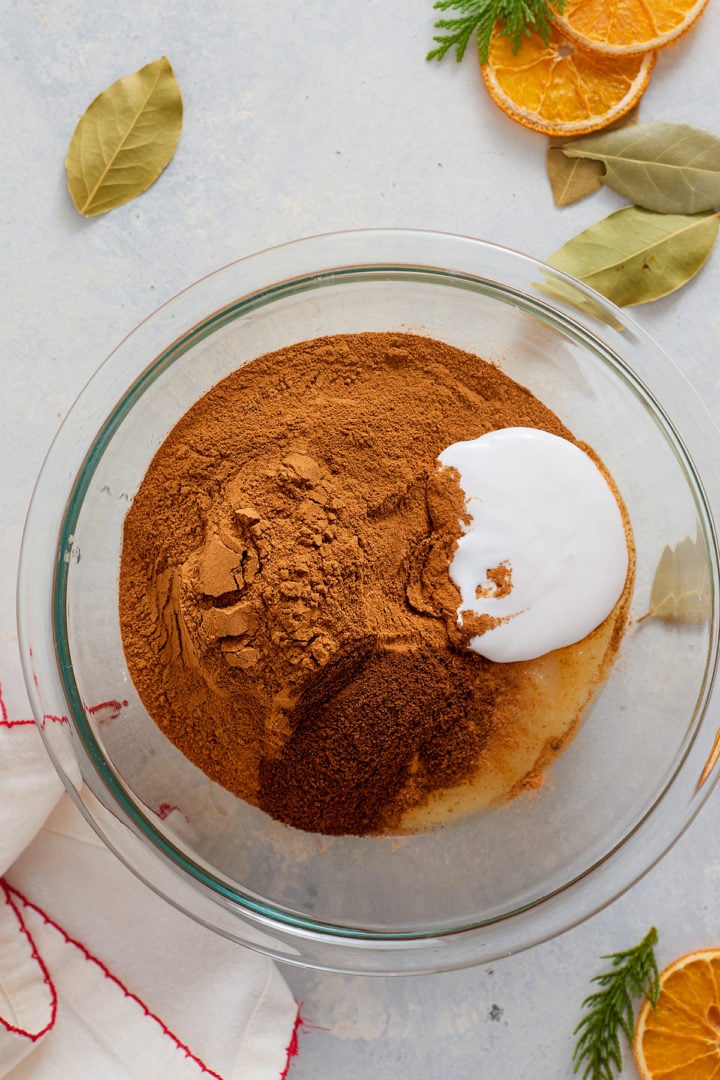
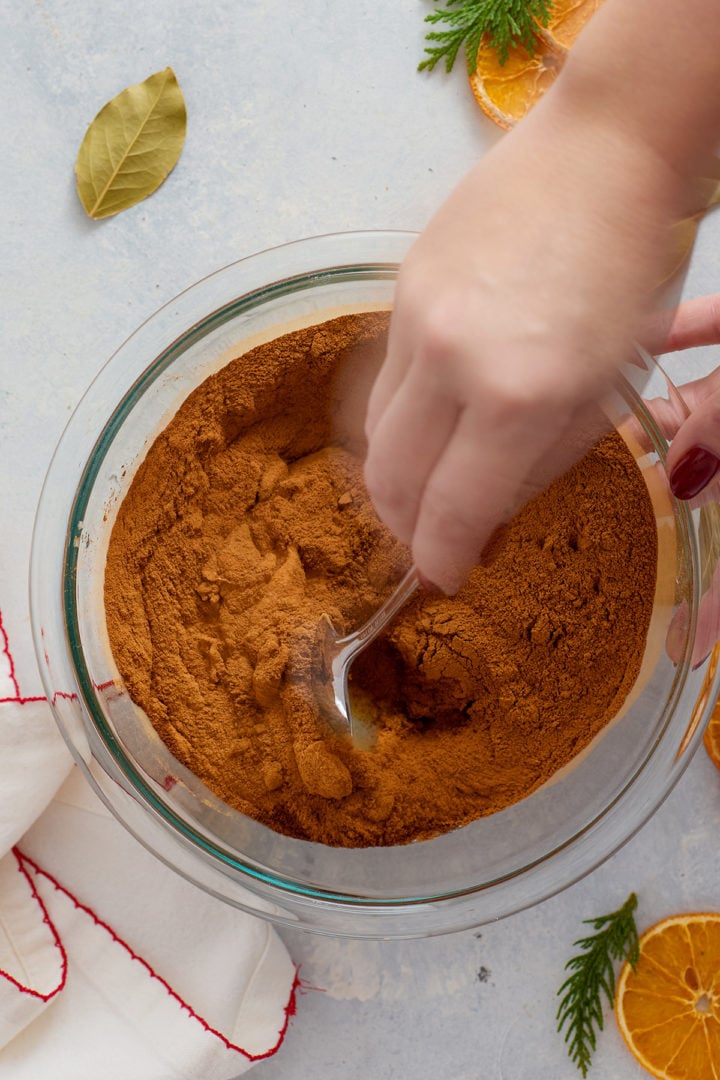
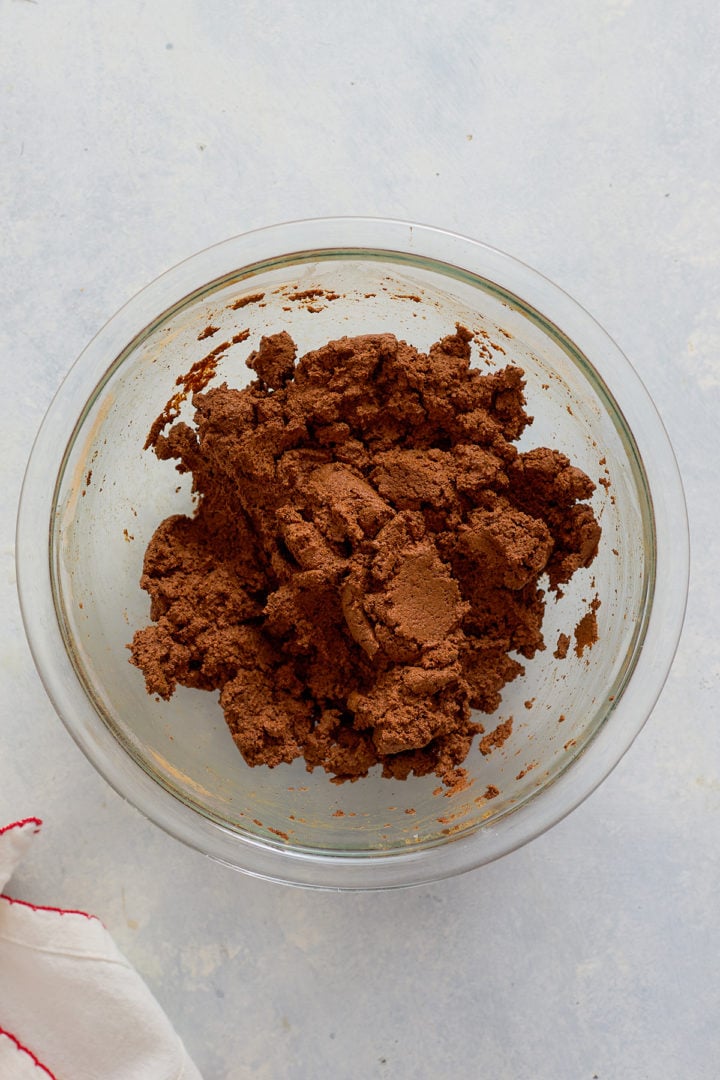
- Make the dough. Just add everything to a bowl and stir until it’s firm but pliable (a bit like modeling clay). The dough should hold together without sticking to your hands.
- Roll out the dough. In my experiments, I found it easiest to roll out the dough when it was sandwiched between two pieces of plastic wrap.
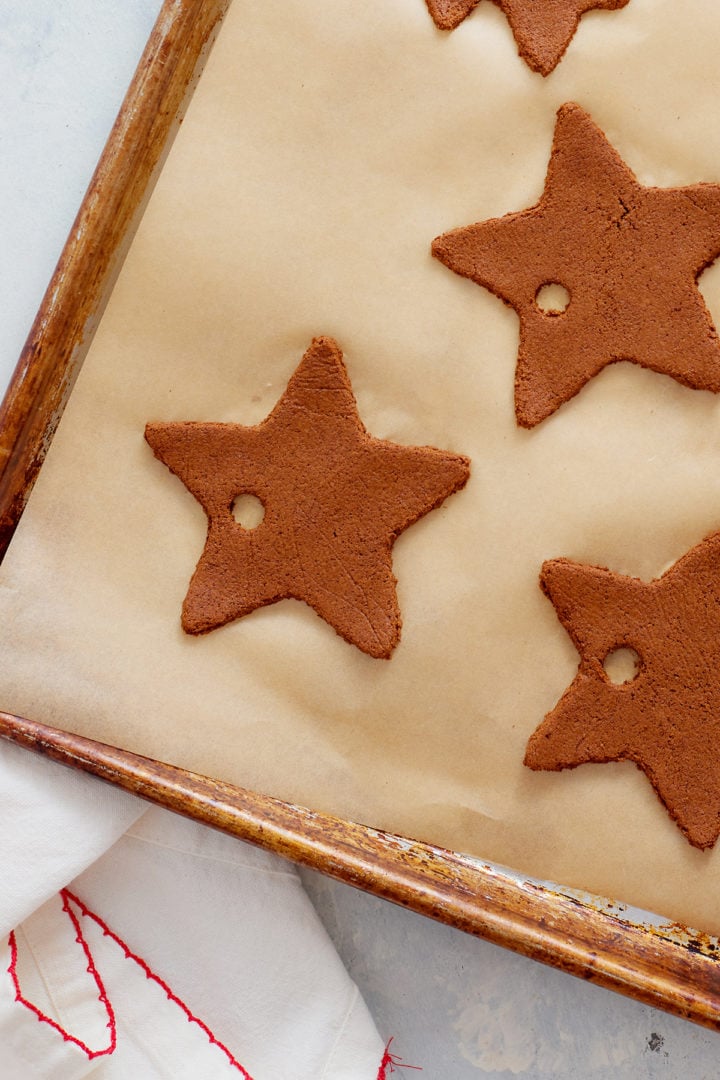
- Cut out your desired shapes. You can get creative here! Either use cookie cutters or go freestyle by cutting out shapes with a small paring knife. Use a straw to poke a hole at the top of each ornament where you want to hang it.
- Dry out the ornaments. I prefer baking mine in a 200ºF for a quicker, more even dry.
- Finish and decorate. The cinnamon ornaments are lovely as is, but I like to use a piece of fine grit sandpaper to smooth them out. Once the ornaments have dried, you can paint them, add glitter, etc. to customize them.
Katie’s Tip: If you’re making these with little ones, mix and roll the dough yourself and let them handle the cookie cutters. The glue strengthens the dough but also makes it non-edible — just a quick reminder before they “taste-test” their ornaments.
No-Bake Option
You’re welcome to air dry your ornaments if you don’t want to use the oven. If you have cooling racks, I suggest drying the ornaments on them (you get better airflow this way!).
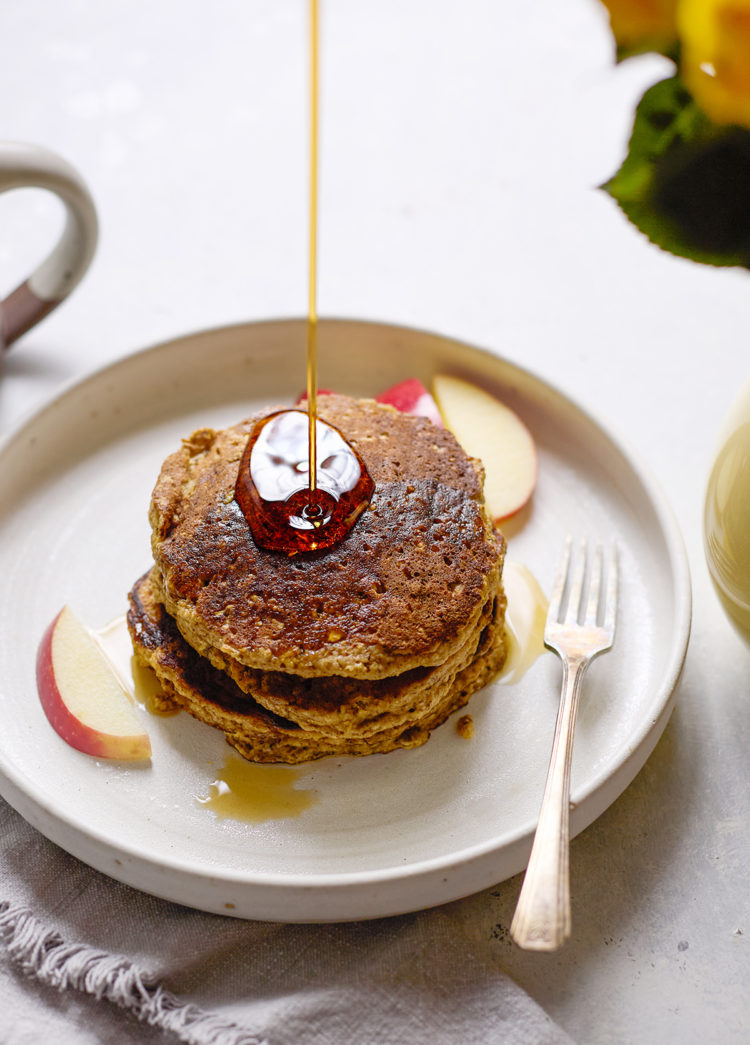
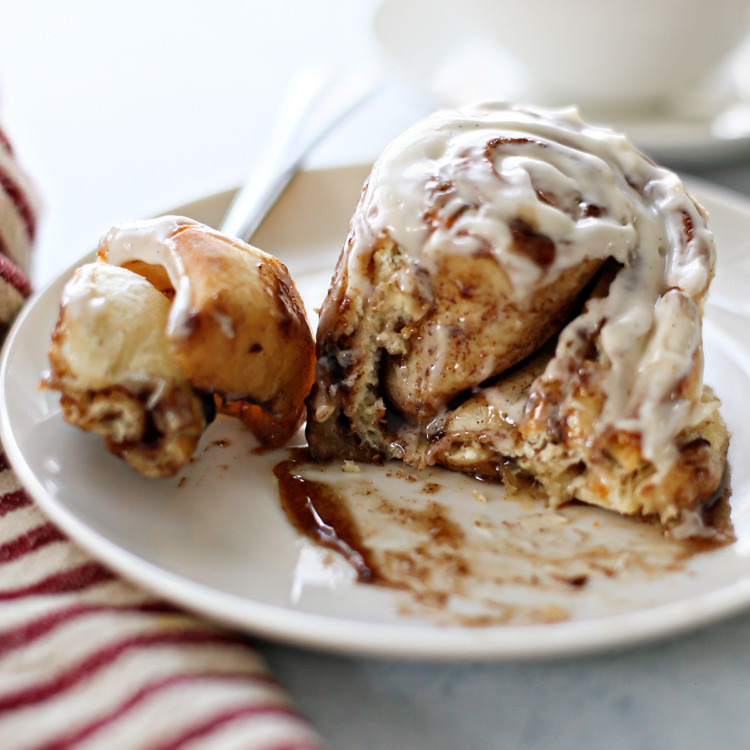
Let the ornaments dry for 2 to 4 days, turning once or twice.Your kitchen will smell like cinnamon rolls the whole time, and the ornaments will dry with the smoothest finish.
Ways to Use Them
These cinnamon Christmas ornaments are surprisingly versatile, and they make every space feel cozy and festive.
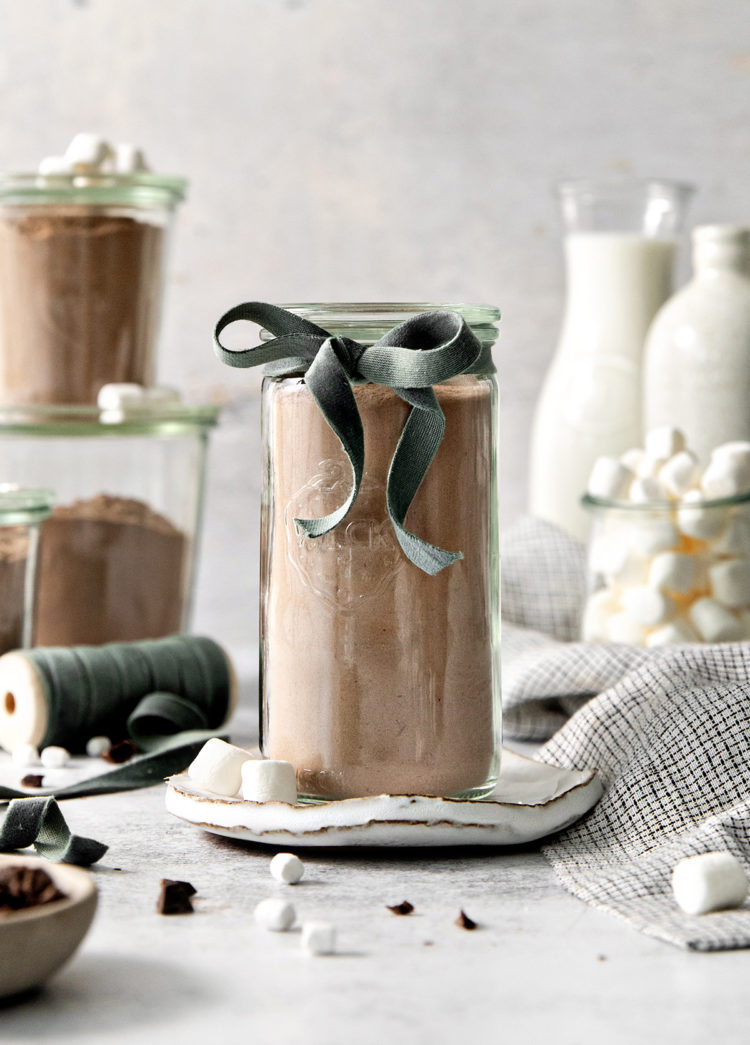
- Gift Toppers — Tie one onto wrapped presents, homemade cookies, or jars of hot cocoa mix; they instantly make a simple gift feel thoughtful.
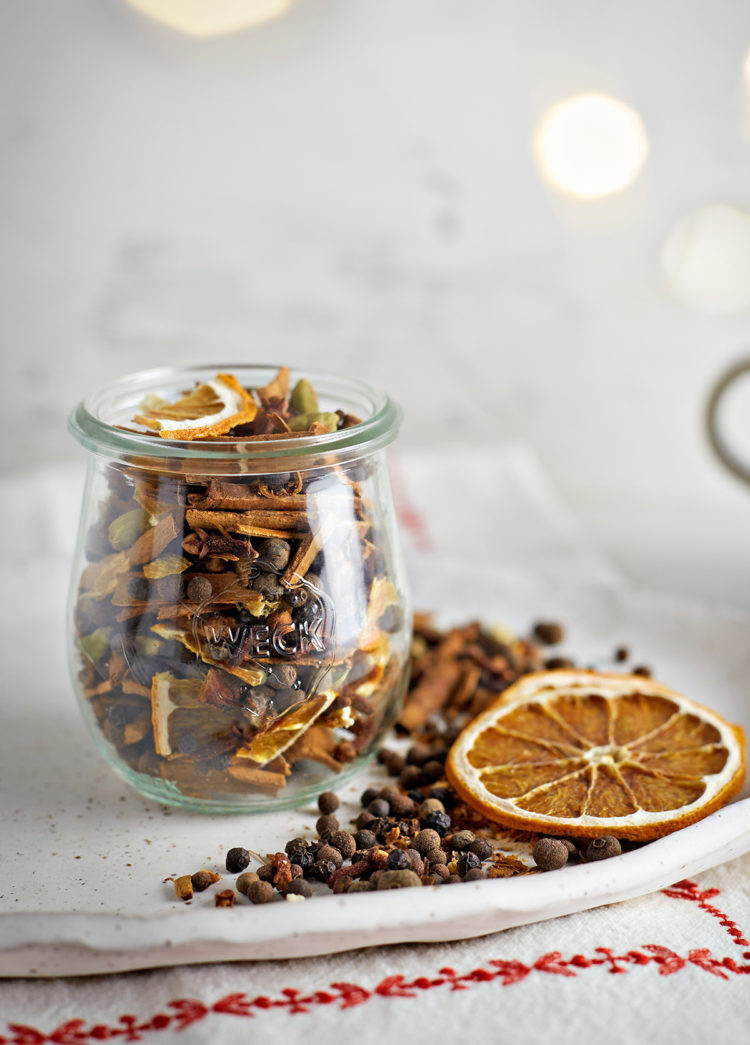
- Holiday Scented Gift Set — Pair these with a jar of homemade mulling spice mix for a cozy gift set.
- Home Fragrance — Arrange a few in a bowl or basket as a natural air freshener for your kitchen or entryway.
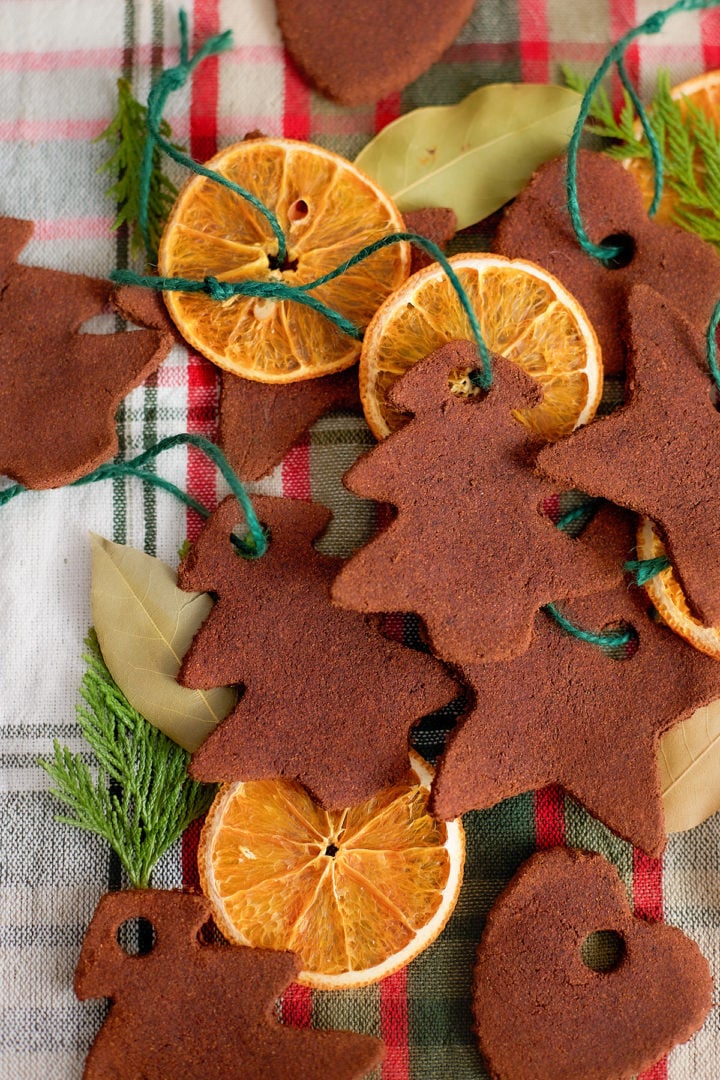
- Holiday Garland — String them with dried orange slices, bay leaves, or cranberries for a charming handmade garland.
- Gift Tags — Write names on the back with a permanent marker and use them as reusable name tags for family gifts.
- Stocking Stuffers — Add a few to stockings; they’re light, fragrant, and non-breakable.
- Keepsakes — Mark the year on the back and save one each season. They age beautifully and smell just as warm year after year.
More Christmas DIY Ideas
If you’re in the mood for more Christmas DIY ideas, I have plenty of easy, homemade projects to try. Here are a few favorites, but you’ll find even more inspiration to keep the season cozy and creative in this post: 45 Homemade Christmas Gift Ideas.
Stay Inspired in the Kitchen!
Want more delicious recipes, kitchen tips, and meal inspiration? Sign up for the Good Life Eats Newsletter and get:
✔ Tried-and-true recipes—from quick weeknight meals to special occasion favorites.
✔ Seasonal meal ideas—helping you make the most of fresh, in-season ingredients.
✔ Time-saving kitchen tips—boosting your confidence and creativity in the kitchen.
Cinnamon Applesauce Ornaments
Made with just 3 basic ingredients, these cinnamon Christmas ornaments are an easy Christmas craft that kids and adults both love.
Materials
- 1 cup (240 g) applesauce
- 1 to 1¼ cups (about 130 g) ground cinnamon
- 1 tablespoon ground cloves (optional, for a deeper fragrance)
- 2 tablespoons white school glue (like Elmer’s)
- Optional: 1 teaspoon cornstarch (helps them dry faster in humid climates)
Tools
- Mixing bowl
- Plastic wrap
- Rolling pin
- Cookie cutters
- Baking racks and baking sheets
- Oven, food dehydrator, or a spot to air dry
- Drinking straw (for making holes)
- Fine-grit sandpaper (optional, for finishing)
- Decorating supplies (glitter, puffy paints, rhinestones, etc.), optional
- Ribbon or ornament hooks (for hanging)
Instructions
- In a medium mixing bowl, combine 1 cup applesauce, 1 to 1¼ cups ground cinnamon, 1 tablespoon ground cloves (if using), 2 tablespoons white school glue, and 1 teaspoon cornstarch if your air is humid.
- Stir until it starts coming together — it’ll get thick fast, so switch to your hands once a spoon can’t keep up. You’re looking for a dough that feels firm but pliable, like soft modeling clay. If it’s too wet, add a bit more cinnamon a tablespoon at a time. If it’s too crumbly, add a touch more applesauce. Once it holds together without sticking to your hands, it’s ready. Wash your hands, clear your workspace, and you’re set to roll.
- Place about one-third of the dough between two sheets of plastic wrap.
- Use a rolling pin to roll it out to about ¼ to ⅓ inch thick.
- Peel off the top layer and cut shapes with your favorite cookie cutters. Move them gently to a baking rack or parchment-lined baking sheet.
- Use a drinking straw to poke a small hole near the top of each ornament for hanging.
- Repeat with the rest of the dough, gathering and rerolling scraps as needed.
- Preheat the oven to 200°F (95°C).
- Place the ornaments on a baking rack set over a baking sheet so the air can circulate. Bake for about 2½ hours, flipping halfway through to prevent curling. A few bubbles or rough edges are normal (they just add to the rustic charm!).
- Set the ornaments on racks or parchment in a dry spot with good airflow. Let them dry for 2 to 4 days, turning once or twice.
- Once completely dry and cool, you can gently smooth the edges with fine-grit sandpaper for a clean look (optional).
- Decorate however you like — a dusting of glitter, a touch of puffy paint, or leave them plain for that classic cinnamon finish. For a natural look, tie them with twine or ribbon, or pair them with dried orange slices and bay leaves.
- Write the year on the back with a permanent marker, then thread a ribbon or hook through the hole for hanging.
Make the Dough
Roll & Cut
Quick-Dry Method (Oven)
Slow-Dry Method (Air Dry)
To Finish
Notes
Storage: These keep beautifully year after year if you store them wrapped in tissue paper inside an airtight container. Tuck them into a shoebox after the holidays and they’ll still smell amazing when youI pull them out again the next winter.
If making with kids: If you’re making these with little ones, mix and roll the dough yourself and let them handle the cookie cutters. The glue strengthens the dough but also makes it non-edible!
Recommended Products
As an Amazon Associate and member of other affiliate programs, I earn from qualifying purchases.
Try Making Your Own Christmas Ornaments!
Did You Follow This Tutorial? I’d love to hear how it turned out! Leave a comment and a review below—your feedback helps others and makes my day.
Share Your Creations!
If you took a photo, tag me on Instagram @goodlifeeats and use #goodlifeeatsrecipes—I’d love to see what you’re cooking up in your kitchen!


Leave a Comment