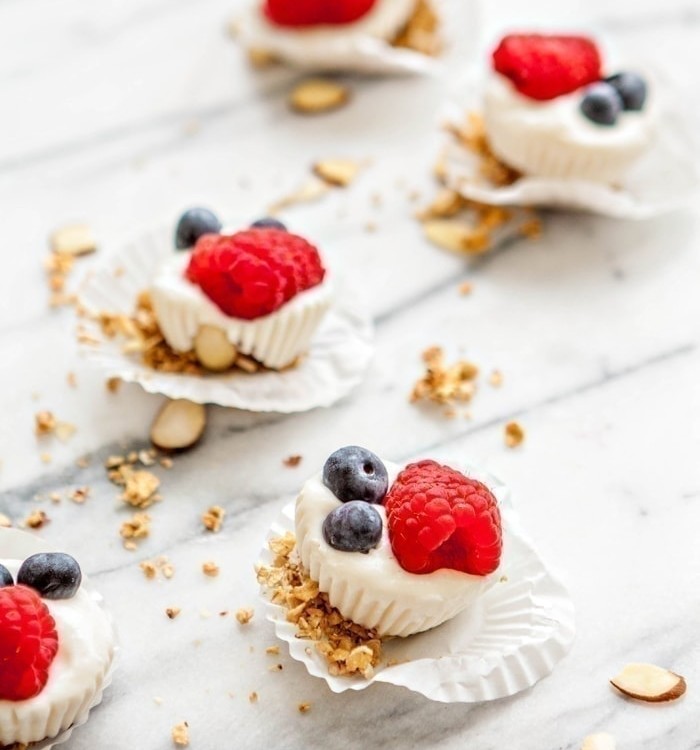
How to Freeze Corn (With or Without Blanching)
There are 4 easy ways you can freeze fresh sweet corn, and no, you don’t have to blanch it if you don’t want to! Here’s How to Freeze Corn with or without the husk, and in kernels or on the cob.
This post may include affiliate links. As an Amazon Associate and member of other affiliate programs, I earn a small commission from qualifying purchases.
Why Bother Freezing Sweet Corn?
✔ Neither store-bought canned nor frozen corn compares to the flavor and texture of in-season sweet corn. Fresh sweet corn is fragrant, juicy, and so sweet — freezing it preserves its flavor and texture!
✔ You’ll be able to extend its shelf life throughout the fall and winter to use in soups, chowders, dips, and more.
✔ It’s a great way to take advantage of sale prices at the grocery store or your local farmers market. Knowing how to freeze corn means you can stock up during peak season, saving you money in the long-run.
Here’s What You’ll Need to Get Started
You won’t need all of these tools to freeze corn on the cob! You’ll need one of the following:
- Vacuum bags (my top choice): Freezing corn in vacuum bags keeps them fresher for longer and is the best method for avoiding freezer burn.
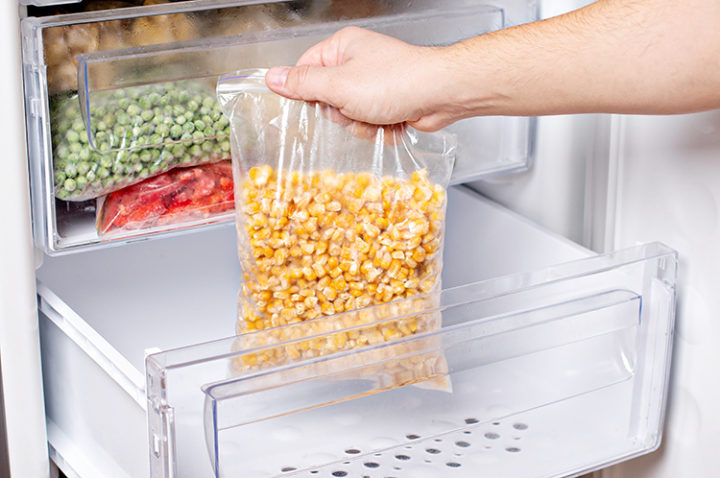
- Freezer bags: Make sure to suck all the air out of the bag before sealing it. You can use your mouth or a straw to do this.
- Freezer-safe containers: Choose containers that can go straight from the freezer to the fridge, so you can easily thaw the sweet corn later.
Additionally, you’ll need the following if you plan to blanch the corn before freezing:
- Tongs: Makes removing the corn cobs from the pot of boiling water easier and safer.
- Large mixing bowl: You’ll need a large heat-proof bowl handy for the ice bath.
- Large pot: Choose a pot that’s large enough to fully submerge the whole corn cobs in water.
How to Blanch Corn for Freezing (Optional Step)
Katie’s Tip: Blanching is the process of cooking corn in boiling water for a short period of time, usually just a couple minutes. This brief boiling period slows the enzymes in the corn from breaking it down too quickly once frozen. By blanching corn before freezing it, you’ll extend its shelf life in the freezer.
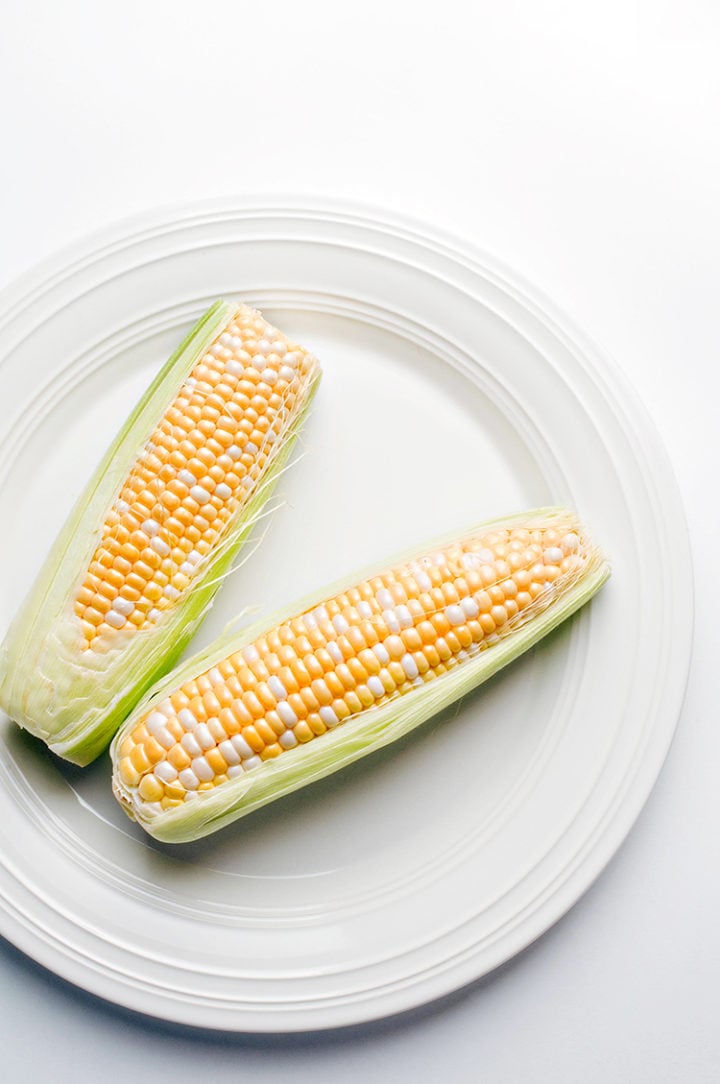
- Shuck the corn. Be sure to remove all the tiny corn silk fibers that you can.
- Fill a large pot halfway with water. In another large bowl, add water and ice cubes (this will be your ice bath).
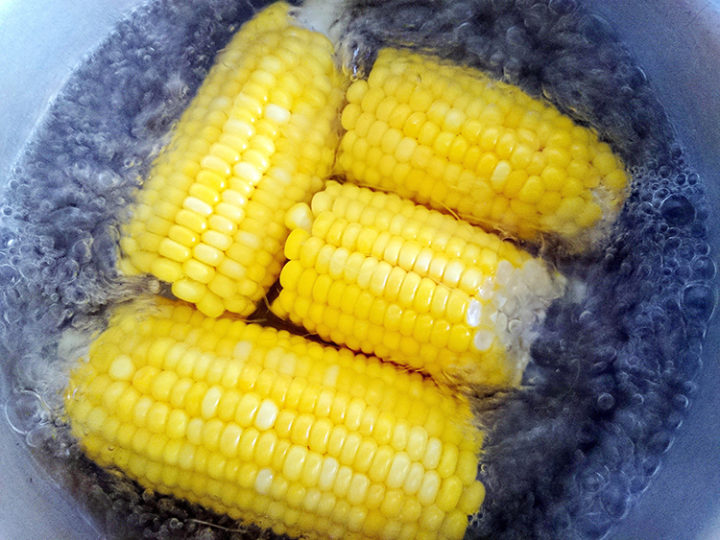
- Heat the large pot of water until boiling. Add the shucked ears of corn and cook for 3 to 4 minutes. I recommend turning the corn at the halfway mark.
- Remove the corn cobs from the boiling water (I like to use a pair of tongs to do this). Immediately submerge in the ice bath.
- Let the corn stand in the ice bath for about 5 minutes. This prevents the corn from cooking any further.
- Remove the corn from the ice bath. Pat dry with a clean kitchen towel.
How to Freeze Corn (4 Ways!)
You have a few options when it comes to freezing corn: on or off the cob, and blanched or raw.
Pick whichever freezing method is best for you, just keep in mind how you plan on using the freezer corn later!
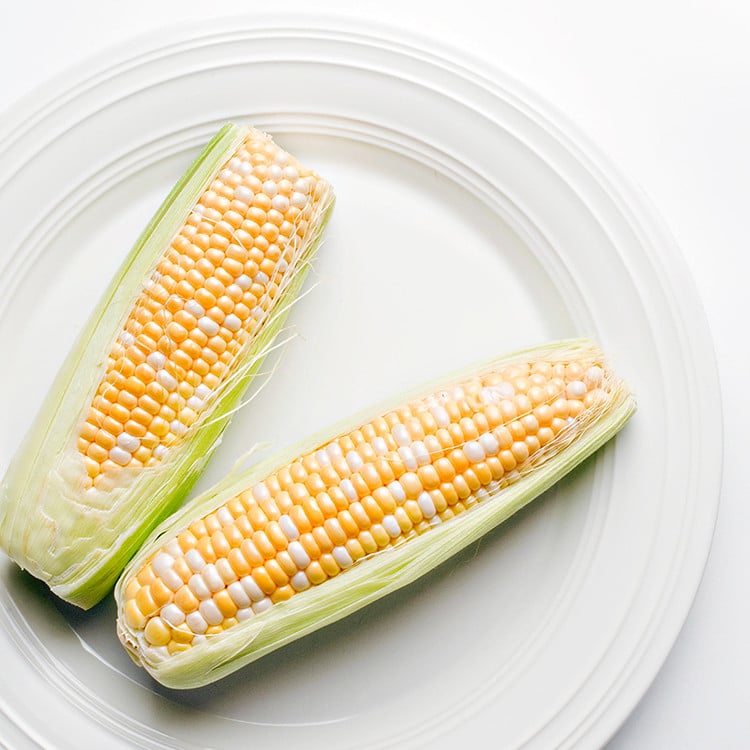
Method #1: Corn on the Cob Without the Husk
- Blanch the corn as instructed in the section above (full directions can be found in the recipe card at the end of this post as well).
- Transfer the corn cobs to a baking sheet, then place the baking sheet in the freezer.
- Freeze for just 1 to 2 hours.
- Once firm, transfer the frozen corn cobs to freezer or vacuum bags.
- Label, date, and freeze for up to 6 months.
Method #2: Corn on the Cob In the Husk
Katie’s Tip: The major benefit of freezing corn on the cob in the husk is that there’s no need to blanch it first. The thick husks help to prevent freezer burn. However, by skipping the blanching process, you’re shortening the shelf life of your frozen corn.
- Don’t peel any part of the husk, not even to peek at the cob beneath!
- Either wrap the corn (husk and all) in plastic wrap. Or, seal insider freezer bags or vacuum seal bags.
- Freeze the corn for up to 4 months.
- When ready to eat, cook from frozen. The easiest way is to boil them. Do not thaw first.
Method #3: Blanched Corn Kernels
Katie’s Tip: This method for freezing sweet corn requires more prep work up front, but this is the most versatile method for freezing corn and it’s what I recommend doing.
- Blanch the corn as instructed above in the section above (full directions can be found in the recipe card at the end of this post as well).
- Once cool enough to handle, hold the corn cob vertically. Place the flat bottom of the cob against a cutting board.
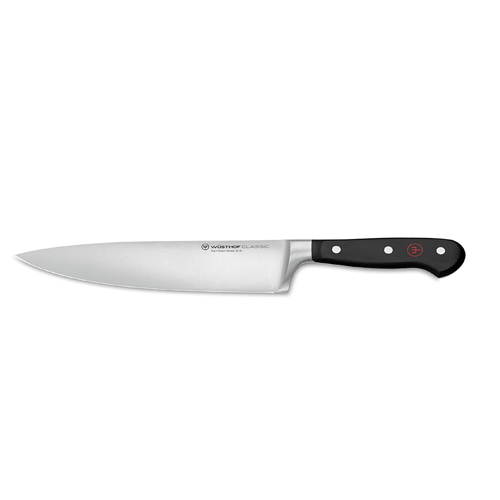
- Use a sharp chef’s knife to cut the kernels off the cob. Start at the top (near where you’re holding the corn cob) and cut downwards. Never try to cut towards your body!
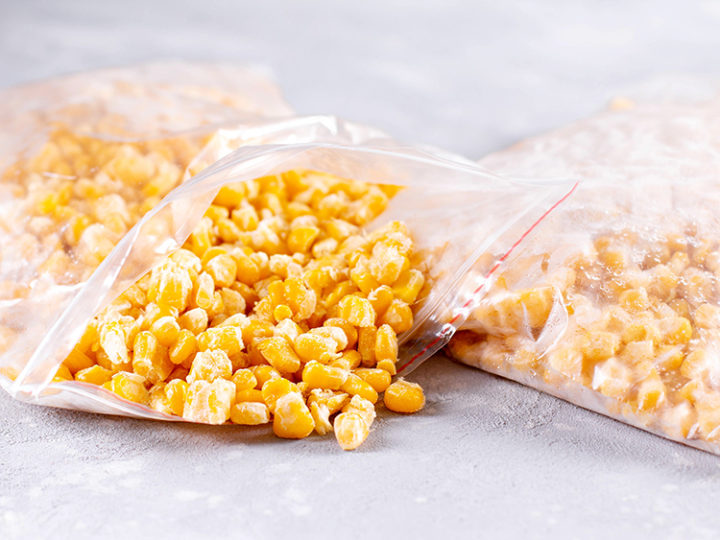
- Transfer the corn kernels to a freezer or vacuum bag. I like to break up any big chunks with my hands.
- Label, date, and freeze the corn kernels for up to 6 months.
Method #4: Unblanched Corn Kernels
Katie’s Tip: Raw sweet corn changes texture once frozen, so only use this method if you plan on cooking the corn kernels later on in a soup, sauce, chowder, or something similar.
- Shuck the corn, removing the husks and silks.
- Hold the corn cob vertically. Place the flat bottom of the cob against a cutting board.
- Use a sharp chef’s knife to cut the kernels off the cob. Start at the top (near where you’re holding the corn cob) and cut downwards.
- Transfer the raw corn kernels to a freezer bag or vacuum bag.
- Label, date, and freeze the corn kernels for up to 4 months.
Is it Better to Freeze Corn On or Off the Cob?
It depends on how you plan on using the frozen corn later on!
If you know you’ll be using your stash of freezer corn to make soups, stews, chowders, or batters, it’s better to blanch and freeze the corn and then cut it off the cob prior to freezing. (Why make more work for yourself later on when you could get the prep work over now?)
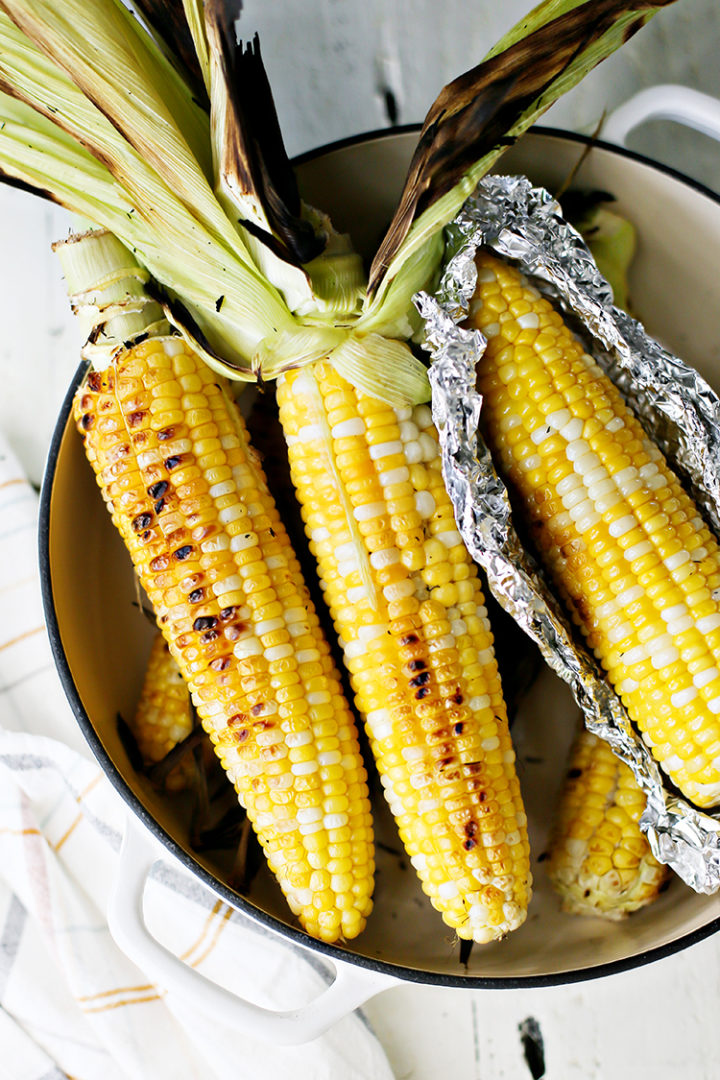
If you plan on boiling or roasting the frozen corn on the cob, then freeze on the cob.
If you’re unsure, I recommend blanching and freezing the corn kernels. This will be the most similar to the frozen corn you buy at the store and gives you the most options later on.
How Long Can You Freeze Corn?
If the corn was NOT blanched before being frozen, it will last up to 4 months in the freezer if properly stored.
If the corn was blanched before being frozen, it will last up to 6 months in the freezer if properly stored.
More Summer Freezing Tutorials:
I have tons of detailed freezer tutorials on GoodLife Eats that cover the most popular ingredients and foods of every season. In addition to corn, the foods we most commonly freeze in the summer are as follows.
Stay Inspired in the Kitchen!
Want more delicious recipes, kitchen tips, and meal inspiration? Sign up for the Good Life Eats Newsletter and get:
✔ Tried-and-true recipes—from quick weeknight meals to special occasion favorites.
✔ Seasonal meal ideas—helping you make the most of fresh, in-season ingredients.
✔ Time-saving kitchen tips—boosting your confidence and creativity in the kitchen.

How to Freeze Corn
Freezing sweet corn preserves its shelf life and means you’ll enjoy the taste of summer year-round!
Materials
- 3 pounds sweet corn*
- Water
- Ice
Instructions
HOW TO BLANCH CORN FOR FREEZING:
- Shuck the corn. Be sure to remove all the tiny corn silk fibers that you can.
- Fill a large pot halfway with water. In another large bowl, add water and ice cubes (this will be your ice bath).
- Heat the large pot of water until boiling. Add the shucked ears of corn and cook for 3 to 4 minutes. I recommend turning the corn at the halfway mark.
- Remove the corn cobs from the boiling water (I like to use a pair of tongs to do this). Immediately submerge in the ice bath.
- Let the corn stand in the ice bath for about 5 minutes. This prevents the corn from cooking any further.
- Remove the corn from the ice bath. Pat dry with a clean kitchen towel.
TO FREEZE CORN ON THE COB WITHOUT THE HUSKS:
- Blanch the corn as instructed in the section above.
- Transfer the corn cobs to a baking sheet, then place the baking sheet in the freezer.
- Freeze for just 1 to 2 hours.
- Once firm, transfer the frozen corn cobs to freezer or vacuum bags.
- Label, date, and freeze for up to 6 months.
TO FREEZE CORN ON THE COB WITH THE HUSKS:
- Don’t peel any part of the husk, not even to peek at the cob beneath!
- Either wrap the corn (husk and all) in plastic wrap. Or, seal insider freezer bags or vacuum seal bags.
- Freeze the corn for up to four months.
- When ready to eat, cook from frozen. The easiest way is to boil them. Do not thaw first.
TO FREEZE BLANCHED CORN KERNELS:
- Blanch the corn as instructed above in the section above.
- Once cool enough to handle, hold the corn cob vertically. Place the flat bottom of the cob against a cutting board.
- Use a sharp chef’s knife to cut the kernels off the cob. Start at the top (near where you’re holding the corn cob) and cut downwards. Never try to cut towards your body!
- Transfer the corn kernels to a freezer or vacuum bag. I like to break up any big chunks with my hands.
- Label, date, and freeze the corn kernels for up to six months.
TO FREEZE UNBLANCHED CORN KERNELS:
- Shuck the corn, removing the husks and silks.
- Hold the corn cob vertically. Place the flat bottom of the cob against a cutting board.
- Use a sharp chef’s knife to cut the kernels off the cob. Start at the top (near where you’re holding the corn cob) and cut downwards.
- Transfer the raw corn kernels to a freezer bag or vacuum bag.
- Label, date, and freeze the corn kernels for up to four months.
TO THAW FROZEN CORN:
- Corn cobs: Hold under running cold tap water. It should thaw in a matter of minutes. Or, submerge in a bowl of cold tap water to thaw, then cook as desired.
- Corn kernels: Place in a colander, then run under cold tap water. Drain thoroughly and pat dry, if needed.
Notes
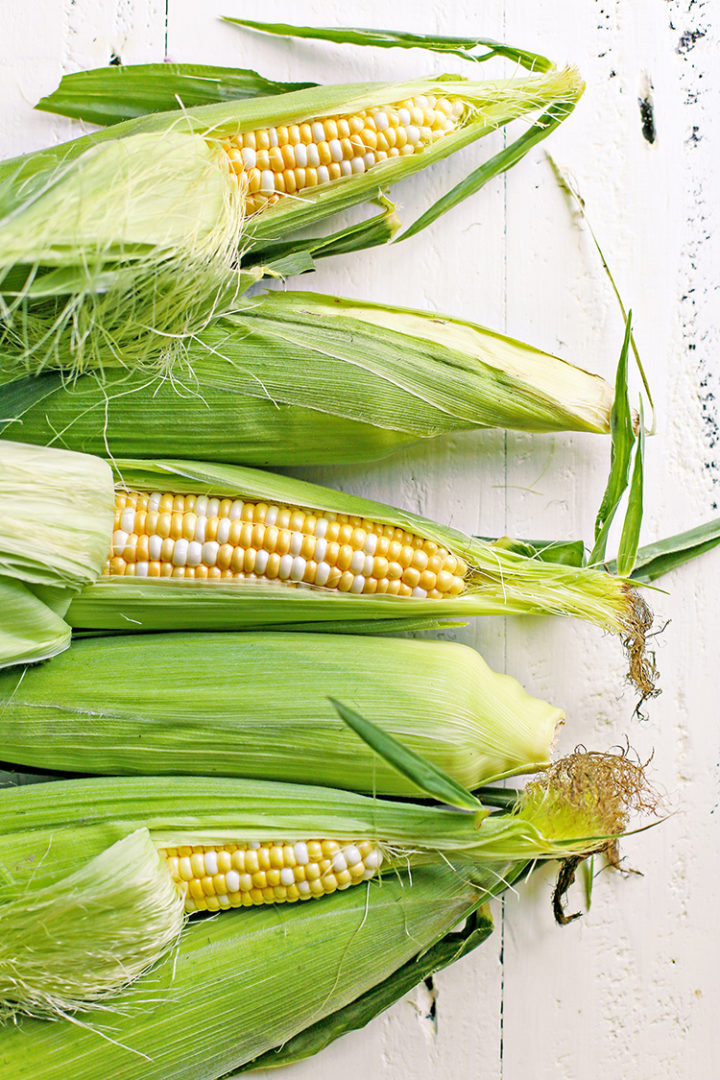
*Choosing the best sweet corn:
You want the corn silk (the fibers sticking out of the top of the husk) to be brown and sticky. If they’re black or dried out, it’s an old ear of corn. The corn silk should also smell sweet and fragrant.
Feel the corn kernels through the husk. Make sure they feel plump and that there aren’t a lot missing. The husk itself should be bright green in color and wrapped tightly around the cob. If the husk is yellowing or super dry, don’t buy it.
Recommended Products
As an Amazon Associate and member of other affiliate programs, I earn from qualifying purchases.


Gilbert Kaiser says
when vaccum pakaging corn kernels blanched off the cob will that squeeze the juices out of the kernels?
Katie says
I haven’t had that problem. Mine just sucks the air out of the bag. If you’re concerned, you can always seal a bag most of the way, insert a straw, and manually suck the air out. It is less powerful than a vacuum sealer but still removes a lot of air. Hope that helps!