How to Make Dried Orange Slices
Dried orange slices can be eaten as a snack, used as holiday decor, added to potpourri, and so much more! Here are two simple ways to dry orange slices, plus some ideas for how to use them.
This post may include affiliate links. As an Amazon Associate and member of other affiliate programs, I earn a small commission from qualifying purchases.

Drying Orange Slices Is My Favorite Way to Decorate for the Holidays!
There’s something so beautiful about dried sliced oranges.
Maybe it’s the subtle citrus fragrance they emit, or maybe it’s their gorgeous orange hue. Whatever it is, I especially love drying out orange slices to use in my seasonal holiday decor.
Here’s why I think you’d love making dried orange slices too:
✔ Super Versatile: I’ve used sliced dried oranges to make Christmas decorations, added them to potpourri, used as a cocktail garnish, made them into wreaths and garlands, have dipped them in chocolate, and so much more!
✔ Cheaper Than Store-Bought: The price of orange slices at the craft store is actually outrageous. You can make tons of dried slices using just 3 or 4 oranges, and they’re WAY cheaper than anything you can buy pre-made.
✔ Works With Any Citrus Fruit: Mandarins, tangerines, and navel oranges can all be sliced and dried, but so can lemons, limes, and grapefruits.
Happy Drying!
-Katie
Here’s What You’ll Need
You won’t need everything on this list to make dry sliced oranges. It all depends on what you plan on doing with them!
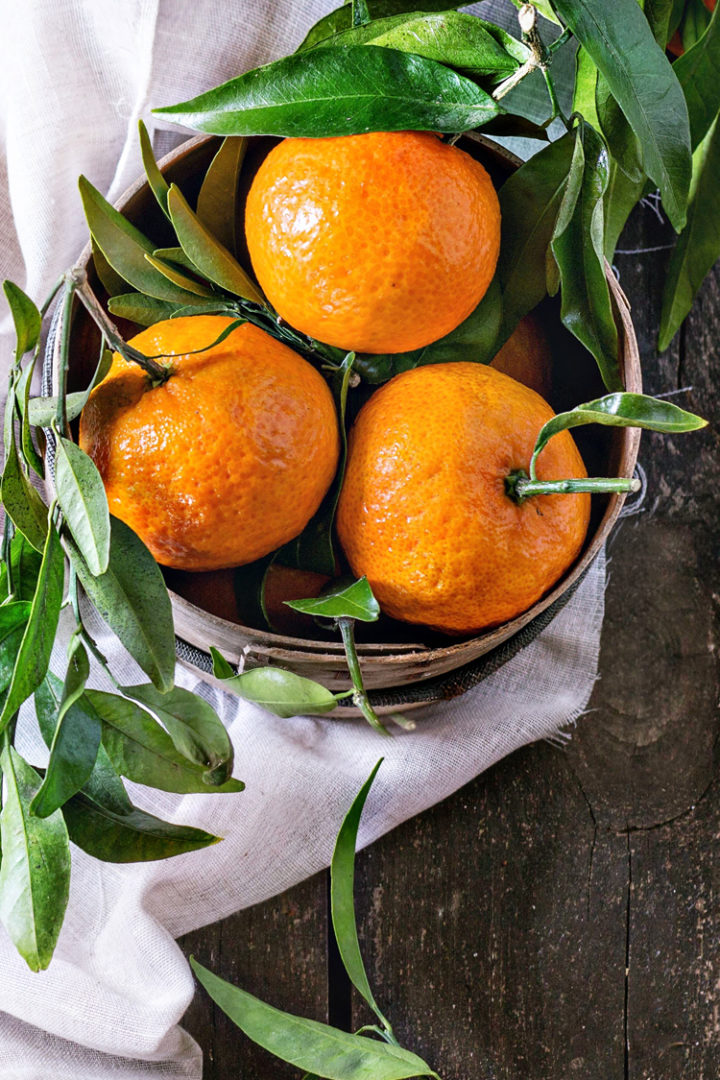
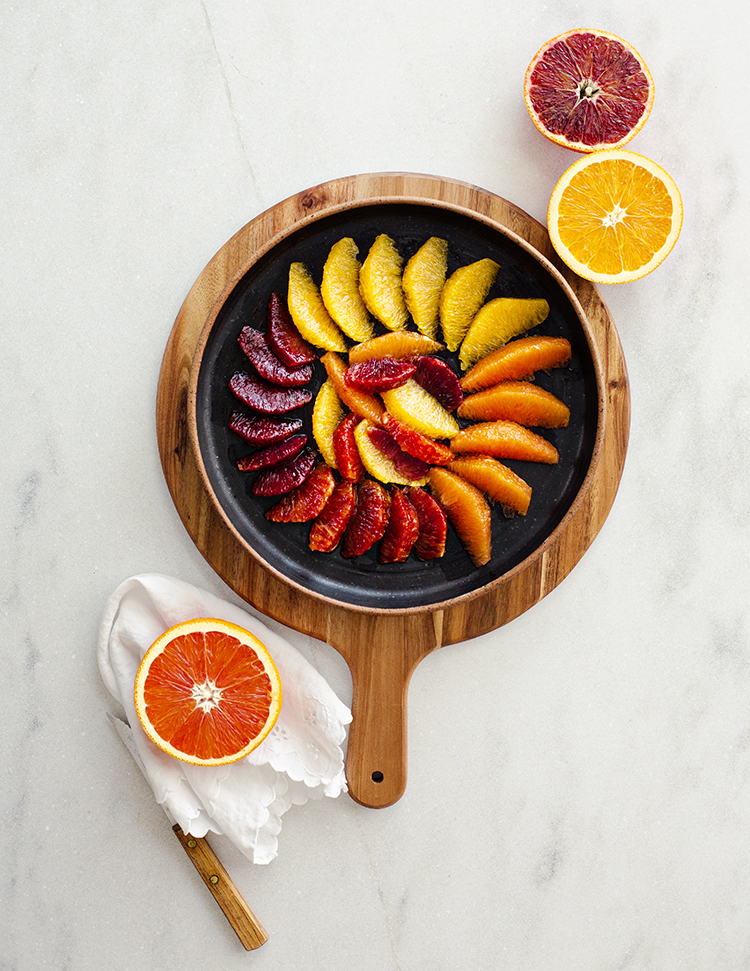
- Fresh oranges — any variety and color will work. Blood oranges have a lovely dark red interior, cara cara oranges a pinkish orange interior, and navel oranges – classic orange interior.
- Granulated sugar — only use if you plan on eating the orange slices (and even then they’ll be naturally sweet, so the sugar isn’t a must).
- Baking tray — use one that has sides since the oranges will release juice as they bake.
- Parchment paper — so the oranges don’t stick to the baking tray.
- Mandoline or chef’s knife — a mandoline is the easiest and fastest method, but a sharp chef’s knife also works.
- Cutting board — if you plan on eating the dried orange slices, make sure the cutting board hasn’t been cross contaminated with onion or garlic, both of which will infuse into the orange slices.
- Dehydrator — Not necessary if you plan on drying the orange slices in the oven. But if you already have a dehydrator, go ahead and use it! (I’ve linked the one we have)
Katie’s Tip: Try to choose firm oranges, which will slice easier and will hold their shape better.
How to Dry Orange Slices (2 Ways!)
Option #1: Drying Orange Slices in the Oven
When I’m making large batches of dried orange slices, I prefer to dry them in the oven. However, making oven dried orange slices requires constant babysitting. You’ll need to check them every hour to ensure that they’re not burning.
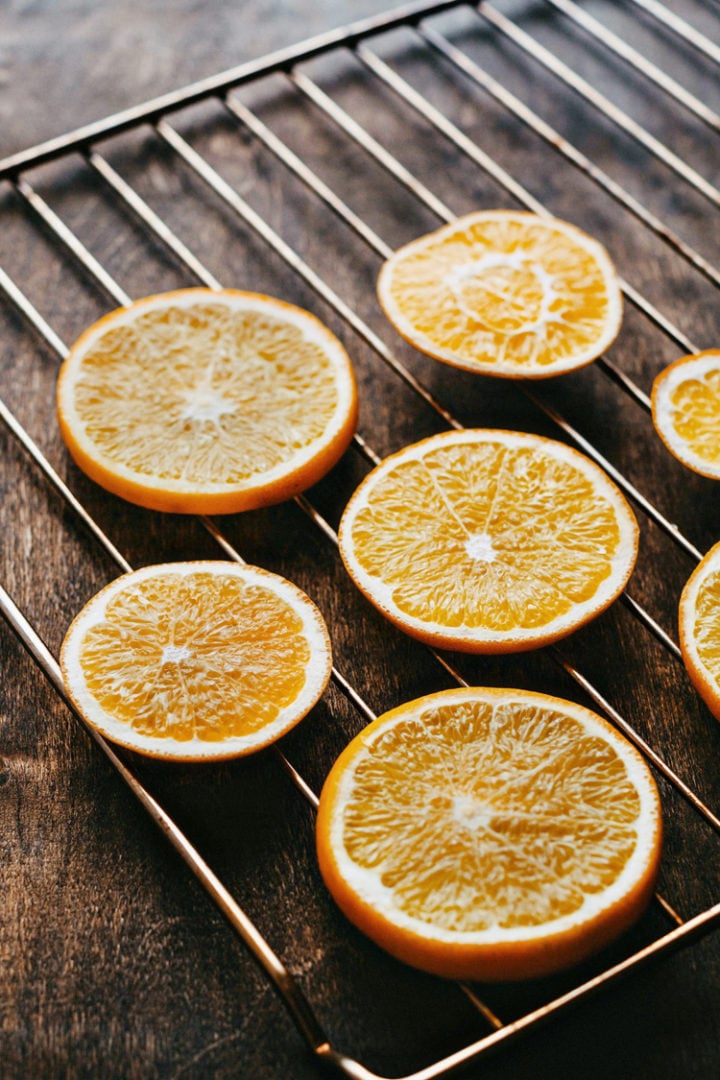
- Thinly slice the oranges. You want them to be about ¼ inch thick. Any thicker, and they’ll take much longer to dry in the oven.
- Bake at 200ºF for up to 3 hours. If you have a cooling rack, you can place it on top of the lined baking tray and then line the orange slices atop the rack. This will help circulate hot air around the orange slices and make them dry out faster!
- Cool before using. This could take 45 minutes or more.
Option #2: Drying Orange Slices in a Dehydrator
A dehydrator will also work well with minimal babysitting, but it’s a large and expensive piece of equipment that not everyone is lucky enough to own!
- Thinly slice the oranges. ¼ inch thick is ideal.
- Arrange the orange slices on the trays of your dehydrator. You want them to be in a single layer.
- Let the dehydrator run for up to 12 hours, rotating the trays every 3 hours. This is the dehydrator we’ve had since 2016, and we love it! If yours has a fruit / vegetable setting, use that.

A Few Helpful Tips…
- Place a cooling rack on top of a baking sheet. This allows the air to circulate and you don’t risk oranges dripping all over your oven (vs. putting them directly on the oven shelves).
- Do NOT place orange slices directly onto your oven racks. They’ll stick to them, and make a huge mess on the bottom of your oven. Always line them with parchment paper!
- Slice the oranges too thinly and they’ll tear, and slice them too thickly and they’ll take much longer to dry out. Aim for ⅛ to ¼ inch thickness.
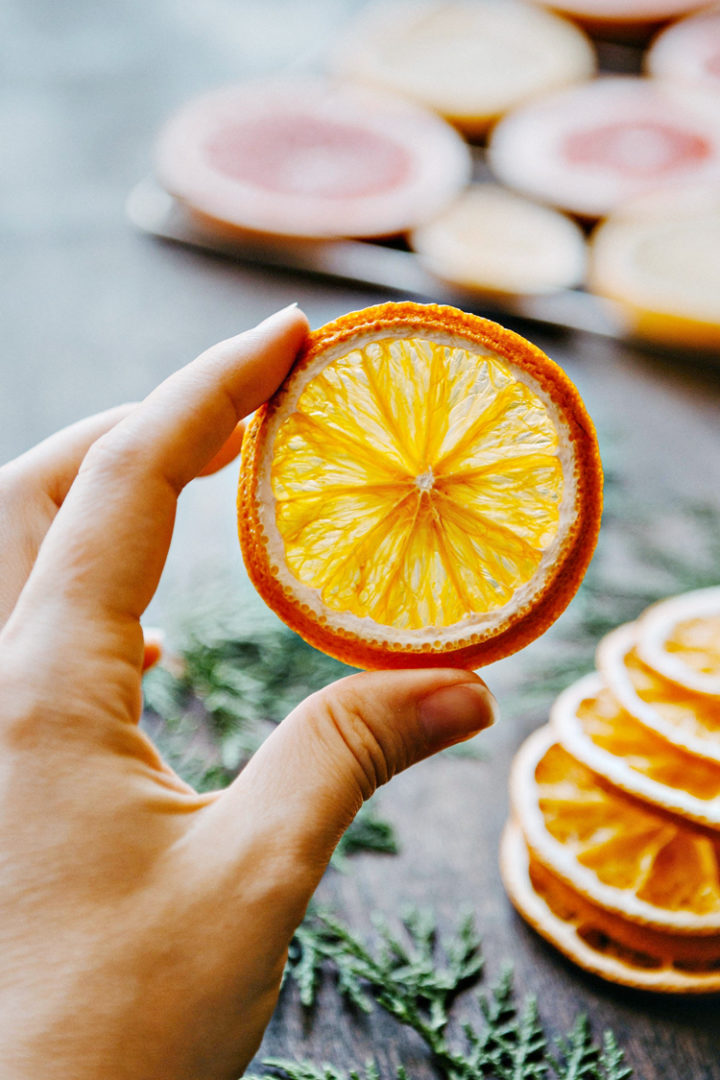
- You’ll know the oranges are ready when they’ve shrunk in size and are no longer wet to the touch. If you pull the oranges out of the oven too soon, pop them back in or simply lay them out on a wire rack (or leave them on the baking tray). It may take up to 24 more hours at room temperature for them to finish drying out.
- Do NOT try air drying or microwaving the orange slices. Air drying orange slices would take a week or more (and they’d probably attract flies). And making these in the microwave would require tons of paper towels, plus you could only dry a few slices at a time. No thanks!

Ways to Use Dried Orange Slices
- As Christmas decorations. Orange slices can be threaded together to make a Christmas garland, added to evergreen wreaths, incorporated into a seasonal tablescape, strung with ribbon to use as ornaments, or added to gift wrapping.
- Dipped in chocolate for a snack. I also like to add a sprinkle of sea salt. Follow this tutorial for chocolate dipped nuts to dunk the orange slices in chocolate.
- In mulling spice mix. This is my go-to homemade mulling spice mix, which I use to make spiced mulled wine.
- In hot sangria, water, or black tea. The hot liquid will rehydrate the orange slices and release some of their citrus flavor!

- As cake decor. You can twist the slices into specific shapes or slice them as needed to decorate cakes.
- As charcuterie platter garnish. Scatter dried orange slices around your meats and cheeses to elevate the snacking experience.
- As a cocktail garnish. A dried orange slice would pair beautifully with a Pumpkin Martini, Cranberry Shrub Cocktail, or Black Manhattan
- In dried potpourri. Dried oranges pair well with cinnamon sticks and other spices.
- In a simmer pot. Simply add a few dried orange slices, a cinnamon stick, and a sprig of fresh rosemary to a pot of simmering water. Your kitchen will smell incredible within minutes.

Storage Instructions
Keep dry sliced oranges in an airtight container or bag for 2+ years. Keep in a cool, dry place to preserve their shelf life. A glass jar or ziploc bag works well for a storage container.
Note that they can go bad if they’re exposed to intense heat or moisture. You’ll know they’ve gone off if they develop mold, smell funny, or are slimy.
More Ways to Prepare Oranges


Stay Inspired in the Kitchen!
Want more delicious recipes, kitchen tips, and meal inspiration? Sign up for the Good Life Eats Newsletter and get:
✔ Tried-and-true recipes—from quick weeknight meals to special occasion favorites.
✔ Seasonal meal ideas—helping you make the most of fresh, in-season ingredients.
✔ Time-saving kitchen tips—boosting your confidence and creativity in the kitchen.

How to Make Dried Orange Slices
Dried orange slices can be eaten as a snack, used as DIY home decor, added to potpourri, and so much more!
Ingredients
- 6 Oranges (any kind)
- Granulated sugar (optional, if eating)
Instructions
Drying Orange Slices in the Oven
- Preheat the oven to 200ºF.
- Line a baking tray with parchment paper.
- Thinly slice the oranges. You want them to be about ¼ inch thick. Note that the thicker they’re sliced, the longer they’ll take to dry (and the higher the chance the peels will burn before the interior is fully dry!).
- Lay the orange slices on the parchment paper-lined baking tray in an even layer.
- Bake for up to 3 hours, checking the oranges every hour to check their progress. You’ll need to flip over the orange slices about halfway through the baking time.
- Once the slices are dried to your liking, let them cool on your countertop before eating or using as desired.
Tip: If you have a cooling rack, you can place it on top of the lined baking tray and then line the orange slices atop the rack. This will help circulate hot air around the orange slices and make them dry out faster!
2. Drying Orange Slices in a Dehydrator
- Thinly slice the oranges. You want them to be about ¼ inch thick. Note that the thicker they’re sliced, the longer they’ll take to dry.
- Arrange the orange slices on the trays of your dehydrator. You want them to be in a single layer.
- Fill as many trays as necessary, then stack them on the dehydrator base and pop the lid on.
- Turn on the dehydrator. If yours has a fruit / vegetable setting, use that.
- Let the dehydrator run for up to 12 hours, rotating the trays every 3 to 4 hours to ensure that no tray is left at the very top of the dehydrator the entire time.
- Once the orange slices have finished drying, transfer to an airtight container.
Tip: Depending on the make and model of your dehydrator, it could take anywhere from 3 to 12 hours to dehydrate orange slices. It also depends on how thickly you sliced them. Read the manufacturer’s instructions for guidance on how your machine works.
Notes
Storage: Keep dry sliced oranges in an airtight container or bag for 2+ years. Keep in a cool, dry place to preserve their shelf life.
Recommended Products
As an Amazon Associate and member of other affiliate programs, I earn from qualifying purchases.


Nutrition Information:
Yield: 6 Serving Size: 1Amount Per Serving: Calories: 69Total Fat: 0gSaturated Fat: 0gTrans Fat: 0gUnsaturated Fat: 0gCholesterol: 0mgSodium: 1mgCarbohydrates: 18gFiber: 3gSugar: 12gProtein: 1g
GoodLifeEats.com offers recipe nutritional information as a courtesy. This provided information is an estimate only. This information comes from online calculators. Although GoodLifeEats.com makes every effort to provide accurate information, these figures are only estimates.
Try Drying Orange Slices at Home!
Next time you’re looking for a great way to use whole oranges, give this dried orange slices recipe a try!
Did You Try This Tutorial? I’d love to hear how it turned out! Leave a comment and a review below—your feedback helps others and makes my day.
Share Your Creations!
If you took a photo, tag me on Instagram @goodlifeeats and use #goodlifeeatsrecipes—I’d love to see what you’re cooking up in your kitchen!