How to Cut Butter Into Flour (4 Ways + An Easy Trick!)
You don’t need a pastry cutter to cut butter into flour when making pie crusts or biscuits! There are actually 4 easy ways to cut butter into flour, so pick whichever works best for you.
★★★★★
What readers are saying:
“Thanks so much for posting this! I have never had success cutting butter in using the food processor, because the pieces get too small. But I don’t have the hand strength to cut in using knives or a pastry cutting tool. I was looking for ideas and alternate methods last night and found this post. I used my food processor to shred the frozen butter and then tossed it with my dry ingredients. The result was really perfect biscuits, puffy and airy. Thank you so much. I am going to use this technique always, whenever I make biscuits or pie crust.”
This post may include affiliate links. As an Amazon Associate and member of other affiliate programs, I earn a small commission from qualifying purchases.
Cutting Butter Into Flour Is an Essential Kitchen Skill Everyone Should Know!
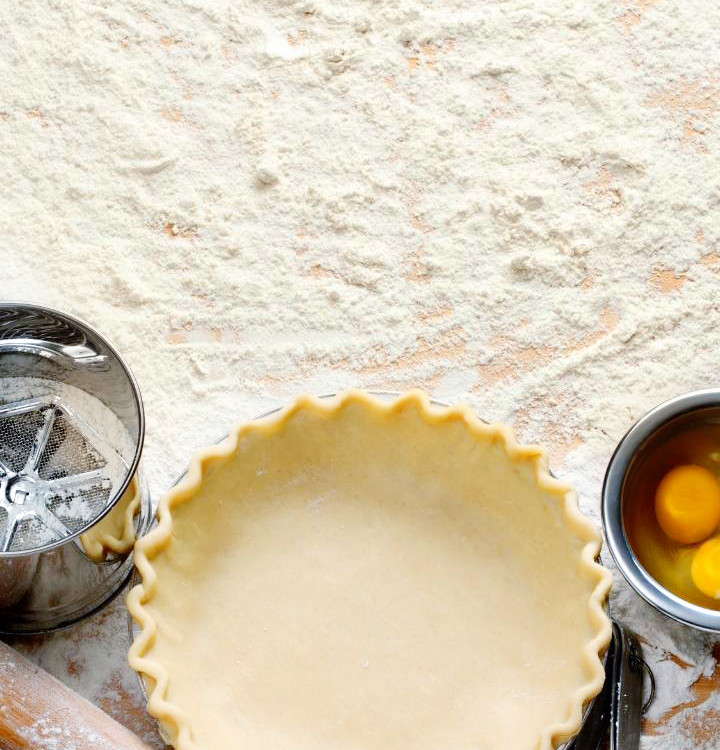
You know when a recipe — particularly something like a pie crust, biscuit, or scone recipe — tells you to cut the butter into the flour mixture? If you’ve ever read that and panicked, thinking, “Darn! I don’t own a pastry blender,” don’t worry!
There are actually several ways you can go about doing cutting butter into flour.
✔ With a food processor — Just pulse the dry ingredients until you have a crumb-like mixture.
✔ With two knives or a fork — With this method, you’re literally cutting the butter into the flour until you have little tiny bits of butter mixed throughout.
✔ With a pastry blender — This is similar to the knife method, but it’s SO much easier.
✔ With my secret hack — Keep reading to find out what the fourth surprise method for cutting butter into flour is!
I’ve given detailed, step-by-step instructions in the post below that explain how to cut butter into flour using each of these simple methods.
Enjoy!
-Katie
How to Cut Butter Into Flour (4 Methods)
There are a few great pastry blender substitutes you can use when cutting butter into flour. My top choices are to use either a food processor, two knives, or a fork. Let’s review all of the methods at your disposal.
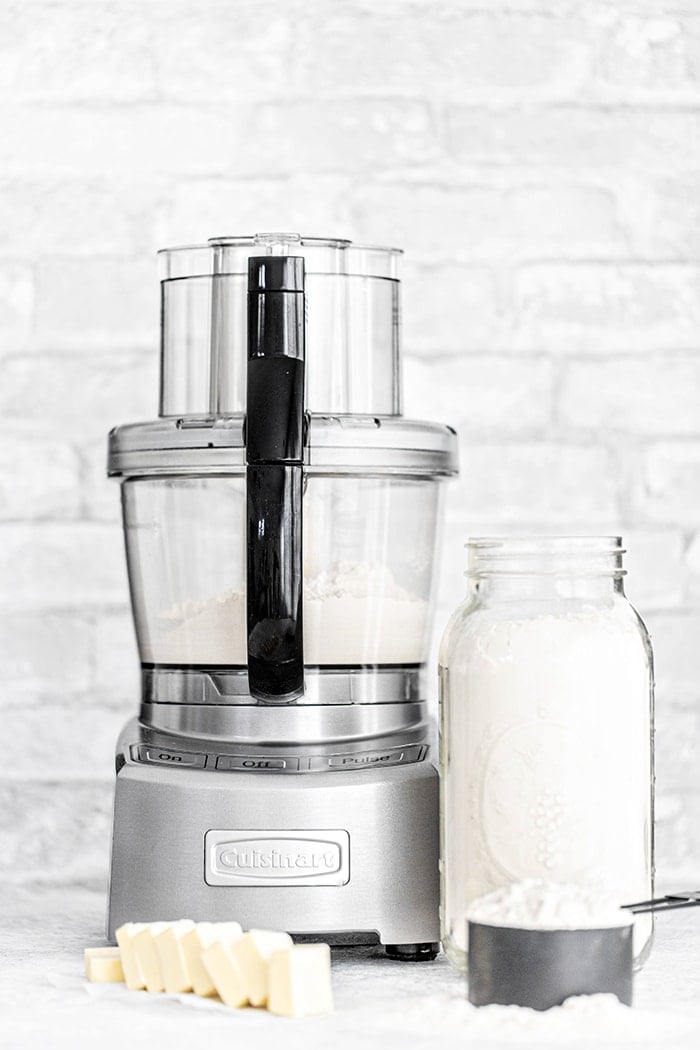
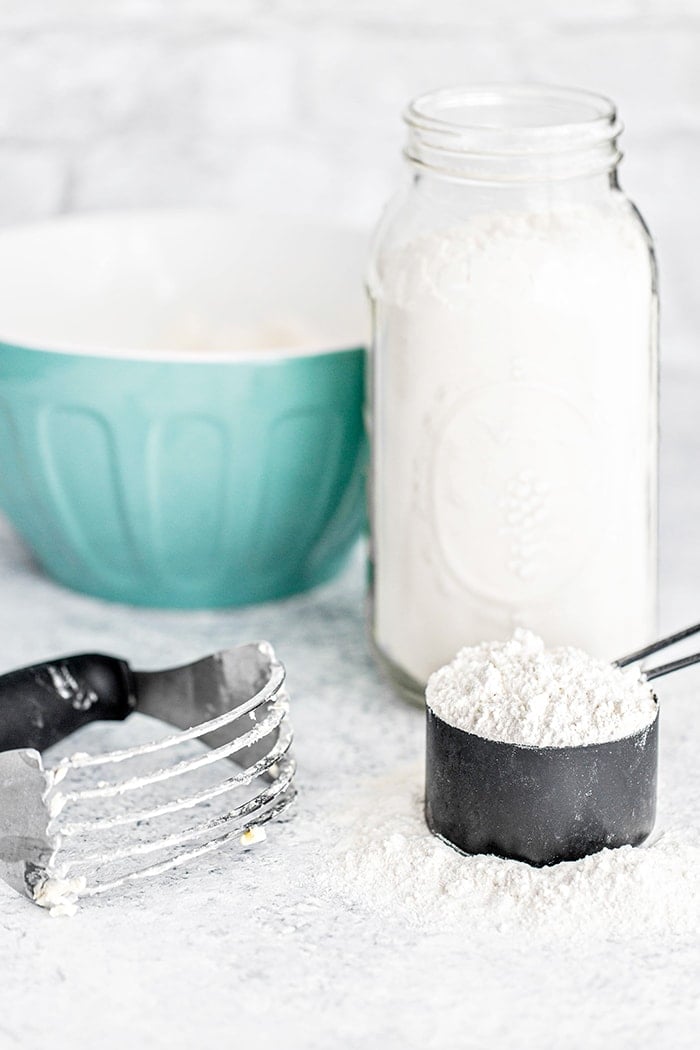
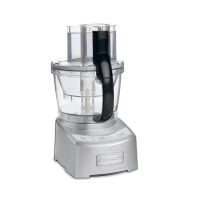
Option 1: Use a Food Processor
- Cut your butter into 1 tablespoon sized pieces.
- Add the butter and the flour to the food processor.
- Pulse until you have the crumb-like mixture that your recipe calls for. Be careful not to blend the butter with the flour. You want to keep cold bits of butter, about pea sized, throughout the flour. This is how recipes like pie crusts and biscuits become tender and flaky.
Katie’s Tip: The only downside to this method for cutting butter in flour is that you have a bulky kitchen appliance to wash afterwards. I tend to only use this method if I’m going to be using the food processor for something else afterwards or if I’m making a large batch of flour + butter.
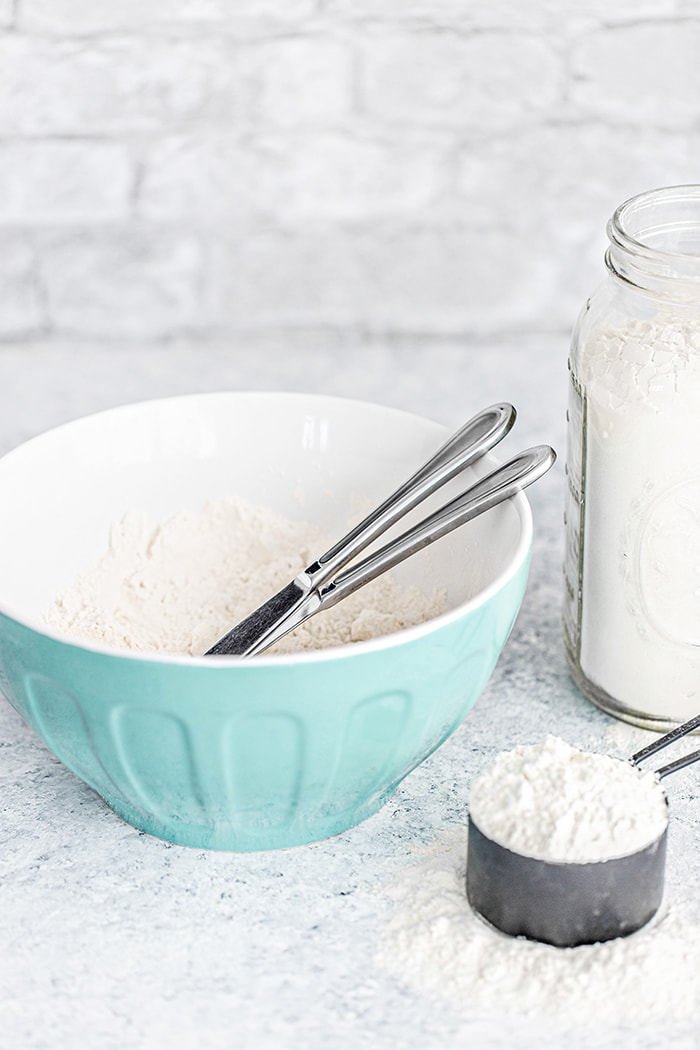
Option 2: Use Two Knives or a Fork
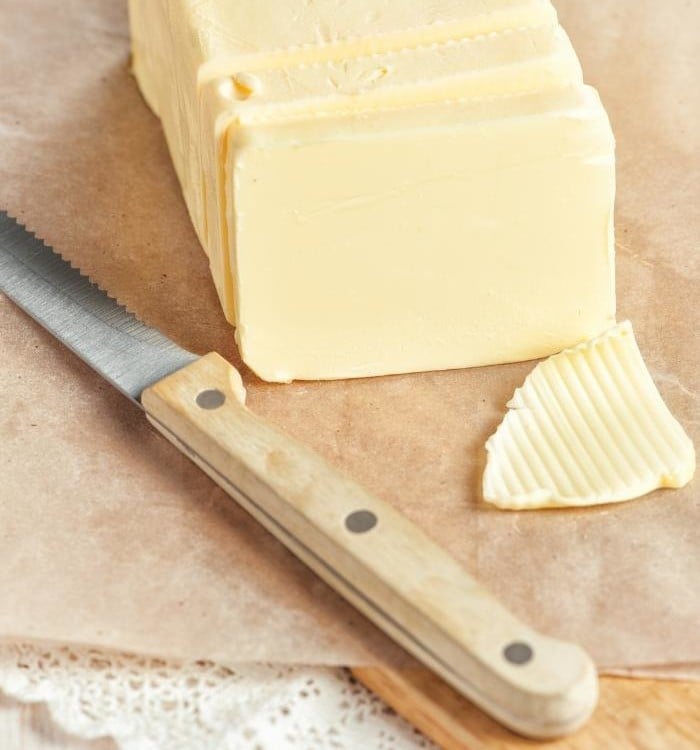
- Start by slicing the butter into tablespoon sized pieces.
- Then, toss the butter in the flour until each piece is coated.
- Now, its time to begin the cutting process. The knives should criss cross as you cut through the butter, forming an X pattern when they meet in the middle. As you work the butter, it will become smaller and smaller and you’ll end up with tiny bits of butter throughout the flour.
- The butter pieces should be about pea sized by the time you’re done cutting all of the butter into the flour for your recipe and they should be evenly distributed throughout the flour.
Katie’s Tip: If using a fork, simply mash the butter into the flour until pea-sized crumbles form.
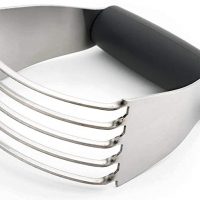
Option 3: Use a Pastry Blender
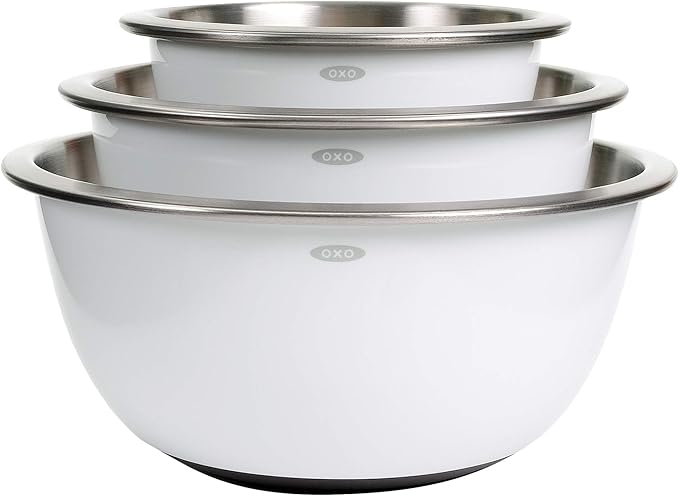
- First, you’ll place the flour into a mixing bowl.
- Then, you’ll add the butter to the flour and toss the butter until coated in flour. Be sure to cut the butter into 1 tablespoon sized slices first because this makes the whole process much easier. It will take less time and that will help the butter not become too soft as you work.
- Then, you’ll press down on the pastry blender, pushing the thin metal blades or tines into the butter and rocking back and forth. Then, pick the pastry blender up and repeat in a different area.
- Keep doing this until all the butter has been cut into small bits, about the size of peas, and is evenly distributed throughout the flour.
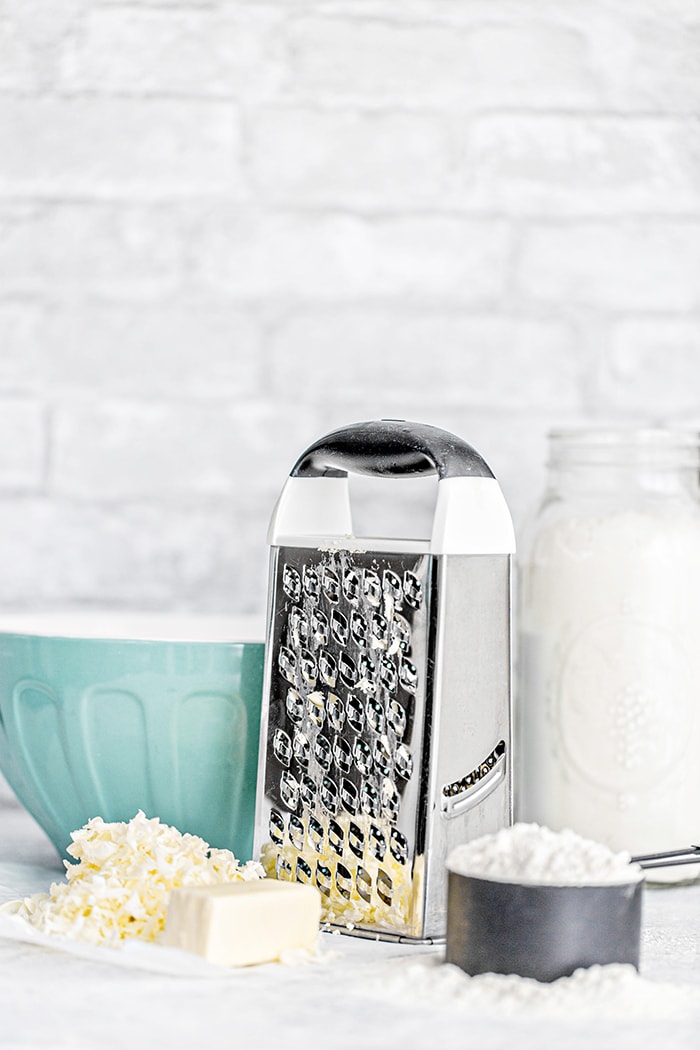
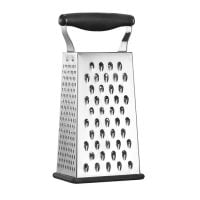
Secret option 4: Use a box grater
This next little trick is my personal favorite! You can work with the butter while it’s frozen (I store extra butter in the freezer), thus keeping the butter as cold as possible. This method is great if you are wondering what you can use if you don’t have a pastry blender.
- First, freeze the butter overnight or for several hours until very cold and hard.
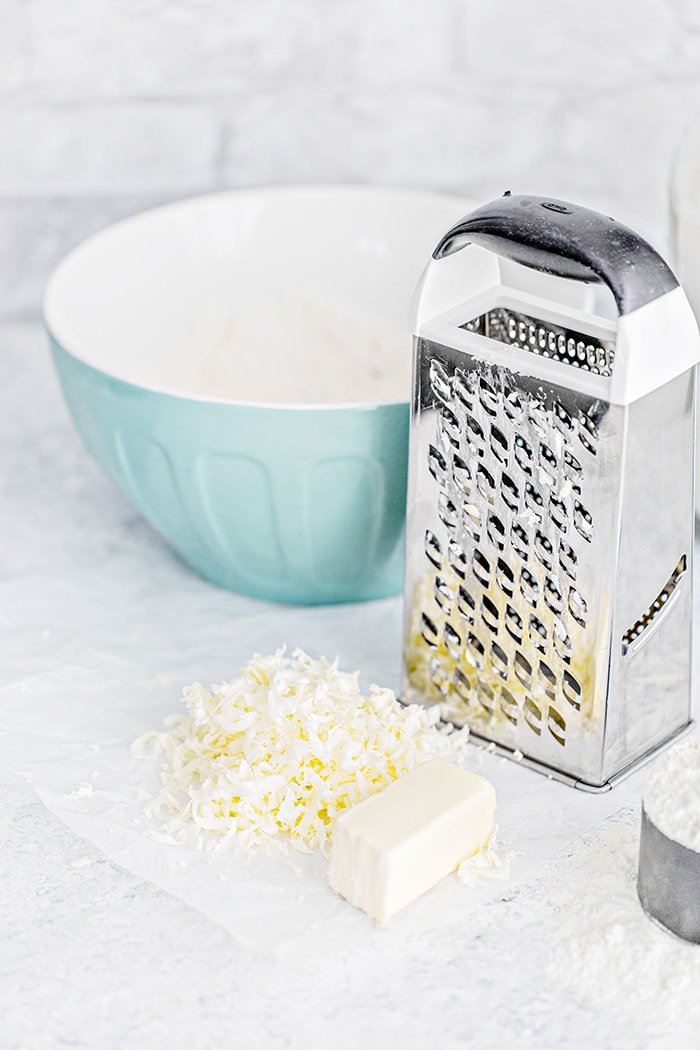
- Take the frozen stick of butter and grate it using the largest holes of a box cheese grater, as opposed to cutting the butter using other methods such as a food processor or pastry cutter. You will end up with a pile of cold grated bits of butter that are perfect for mixing into flour.
- After you’ve grated the frozen butter, mix the cold, grated butter bits into the flour mixture for your recipe.
- After you’ve mixed it all up, stick the bowl of the flour and butter mixture in the freezer for a few minutes to get the butter really, really cold again.
- Finally, proceed with the rest of the recipe according to the instructions. There you have it! You’ve learned all of the different ways to cut cold butter into flour.
Katie’s Tips for Cutting Butter Into Flour
- Use super cold butter. When working butter into flour, you always want to make sure that the butter is extremely cold. Don’t take your butter out of the refrigerator until right before you plan to use it.
- Don’t work the butter into pieces smaller than approximately pea sized. When you create small pieces of cold butter evenly mixed in with the flour, the result is tender flakiness. If the pieces of butter become too small, you’ll loose that flakiness. Definitely don’t opt to melt the butter instead.
- Chill the dough after cutting in the butter. If the butter has become warm after you’ve worked it into pea sized bits in the flour, you can put the flour and butter mixture into the refrigerator or freezer for a bit to chill the butter.
- Don’t use your fingers! Technically you can rub butter into flour using your fingers. The issue with that, however, is that the heat from your fingers warms the butter. This in turn will make your pastry dough or biscuits less flaky after baking. If you wind up using your hands to rub the butter into the flour, please remember to chill the dough before baking so the butter is nice and cold again before going into the oven!
More Useful Kitchen Tricks Using Butter
There are so many ways to cook with, prepare, and preserve butter. Here are my favorite kitchen tricks from over the years.


Stay Inspired in the Kitchen!
Want more delicious recipes, kitchen tips, and meal inspiration? Sign up for the Good Life Eats Newsletter and get:
✔ Tried-and-true recipes—from quick weeknight meals to special occasion favorites.
✔ Seasonal meal ideas—helping you make the most of fresh, in-season ingredients.
✔ Time-saving kitchen tips—boosting your confidence and creativity in the kitchen.
How To Cut Butter into Flour
4 different ways to cut butter into flour for recipes like pie crusts or biscuits. The 4th way on this list is my all time favorite kitchen tips is this trick for cutting butter into flour!
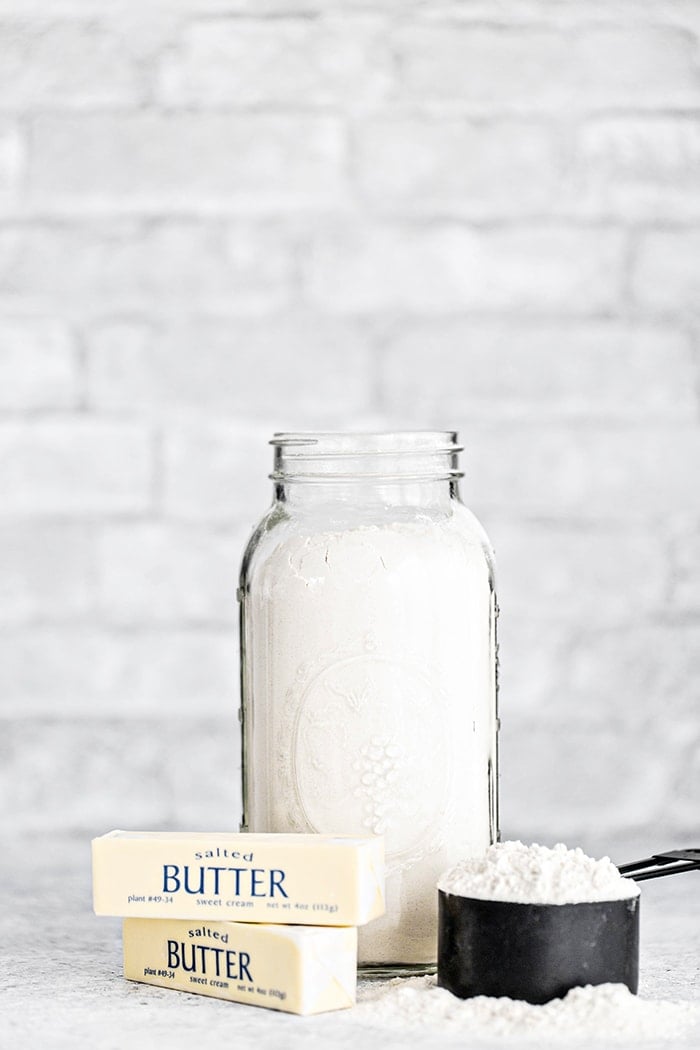
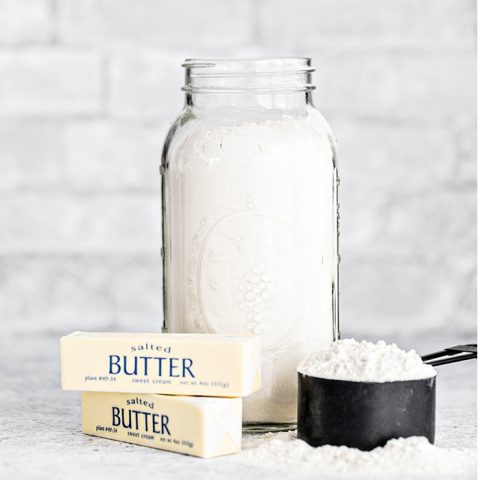
Ingredients
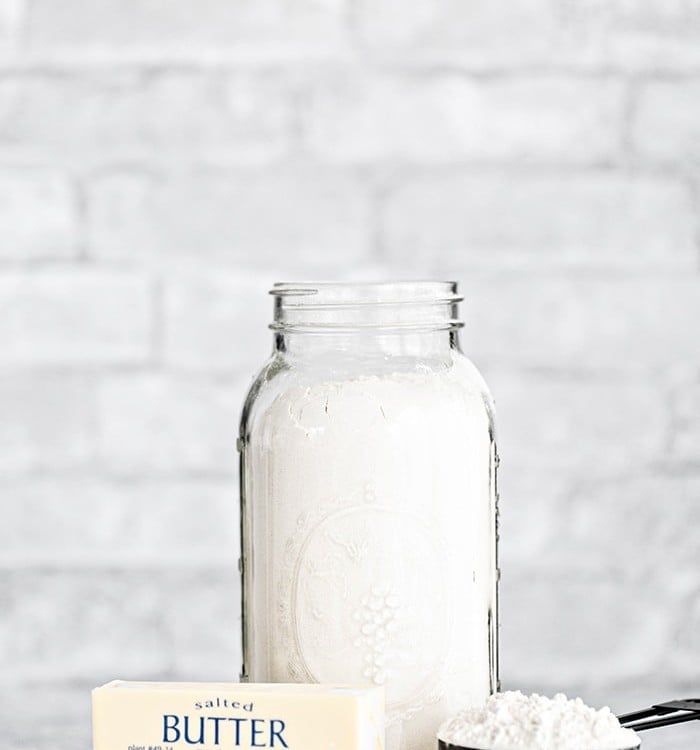
- Cold Butter
- Flour
Instructions
Food Processor
- Cut the butter into 1 tablespoon sized slices.
- Add the flour and cold butter to the bowl of a food processor.
- Pulse the mixture until you have a crumb like mixture.
- Proceed with your recipe as instructed.
Two Knives
- Cut the butter into 1 tablespoon sized slices.
- Add the flour and cold butter to a bowl.
- Use two knives and literally cut the butter into the flour until you have little tiny bits of butter.
- Proceed with your recipe as instructed.
Pastry Blender
- Cut the butter into 1 tablespoon sized slices.
- Add the flour and cold butter to the bowl of a food processor.
- Use a pastry blender which ultimately works pretty similar to the knife method but is easier.
- Proceed with your recipe as instructed.
Cheese Grater
- Freeze the butter you plan to use in the recipe.
- Then, grate the butter using a box cheese grater.
- After you have grated all of the butter you plan to use, mix the cold, grated butter into the flour mixture.
- After you’ve mixed it all up, stick the bowl of the flour and butter mixture in the freezer for a few minutes to get the butter really, really cold again.
- Finally, proceed with the rest of the recipe according to the instructions.
Notes
The cheese grater method is my favorite way to cut butter into flour! It works great for me this way, but it certainly isn’t the only method that works. I do think it’s faster than cutting with a pastry cutter and definitely has less clean up than a food processor.
All of these methods require the butter to be cold when you start or you'll end up with very soft butter in the end which doesn't work well for making pie crusts and other flaky doughs.
The cheese grater method works the best when the butter is frozen so it stays cold as you grate it, otherwise the butter could become too soft.
Recommended Products
As an Amazon Associate and member of other affiliate programs, I earn from qualifying purchases.
Nutrition Information:
Yield: 8 Serving Size: 1 tablespoon butterAmount Per Serving: Calories: 102Total Fat: 12gSaturated Fat: 7gTrans Fat: 0gUnsaturated Fat: 3gCholesterol: 31mgSodium: 91mgCarbohydrates: 0gFiber: 0gSugar: 0gProtein: 0g
GoodLifeEats.com offers recipe nutritional information as a courtesy and is an estimate only. This information comes from online calculators. Although GoodLifeEats.com makes every effort to provide accurate information, these figures are only estimates.
Try Cutting Butter Into Flour!
Did You Follow This Tutorial? I’d love to hear how it turned out! Leave a comment and a review below—your feedback helps others and makes my day.
Share Your Creations!
If you took a photo, tag me on Instagram @goodlifeeats and use #goodlifeeatsrecipes—I’d love to see what you’re cooking up in your kitchen!


Lexis says
genius
Olga @ MangoTomato says
I have the same 4 plates from Macys! Love them 🙂 Great photos.
Jennifer @ Maple n Cornbread says
Great tips! I do the same thing with the cheese grater for my butter!
Sarah K. @ The Pajama Chef says
i freeze butter & then grate it too! but i never thought to stick the flour/butter back in the freezer. good tip!
Sarah says
Wow, that is a great way to do it! I’ll have to try that sometime.
Cookie says
I saw Aaron do that on Big Daddy’s House over the weekend for making scones and wanted to try it. Glad to know it works!
SusieBee at eatlittleeatbig says
What a great idea!
Amy says
Thanks! Now it can use this method rather than my old way. Looks so much easier than most ways….Thanks again!
Kris says
Love this trick! I have a garlic cheddar biscuit recipe that will be much flakier now.
Thanks!
the blissful baker says
i always use the food processor because it’s easy, but this method looks great too! thanks for the tip 🙂
Konnie says
Love this tip! I’m going to start a stash of butter in my freezer too!
Maris (In Good Taste) says
Great tip! Until I picked up a mini food processor I had a lot of trouble with this step.
Alli says
What a great tip, thank you! I’ll definitely be using it to make some biscuits later tonight.
Jenn @ Frugal Upstate says
This is a great tip!
When I cut shortening into flour for my biscuits I just “rub” it in with my fingers. . . but of course if I try that for pie crust it will warm it up and melt it in-which would be a “bad” thing 🙂
Lynn says
I agree and do this too. I saw this tip several years ago in Cook’s Illustrated and loved it. I have used it many times since. It works great!
Beth @ Bethcooks says
This is such a great tip! I will definitely be trying this out over the weekend! Thanks so much for sharing it 🙂