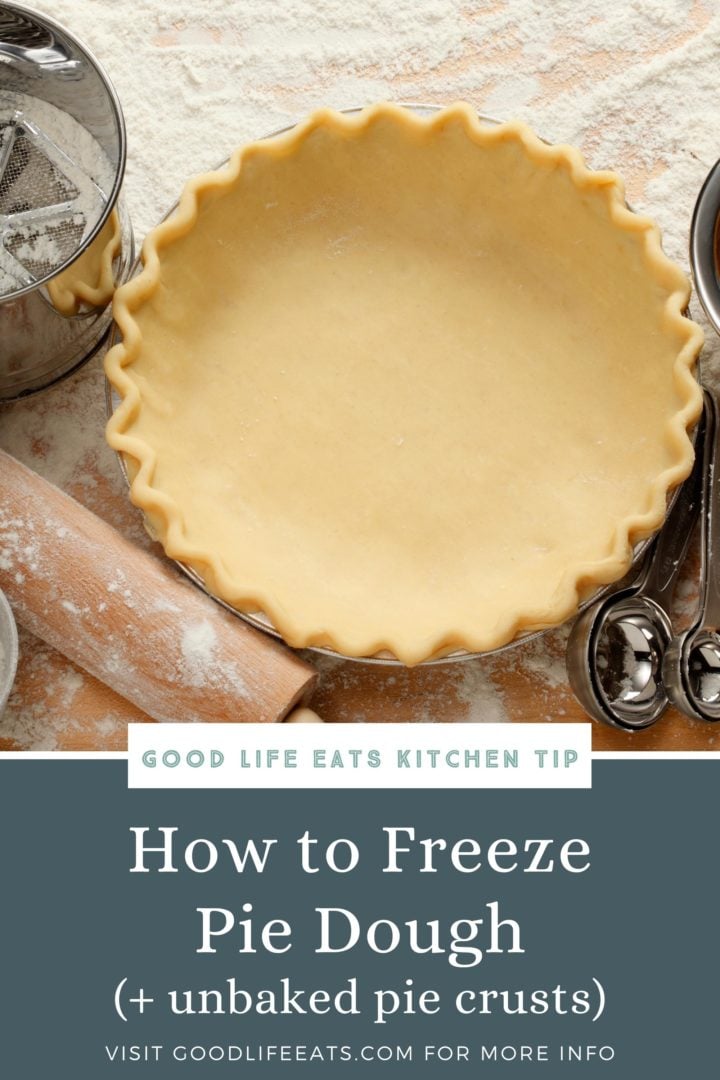
How to Freeze Pie Dough
Freezing pie dough is a great way to save time when preparing for busy holidays! This post will show you how to freeze pie dough and unbaked pie crust, plus answer questions about thawing and baking both.
Why Freeze Pie Dough?
Here are a few reasons to start freezing pie dough (and pie crusts!):
- Oops! I the recipe that I prepared made more dough than I needed for my pie crust. Freezing pie dough will extend its shelf life.
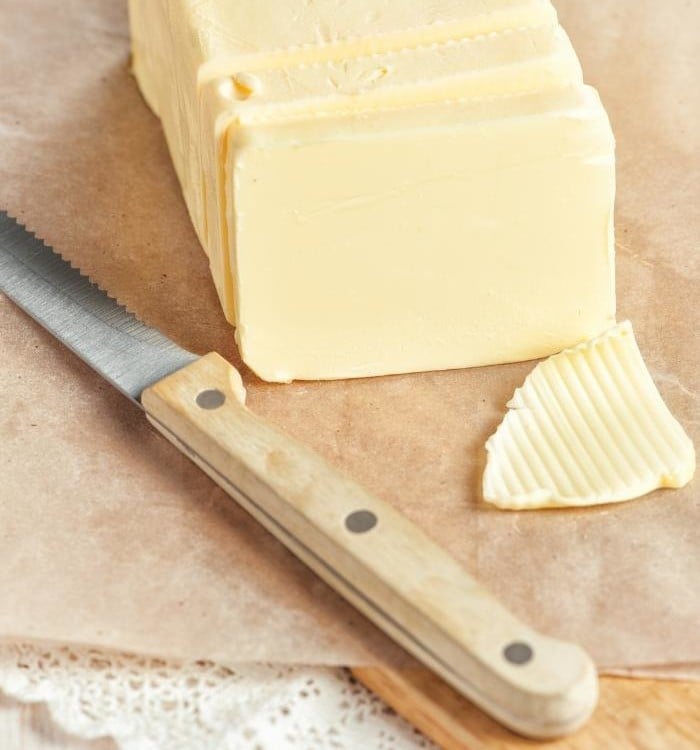
- Butter and flour are on sale, and you’ve stocked up on both. Making pie dough with your bulk ingredients is a great way to use up butter before it spoils. (Tip: You can also freeze butter!)
- Homemade pie crusts are so much better than store bought! Prepare pie dough ahead of time and store it in the freezer until you’re ready to use so you can save time at a later (and busier) date.
What You’ll Need
You’ll need to have a few different items to use this frozen pie dough tutorial:
- Pie Dough
- Food Processor (or tools to cut butter into flour)
- Rolling Pin
- Plastic Wrap
- Freezer Bags (quart or gallon sized) or a Vacuum Sealer with Vacuum Bags
- Foil – I like the heavy duty aluminum foil because it is thicker and stronger.
- Permanent Marker for labeling
- Extra Freezer Space
The above is simply a quick summary of this tutorial. Check out the free printable card at the bottom of this post for all the detailed instructions.

How to Freeze Pie Dough
Pie dough can be stored in the refrigerator for up to 3 days after being prepared, but if you want it to last longer than that you will need to freeze it.
I’ve been known to throw a ziplock bag of pie dough in the freezer from time to time, but there is really a little more to it than that!
- Prepare the pie dough as instructed in the recipe, stopping before you roll the pie out into individual portions for preparing crusts.
- On an un-floured surface, turn the dough out and shape it circles (I use a kitchen scale to make sure they’re evenly sized), approximately 6″ in diameter, kneading as little as possible.
- Make 1 circle for each pie crust you are preparing, or whatever your particular recipe instructs the yield will be.
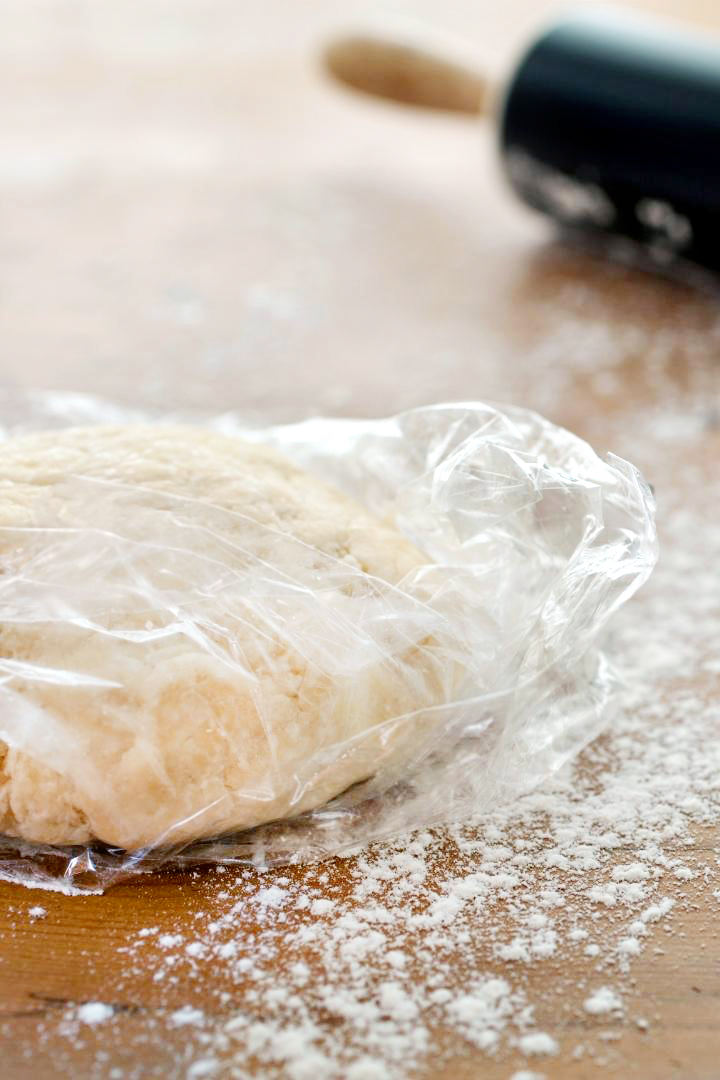
- Dust both sides of each circle with a bit of flour and wrap in plastic wrap.
- Then, transfer each wrapped dough round into a freezer grade plastic zip top bag, removing as much air as possible when sealing it.
- Label each with the contents, date, and any notes or instructions you might need to cue you in later when you remove the frozen pie dough from the freezer.
How to Freeze Unbaked Pie Crusts
Did you know you can also freeze unbaked pie crusts?
If you have the extra time after preparing the dough, it is an even bigger time saver to roll the dough and prep the crust in the pan before freezing it.
- Prepare the pie dough as instructed in the recipe.
- On an un-floured surface, turn the dough out and shape it circles (I use a kitchen scale to make sure they’re evenly sized), approximately 6″ in diameter, kneading as little as possible.
- Make 1 circle for each pie crust you are preparing, or whatever your particular recipe instructs the yield will be.
- Dust both sides of each circle with a bit of flour and wrap in plastic wrap.
- Freeze for 30 minutes or refrigerate for an hour.
- Remove the dough from the refrigerator or freezer. Set it aside while you dust the work surface and rolling pin with flour.
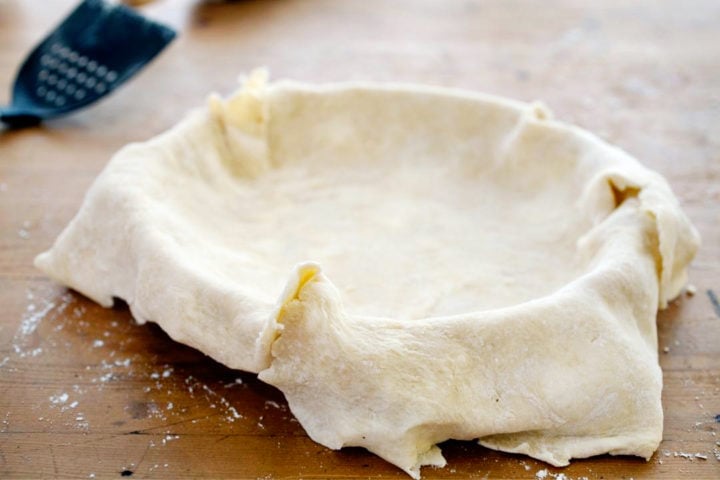
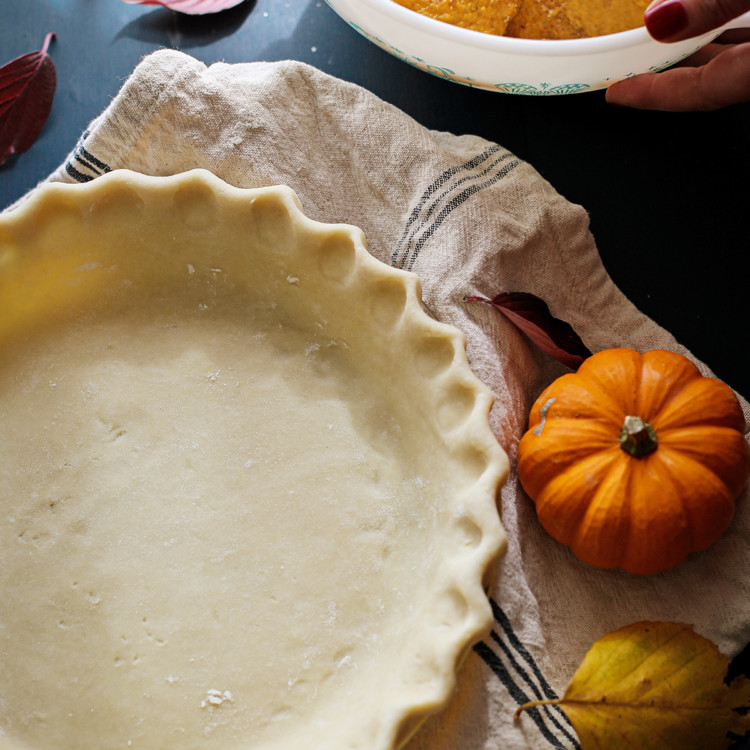
- Unwrap one dough circle and roll with a rolling pin until the dough has formed a circle about 12″ in diameter and slightly thicker than 1/8 inch.
- When the dough is the proper size, wrap it gently around the rolling pin to transfer to the pie plate.
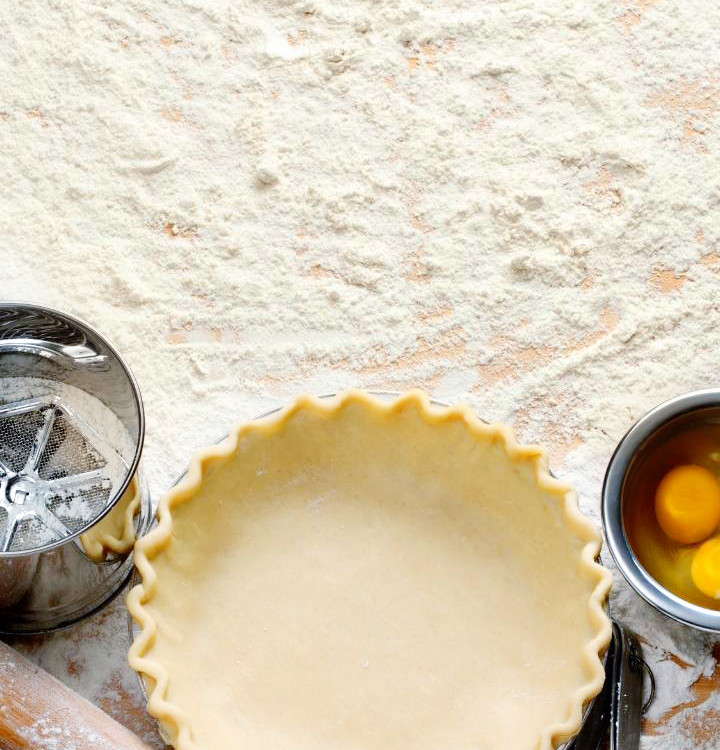
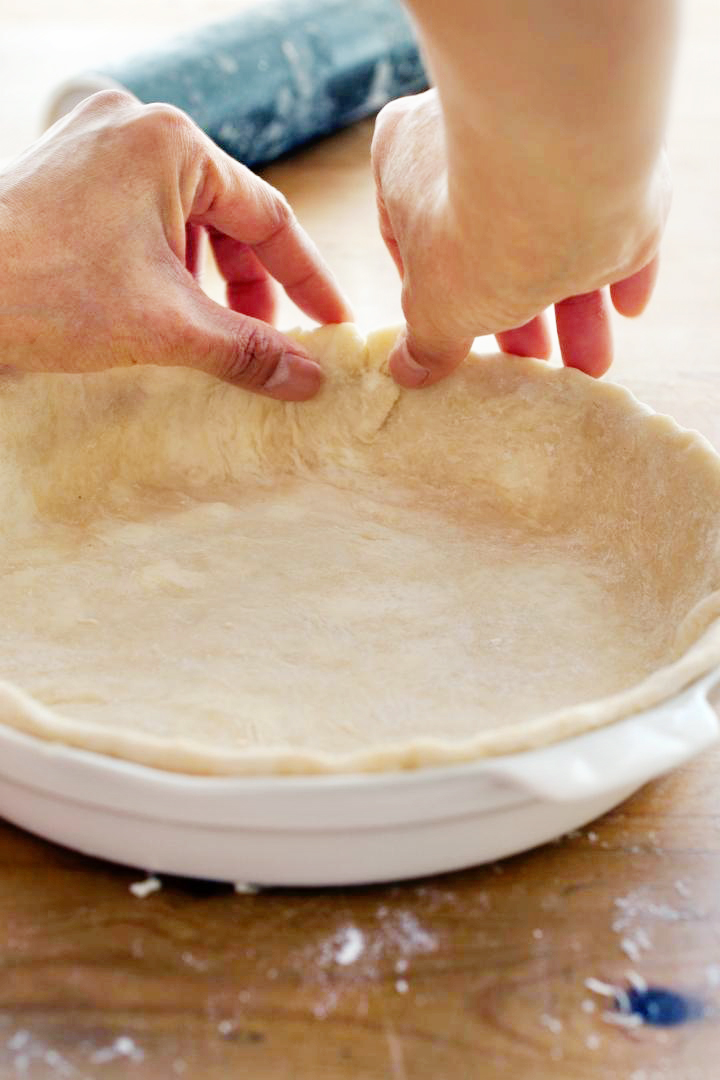
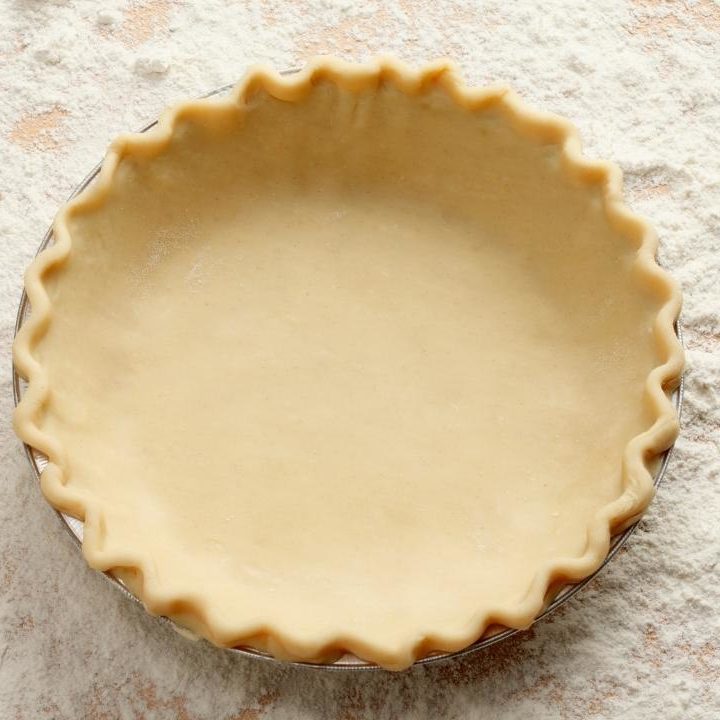
- Press the dough into the 9″ pie plate (metal works best because glass can shatter in the freezer.
- Then, shape the edges according to your desired design.
- Transfer your pie plate with the rolled crust in it into a freezer storage bag or a vacuum seal bag. If your pie plate is too larger for either of these options, then I recommend double wrapping it tightly in plastic wrap. After the plastic wrap, then wrap again with foil.
- Just like the other method, you’ll want to do the same labeling before you place the unbaked pie crust in the freezer.
How Long Does Frozen Pie Dough Last?
If stored correctly, frozen pie dough (and unbaked crusts) will last about 3 months in the freezer when they are packaged correctly. Incorrect packaging could lead to freezer burn.
By freezing, you are significantly extending the storage life of prepared pie dough from 3 days to 3 months. Just think of how many pie recipes you could bake in 3 months with just a little extra work ahead of time!
How to Thaw Frozen Pie Dough (2 Ways!)
There are a couple different ways to thaw frozen pie dough. Choose whichever thawing method is best for you depending on how much time you have and the recipe you are preparing.
- To thaw the pie dough in the fridge, you’ll need to do so overnight. When you’re ready to use the frozen pie dough, remove it from the fridge and allow it to sit on the counter while you prepare the filling for the pie. After preparing the filling, your dough should be soft enough to be rolled and shaped.
- To thaw pie dough on the counter, let it sit out on the counter for about 60 minutes (depending on how warm your kitchen is) before it is soft enough to roll and shape the dough for your pie plate.
Do You Have to Thaw Pie Dough Before Using It?
No, not always! If you’re just freezing the dough you will need to let it thaw before preparing the remainder of your pie recipe.
Pie dough that is ready to use should still be cool, but also pliable. If you try to roll the dough when it hasn’t thawed enough it can crumble, break, and crack.
However, if you chose to freeze unbaked pie crusts that have already been rolled and formed, you don’t usually need to thaw them before baking unless the recipe specifies. But, you can always thaw them in the refrigerator overnight if you prefer.

Other Tips You Should Know
- Proper Materials — Make sure you use bags that are labeled as freezer bags.
- Disposable Pie Plates — Don’t want to lose your pans to the freezer when freezing unbaked pie crusts? Try using disposable pie plates.
- Freeze the pie filling — when making fruit pies, you can also freeze the pie filling if you make a large batch or what it make it ahead of time. Cool it completely, then transfer to a freezer bag. Flatten the bag and remove as much air as possible without spilling the contents. Label and date. Thaw to room temperature before baking.
- Always make extra — Next time you make pie dough, try doubling the recipe so you can stash a little extra in the freezer for another day.
- Crumb topping — Next time you make a pie with a crumb topping, make extra of that as well and stash it in the freezer in portions for future recipe usage. Using a crumb topping is also a time saver when it comes to freezer pie dough.
More Freezer Tutorials:
Can you freeze butter? Absolutely! In this post, I walk you through how to freeze butter and how to defrost it. Plus, I answer other FAQs about freezing butter.
No matter what season it is, you need to know How to Freeze Cookie Dough. Spoiler: it’s super easy to do!
Next time you make a batch pancakes or waffles, make some extra and follow this quick and easy tutorial for freezing pancakes and waffles.
Freezing muffins is a great idea if you need quick breakfasts or snacks throughout the week and want to prep them in advance.
Who doesn’t love a good kitchen tip? Looking for more kitchen tutorials? Check out the entire Kitchen Tips and Tricks archive for lots of great ideas!
Stay Inspired in the Kitchen!
Want more delicious recipes, kitchen tips, and meal inspiration? Sign up for the Good Life Eats Newsletter and get:
✔ Tried-and-true recipes—from quick weeknight meals to special occasion favorites.
✔ Seasonal meal ideas—helping you make the most of fresh, in-season ingredients.
✔ Time-saving kitchen tips—boosting your confidence and creativity in the kitchen.
How to Freeze Pie Dough
Freezing pie dough is a great way to save time when preparing for busy holidays! This post will show you how to freeze pie dough, how to freeze unbaked pie crusts, answer questions about freezing and thawing pie dough, and shares some of my favorite pie recipes.
Ingredients
- 1 Recipe 5-Ingredient All Butter Pie Crust
Instructions
How to Freeze Pie Dough
- Prepare the pie dough as instructed in the recipe, stopping before you roll the pie out into individual portions for preparing crusts.
- On an un-floured surface, turn the dough out and shape it circles (I use a kitchen scale to make sure they’re evenly sized), approximately 6″ in diameter, kneading as little as possible. Make 1 circle for each pie crust you are preparing, or whatever your particular recipe instructs the yield will be.
- Dust both sides of each circle with a bit of flour and wrap in plastic wrap.
- Then, transfer each wrapped dough round into a freezer grade plastic zip top bag, removing as much air as possible when sealing it.
- Label each with the contents, date, and any notes or instructions you might need to cue you in later when you remove the frozen pie dough from the freezer.
How to Freeze Unbaked Pie Crust
- Prepare the pie dough as instructed in the recipe.
- On an un-floured surface, turn the dough out and shape it circles (I use a kitchen scale to make sure they’re evenly sized), approximately 6″ in diameter, kneading as little as possible. Make 1 circle for each pie crust you are preparing, or whatever your particular recipe instructs the yield will be.
- Dust both sides of each circle with a bit of flour and wrap in plastic wrap.
- Freeze for 30 minutes or refrigerate for an hour.
- Remove the dough from the refrigerator or freezer. Set it aside while you dust the work surface and rolling pin with flour.
- Unwrap one dough circle and roll with a rolling pin until the dough has formed a circle about 12″ in diameter and slightly thicker than 1/8 inch.
- When the dough is the proper size, wrap it gently around the rolling pin to transfer to the pie plate.
- Press the dough into the 9″ pie plate and shape the edges according to your desired design.
- Transfer your pie plate with the rolled crust in it into a freezer storage bag or a vacuum seal bag. If your pie plate is too larger for either of these options, then I recommend double wrapping it tightly in plastic wrap. After the plastic wrap, then wrap again with foil.
- Just like the other method, you’ll want to do the same labeling before you place the unbaked pie crust in the freezer.
Notes
Tips for Freezing Pie Dough
Don’t use ordinary sandwich zip top bags for freezing dough. You need a bag that is intended for freezer storage so the pie dough doesn’t end up with freezer burn. You can also vacuum seal the wrapped rounds.
Tips for Freezing Unbaked Pie Crusts
I don’t recommend freezing unbaked pie crusts in glass pie plates due to the risk of glass breaking in the freezer. Metal pie plates work best for this method.
How Long Does Frozen Dough Last
If stored correctly, frozen pie dough (and unbaked crusts) will last about 3 months in the freezer when they are packaged correctly. Incorrect packaging could lead to freezer burn.
Recommended Products
As an Amazon Associate and member of other affiliate programs, I earn from qualifying purchases.


Nutrition Information:
Yield: 16 Serving Size: 1Amount Per Serving: Calories: 174Total Fat: 12gSaturated Fat: 7gTrans Fat: 0gUnsaturated Fat: 4gCholesterol: 30mgSodium: 134mgCarbohydrates: 15gFiber: 1gSugar: 0gProtein: 2g
GoodLifeEats.com offers recipe nutritional information as a courtesy. This provided information is an estimate only. This information comes from online calculators. Although GoodLifeEats.com makes every effort to provide accurate information, these figures are only estimates.


Leave a Comment