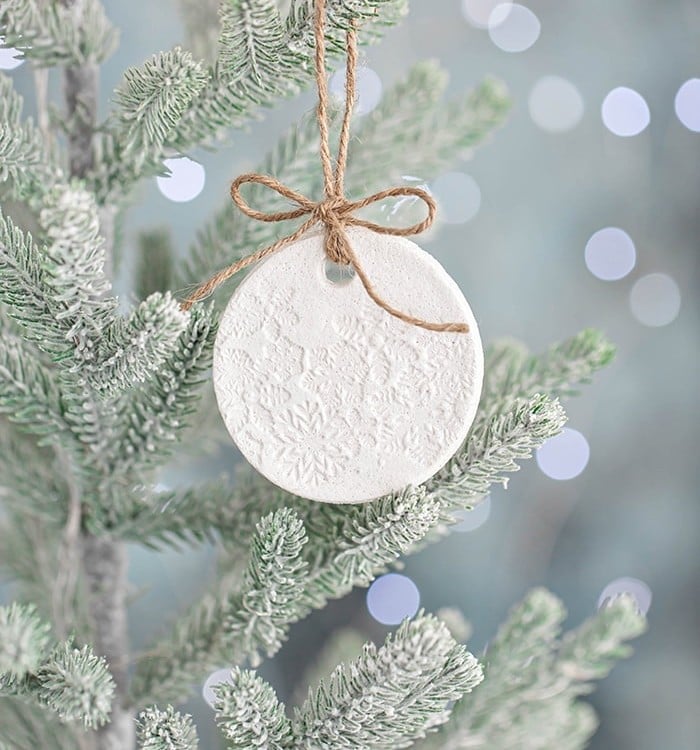
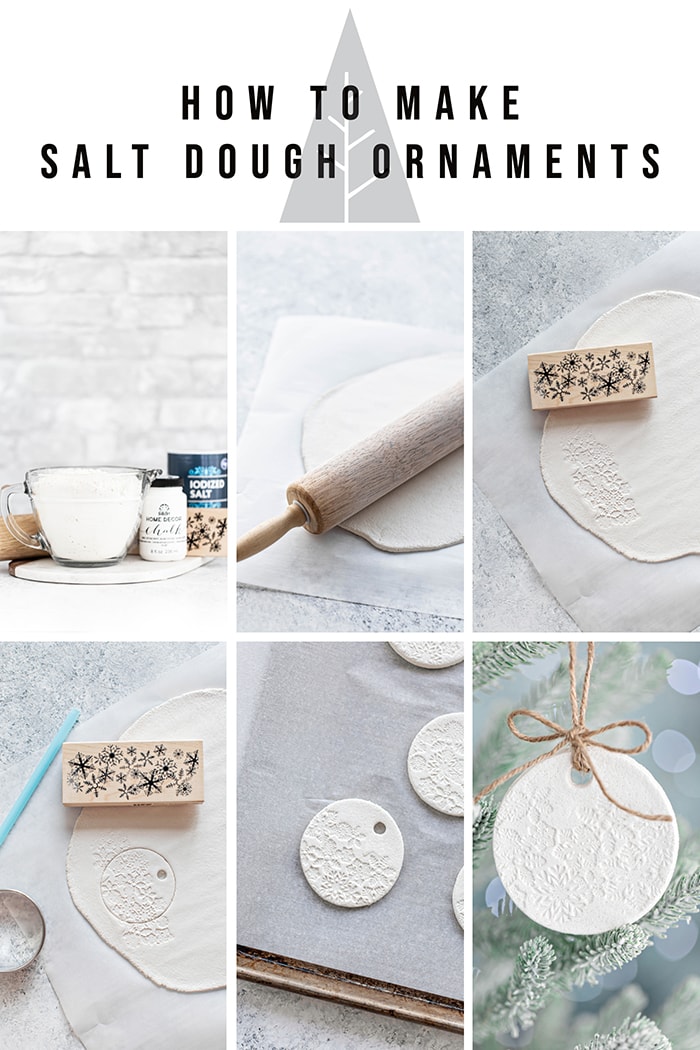
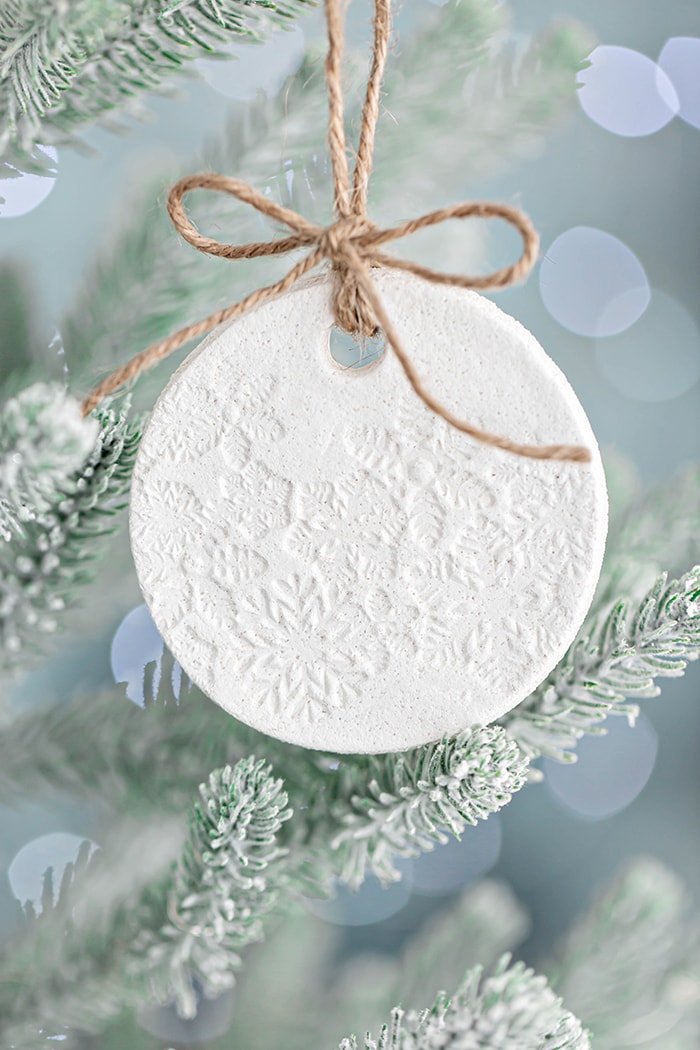
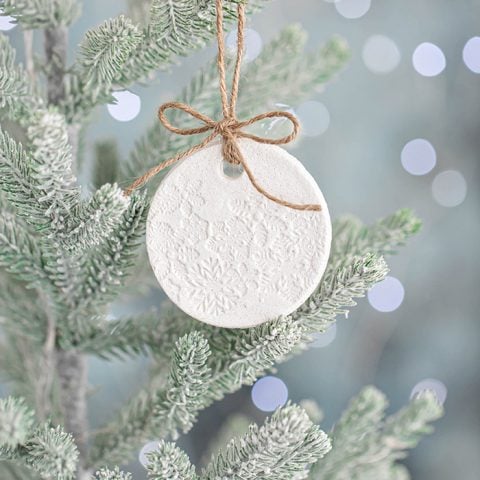
Homemade Salt Dough Ornaments
Salt Dough Ornaments are the sweetest homemade gift and such a fun Christmas DIY! You can make several of them at a time with hardly any effort, and there are plenty of fun personalization options. Kids will have a great time making this salt dough recipe!
This post may include affiliate links. As an Amazon Associate and member of other affiliate programs, I earn a small commission from qualifying purchases.
★★★★★
Jesse says –
“I just did this recipe last week. It turned out perfectly.”
We Love Gifting Salt Dough Ornaments at Christmas!
In years past, usually on a snowy afternoon when everyone was tired of playing in the snow, my kids and I would whip up a batch of these cute salt dough ornaments to hand out to friends around the holidays.
We’ve continued this tradition for many years, even though my kids are all grown up now!
Here’s why I think you’ll love this salt dough recipe too:
✔ Super Easy: Kids love cutting out the salt dough and decorating it with glitter and paint! (Don’t worry, I’ve shared my tips for keeping your work surface squeaky clean.)
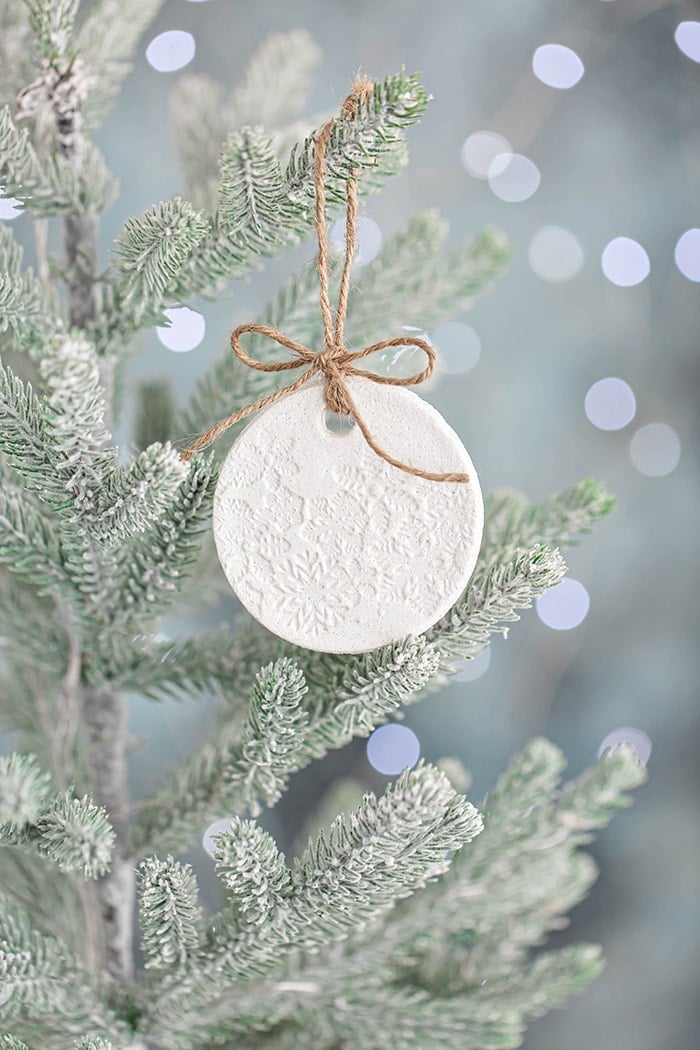
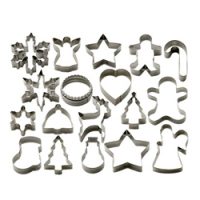
✔ Perfect for Ornaments of Any Shape or Size: We usually keep things simple by using classic shapes like Christmas trees and snowflakes, but red and white candy canes or yellow bells would be super cute and festive, too.
✔ Lasts for a Lifetime: Salt is a wonderful preservative, and if prepared and stored correctly these DIY ornaments should last decades. Enjoy hanging your ornaments on the Christmas tree year after year — I know I have!
Happy Holidays!
-Katie
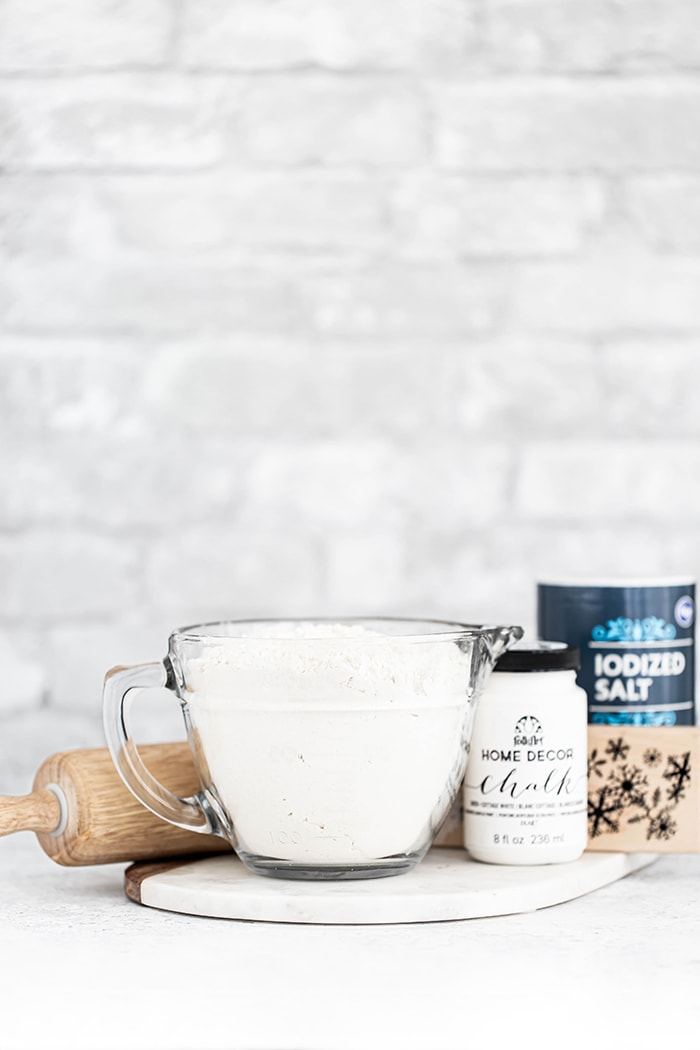
Here’s Everything You’ll Need
In addition to a few key ingredients for making the dough, you’ll also need some additional materials for shaping and decorating your homemade ornaments. Detailed measurements have been provided in the instruction card at the very end of this blog post.
For the salt dough:
- All-purpose flour — Regular white flour helps the ornaments hold their shape.
- Salt — Use regular table salt. No need to buy anything fancy!
- Water — Straight from the tap is just fine.
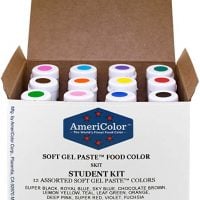
- Food Coloring or Acrylic Chalk Craft Paint — You may also keep them naturally colored (i.e. white).
For rolling and shaping the dough:
- Rolling Pin — To roll the salt dough out with.
- Cookie Cutters — To cut shapes for your salt dough Christmas ornaments.
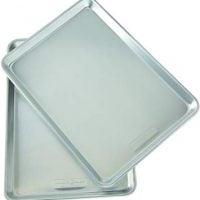
- Baking Sheet Lined with Parchment Paper — To bake the ornaments on.
- Drinking Straw — This helps cut the hole for threading ribbon or twine to string the ornament
- Twine or Ribbon — To hang your handmade ornaments.
Coloring Your Salt Dough: Food Coloring vs Acrylic Paint
- If using food coloring: I prefer using gel food coloring over traditional food coloring because you don’t need to use a whole bottle of coloring to achieve intensely colored dough.You can mix different colors to create different hues beyond the typical food coloring color options.
- If using acrylic paint: Acrylic chalk paint works best, in my experience. For solid colored salt dough, add 2 – 5 ounces of acrylic chalk paint to the water and mix, then combine (slowly) with the flour and salt mixture. Stir until mixed, and then knead. Note that you can also add white acrylic chalk paint to achieve a brighter white color and a matte finish.
💡Tips for Keeping Your Work Surface Clean
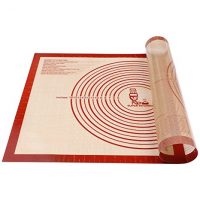
Cover your work surface with parchment paper or a plastic table cloth. Something inexpensive that you don’t care about getting stained or that you can just throw away (the Dollar Store is great for this!) Butcher paper works great, too!
I also suggest wearing gloves and aprons. This will help make sure that clothes and fingers aren’t dyed red and green when you’re making your ornaments.
Katie’s Tip: Protecting your work surface is especially important if you’re working with acrylic chalk paint, which can permanently stain countertops.
How to Make Salt Dough Ornaments
The number of ornaments you will get from this salt dough recipe varies based on the size of the ornament, however this recipe made approximately 18 three inch sized circles in my most recent batch.
- Whisk together the salt and flour.
- In a separate bowl, whisk together the water and food coloring (or paint).
- Make a well in the flour mixture and slowly pour in the colored water, mixing after you’ve added half of the liquid.
- Knead the dough for 10 minutes on top of parchment paper, or until it’s smooth and colored throughout.
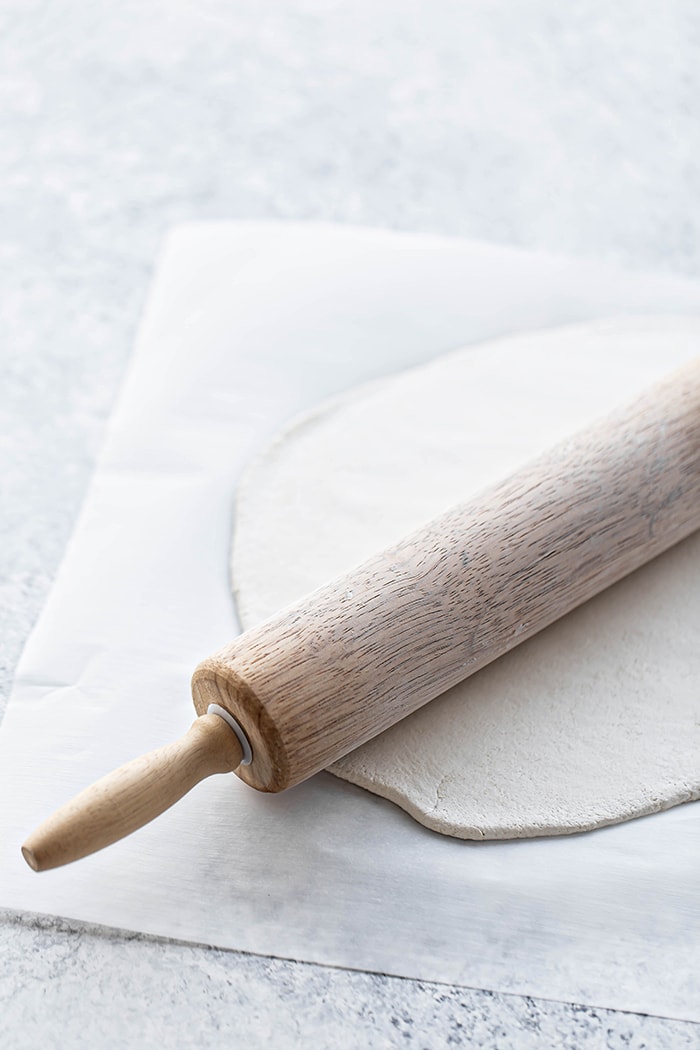
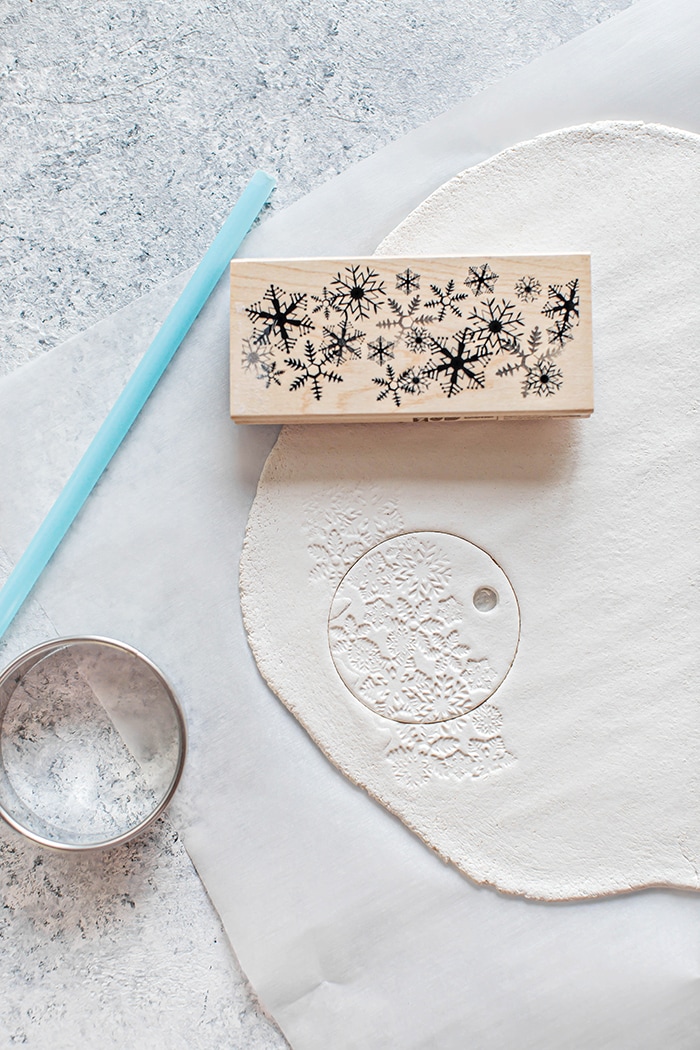
- Roll out the salt dough, then cut it out using your cookie cutters of choice.
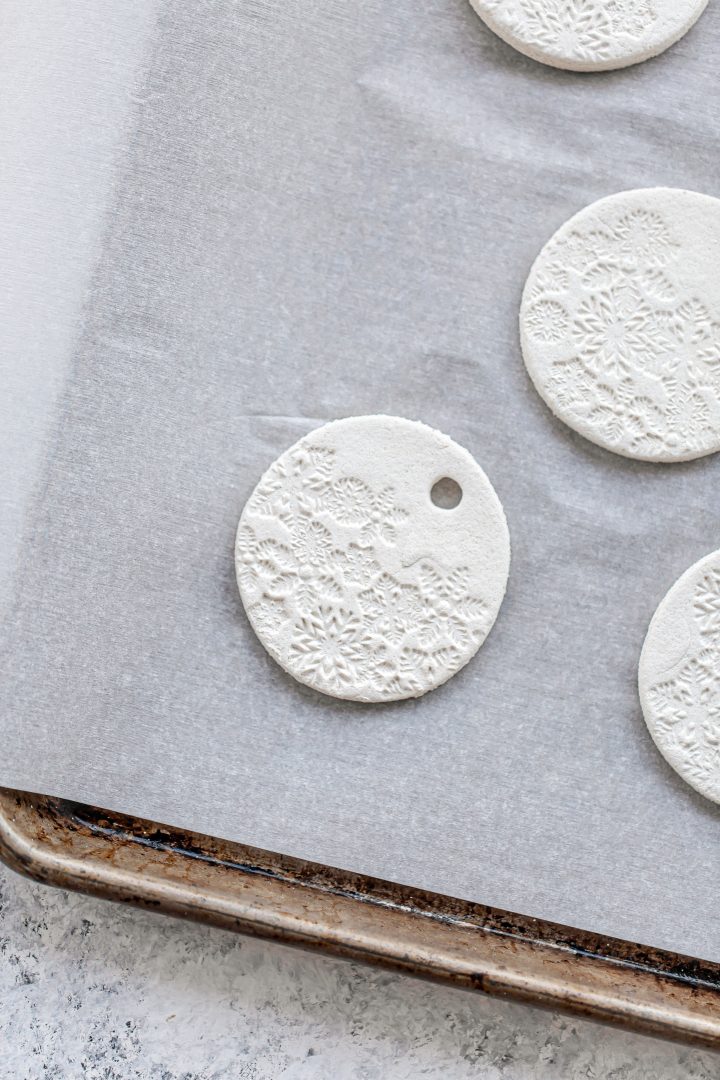
- Place the dough cut-outs on a parchment paper-lined baking tray, then cut a hole near the top with a drinking straw.
- Bake at 200ºF for an hour, or until dry (varies on size and thickness of ornament).
Personalizing Your Ornaments with Paint, Glitter, & More
You can paint your ornaments, sprinkle them with glitter, personalize them with names and dates, or use household objects to add texture. You can even scent the dough! Here’s how:
To paint them:
Let them dry completely, then use acrylic craft paint to decorate. You can use small paint brushes to add details to your ornament, which works especially well if your ornament has three dimensional texture to it.
To add glitter (3 options):
- Add flakes of glitter directly to the salt dough. Add the glitter 1 tablespoon at a time until you like the ratio of glitter to dough.
- Add acrylic chalk paint that contains glitter or shimmer to your water, and then mix that into the flour and salt when you prepare your dough.
- Paint clear craft glue onto the parts of your fully dry ornament that you want to have glitter and sprinkle loose glitter flakes on top of the glue.
To personalize them for gifting:
- Use mini ABC cookie cutters to stamp the middle with the recipient’s last name initial, monogram, or first name.
- Stamp the ornament with that year’s date, or a date of special significance.
- Lightly stamp a design within the cookie cutter using another, smaller cookie cutter.
- Hang two ornaments together on the same string, for example two shapes that have significance for the person you’re giving them to.
Katie’s Tip: Pick just 1 personalization idea from the list above, or combine a few. You can make your salt dough Christmas ornaments as simple or elaborate as you want!
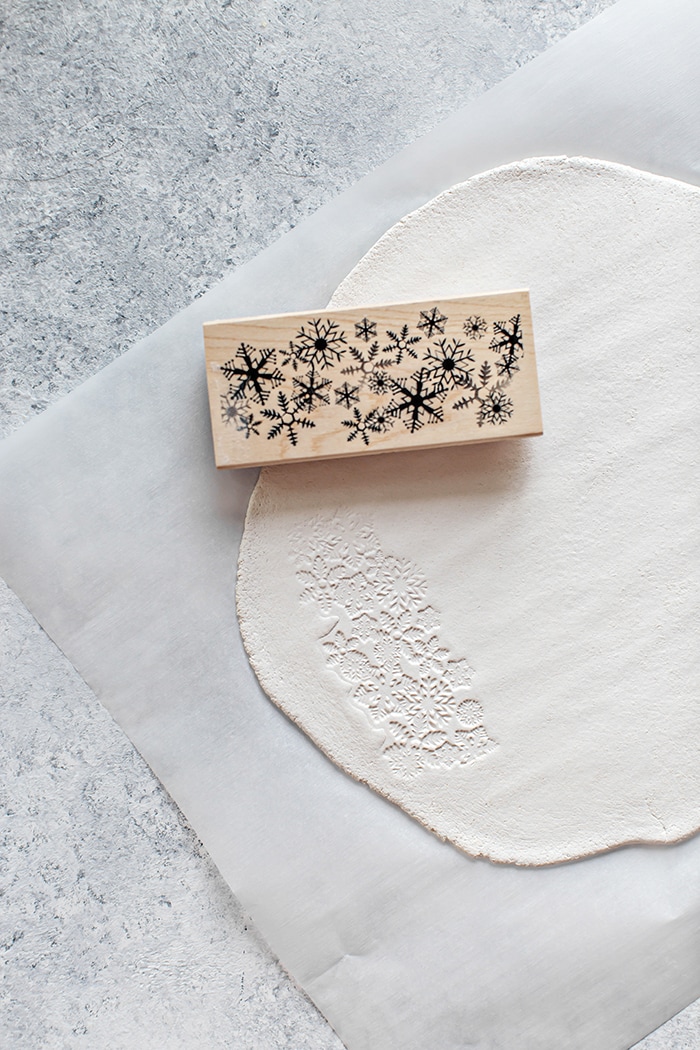
To Add texture:
You can add interesting textures or patterns to the surface of your salt dough ornaments by pressing different types of materials or tools into the surface of the dough before baking.
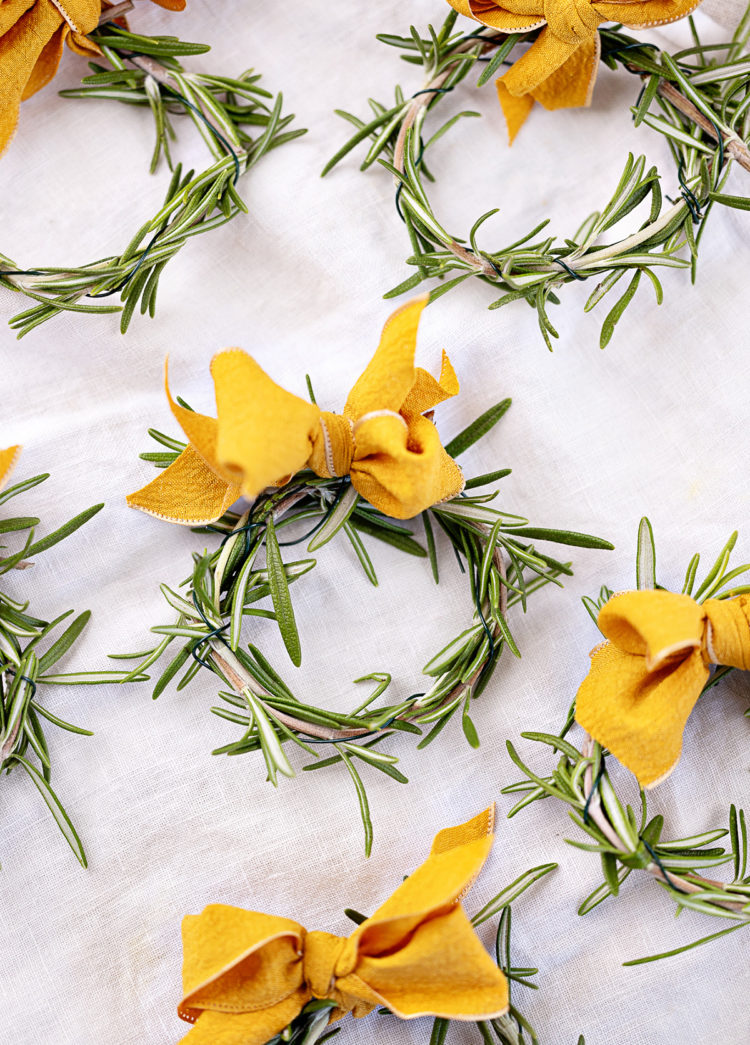
Ideas include: lace, cookie stamps, leaves, rosemary sprigs, pinecones, pine needles, rubber crafting stamps, ribbon, or bottoms of crystal vases.
Katie’s Tip: Press the dough firmly with these items to leave an imprint in the dough but DON’T press all the way through. You just want to create a texture on the surface that will remain after baking.
To create scented ornaments:
Adding essential oils to your salt dough will give it a great scent that you can enjoy in your home!
- Christmas tree scent: Add 5-15 drops of fir essential oil. I like Siberian fir best!
- Cinnamon scent: Add 5 to 15 drops of cinnamon essential oil.
- Christmas cheer scent: Blend together 5 to 15 drops total of cinnamon, orange, and clove essential oils.
Katie’s Tip: Wear gloves when handling the dough as some people are sensitive to essential oils on their skin. For best results, air dry any salt dough ornaments that you’ve added essential oils to so that the scent remains longer. Air drying takes 3 to 5 days; omit the cooking spray.
Common Issues and How to Solve Them
Got questions about how to make this recipe? Here are the answers to a few commonly asked questions. Feel free to leave any other questions in the comments on this post and I’ll respond with answers.
My Salt Dough Is Too Sticky
Simply add extra flour and salt in a 4:1 ratio (such as 4 tablespoons flour and 1 tablespoon salt) until the dough is easily handled. It should be firm but not dry.
My Salt Dough Puffed Up
One possibility is that your oven is too hot. This recipe calls for a 200ºF oven.
If you find that your salt dough ornaments are still turning out puffy, then try an even lower temperature. Your ornaments will take longer to bake and dry out at the lower temperature, but they should still turn out just fine.
The second possibility is that you used self-rising flour. Always use all-purpose flour since it contains no leavening agents (baking soda, baking powder, etc).
Salt Dough Make-Ahead Instructions
You can make the salt dough up to 5 days in advance. Here’s how:
- Prepare the salt dough as instructed.
- Refrigerate in an air-tight container, Ziplock bag, or vacuum sealed bag. (This prevents it from drying out!)
- Roll and cut out as instructed when ready to bake.
Katie’s Tip: This works best when left naturally colored or colored with food coloring. I don’t recommend making salt dough ahead of time if adding acrylic chalk paint as the paint could dry out or degrade when stored for a length of time in the refrigerator.
Storage Instructions
The most important tip for long-lasting Christmas salt dough ornaments is to make sure that you let them dry out all the way — and that you don’t let them get damp. If they dampen, they can mold (and then you have to throw them away).
I recommend using air tight plastic ornament bins rather than cardboard boxes, which can get wet and damp due to humidity or leaks in your home. You can even add silica packets to your ornament storage to help mitigate any dampness that does occur.
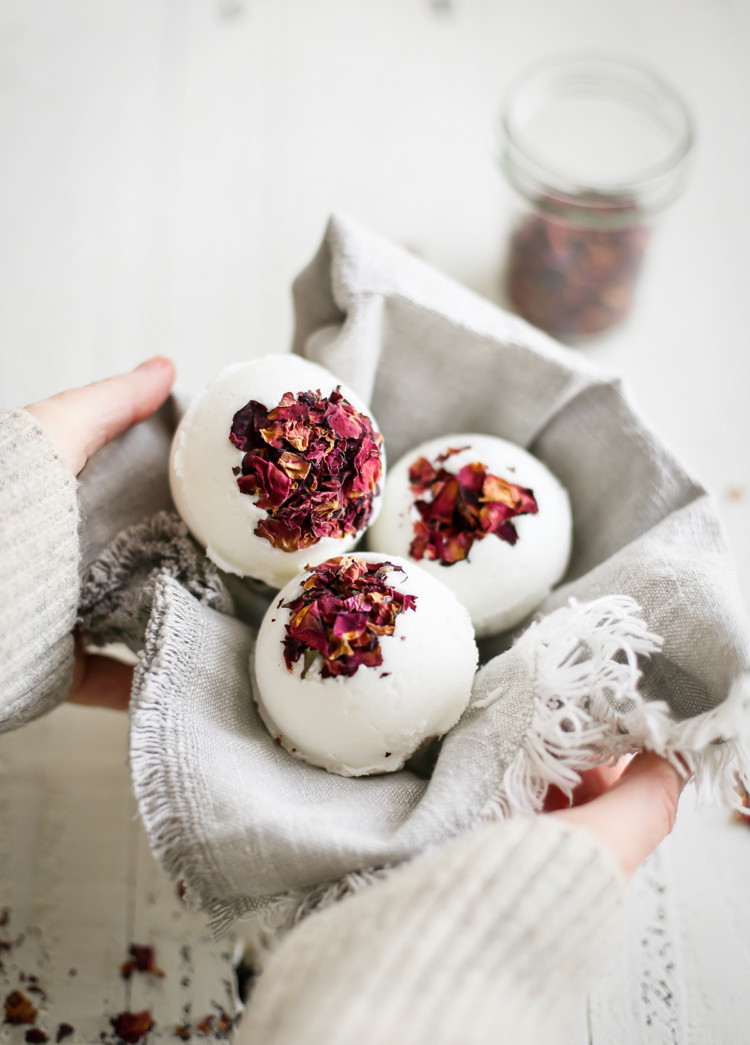
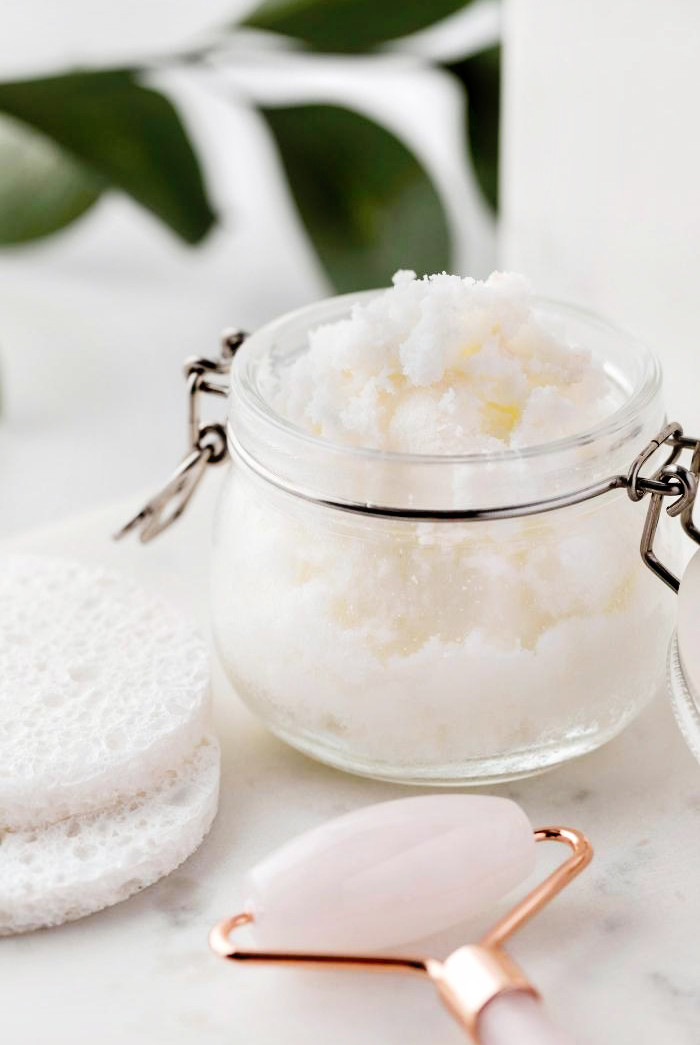
More Fun Christmas DIYs
I have 40+ homemade Christmas gift ideas on my site, but below are some all-time favorites.

Stay Inspired in the Kitchen!
Want more delicious recipes, kitchen tips, and meal inspiration? Sign up for the Good Life Eats Newsletter and get:
✔ Tried-and-true recipes—from quick weeknight meals to special occasion favorites.
✔ Seasonal meal ideas—helping you make the most of fresh, in-season ingredients.
✔ Time-saving kitchen tips—boosting your confidence and creativity in the kitchen.
Salt Dough Ornaments
Salt dough ornaments are the sweetest little homemade gift! You can make them for the whole family or classroom with hardly any effort and there are plenty of fun personalization options! Kids will have a great time making these.
Materials
- 1 cup All-Purpose Flour
- 1/4 cup Table Salt
- 1/3 cup Water, plus 1 tablespoon
- Gel Food Coloring or Acrylic Chalk Paint (optional, for coloring the dough)
- 1 Drinking Straw
- Nonstick Baking Spray
- Parchment Paper
- 1 roll Colorful Ribbon (1/8 to 1/4-inch wide), Twine, or String
Tools
- Mixing Bowl
- Mixing Spoon
- Surgical Gloves, or kitchen gloves
- Rolling Pin
Instructions
- Preheat your oven to 200°F. Place the rack in the center position.
- Prepare a large baking sheet by lining it with parchment paper. Next, line the work area with butcher paper to prevent your counters or table from becoming stained.
Making the Salt Dough
- In a medium sized mixing bowl, combine the flour and salt until well whisked. In a glass measuring cup, stir in the water and food coloring or paint.
- Make a well in the center of the flour mixture and slowly pour in the colored water, starting with half the amount and adding more as needed to form a firm dough that is moist but not sticky. Stir well.
- While wearing the surgical gloves, knead the dough with your hands for approximately 10 minutes (on top of the parchment paper), or until the dough has become smooth and the color is distributed throughout.
Making the Salt Dough Ornaments
- Use a rolling pin to roll the dough into a 1/8-inch thickness on the parchment paper. Use whatever shaped cookie cutters you’d like to cut out the dough.
- Additionally, you can stamp the dough with various items to create texture or with ABC stamps to personalize the ornaments with someone's initials, last name, or year.
- Combine any scraps that are leftover and knead, then re-roll with the rolling pin and cut out additional ornaments. Repeat until all of the dough has been used.
- After cutting the ornaments, transfer the cut shapes onto the parchment paper lined baking sheet.
- Use the straw to cut a small hole near the top (where you’d like to hang the ornament from). Discard the small circular piece of dough that you remove to create the hole.
Baking the Salt Dough Ornaments
- Place the baking sheet in the preheated oven and bake for 1 hour, or until dry.
- Flip the ornaments half way through baking so that the underneath side can dry out as well.
- When done baking, remove from oven and let cool completely on a wire rack.
- After cooling, thread the ribbon or string through the holes and tie to hang. (See blog post above for ways you can customize your ornaments with paint, glitter, etc.)
Notes
SAFETY PRECAUTION: Do NOT ingest this dough. It is not intended for eating. Salt dough ornaments are fatal to pets, so be sure to hang them high and out of your pet's reach.
If using paint to color the dough: Acrylic Chalk Paint works best. For solid colored salt dough, add 2 - 5 ounces of paint to the water, then combine (slowly) with the flour and salt mixture. Stir until mixed, and then knead.
If your dough is too sticky: Add extra flour and salt in a 4:1 ratio (such as 4 tablespoons flour and 1 tablespoon salt)
Make ahead option: Prepare the salt dough as instructed. Refrigerate in an air-tight container, Ziplock bag, or vacuum sealed bag for up to 5 days. Roll and cut out as instructed when ready to bake.
Recommended Products
As an Amazon Associate and member of other affiliate programs, I earn from qualifying purchases.


Make Homemade Ornaments From Salt Dough!
Did You Follow This Tutorial? I’d love to hear how it turned out! Leave a comment and a review below—your feedback helps others and makes my day.
Share Your Creations!
If you took a photo, tag me on Instagram @goodlifeeats and use #goodlifeeatsrecipes—I’d love to see what you’re cooking up in your kitchen!


Jesse says
I just did this recipe last week. It turned out perfectly, and then I accidentally scorched them when I preheated the oven for dinner the next day. Now I can’t find the measurements on here. Did you remove that part? Where can I find it so I can make them again?
Katie Kick says
Hi Jesse, Sorry to hear about your mishap with the oven preheating! Thank you for letting me know that the recipe wasn’t displaying! It looks like there was a code error that was preventing the recipe card from displaying. I have fixed that and the printable recipe with instructions is displaying at the bottom of the post now. I’m so sorry about that!
Catherine says
What is the non-stick baking spray for? I’m unable to locate why it’s listed to be used in the first place. Thank you
Katie says
you can use non-stick baking spray for the pan. Or you can also use parchment paper to line the pan.
Brittany says
Something seems really off with this recipe. 6oz of paint seemed like a lot to me so I only did 3oz. Later in the blog you said you didn’t have to change the recipe amounts for adding paint, but that can’t be true. For just 3oz of paint I had to increase the salt and flour by almost 25% and even then it was still too sticky. I scraped it and started again but this time without adding paint. The dough came together great but it did not make 18 ornaments. I got only five 3″ diameter ones rolled out to .25″.
Katie says
I’m sorry to hear that you had difficulties with this recipe. Perhaps the paint you chose was more watery than the type that I use (linked in the blog post). For troubleshooting, it says in the post: If the dough is too sticky, simply add extra flour and salt in a 4:1 ratio (such as 4 tablespoons flour and 1 tablespoon salt) until the dough is easily handled. It should be firm but not dry. If you prefer, feel free to use food coloring instead of paint to color your dough.
Patricia says
Could you please add note to this salt dough recipe to let readers know that salt dough ornaments are fatal to dogs, their body’s cannot handle the salt , so they should be sure to hang them high and out of a dogs reach. I’ve read too many sad stories about this fact and people just aren’t aware. Thank you
Katie says
Sure thing! Thank you so much for bringing awareness to this!
haylee says
i want to make christmas two ornaments . paul connor
and haylee connor
Tara Deatcher says
Hi, cant wait to try this. Where did you get your snowflake stamp?
Katie says
I think I got it at Hobby Lobby in 2019
Debra says
Lovely! How many does this recipe make?
Debra
Katie says
It depends on the ornament size. I made about 20 small christmas trees.