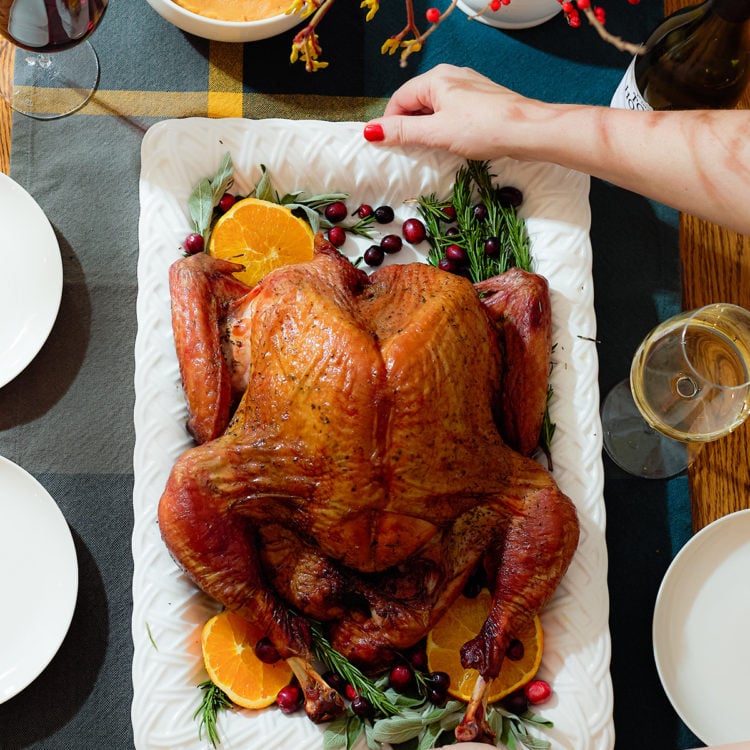
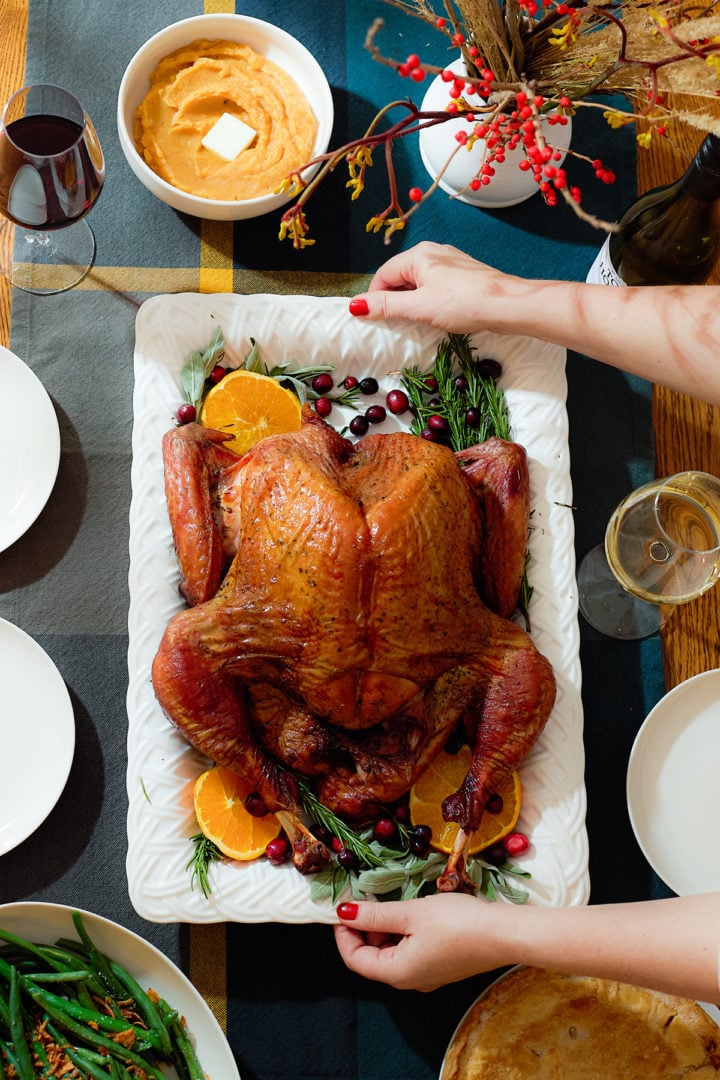
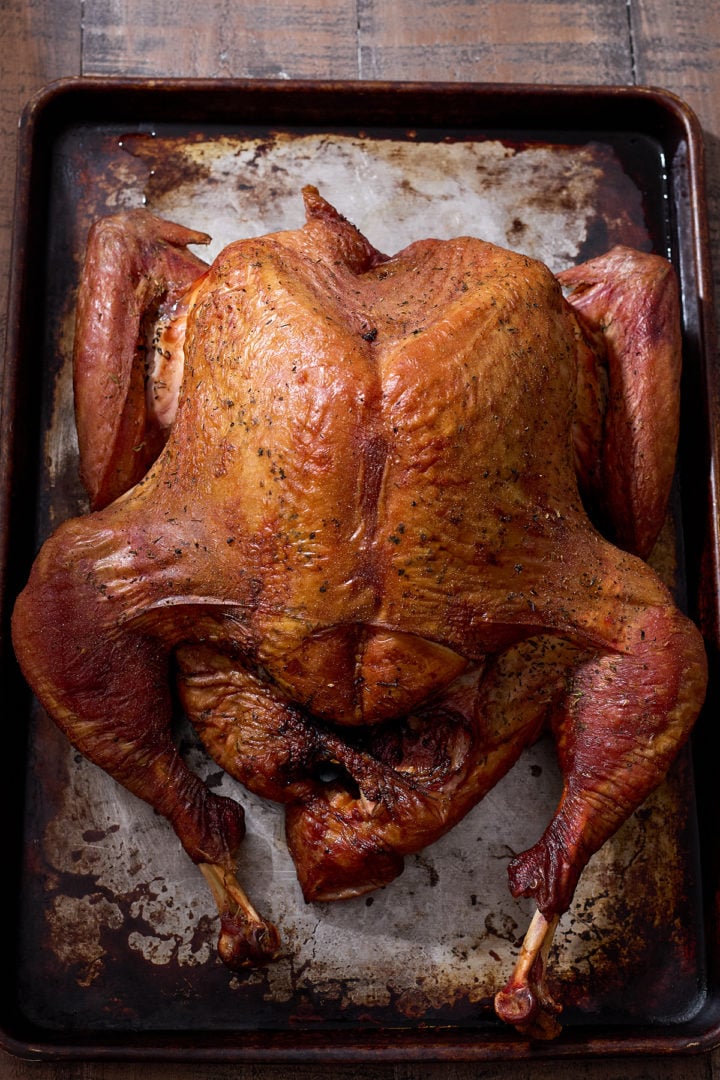
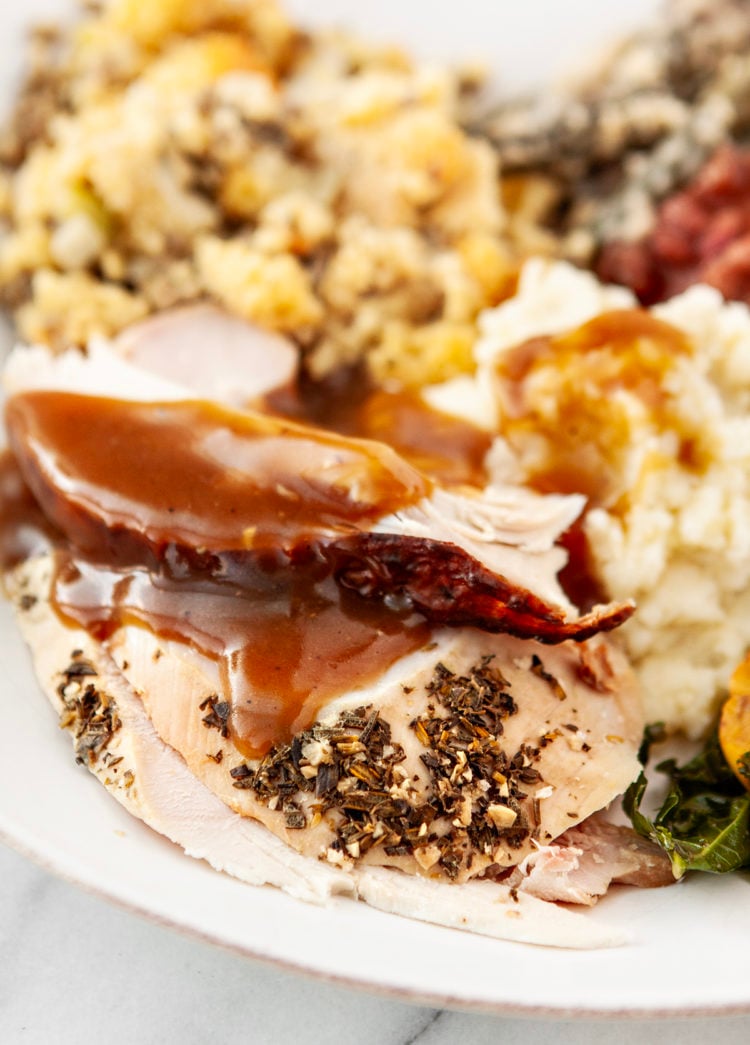
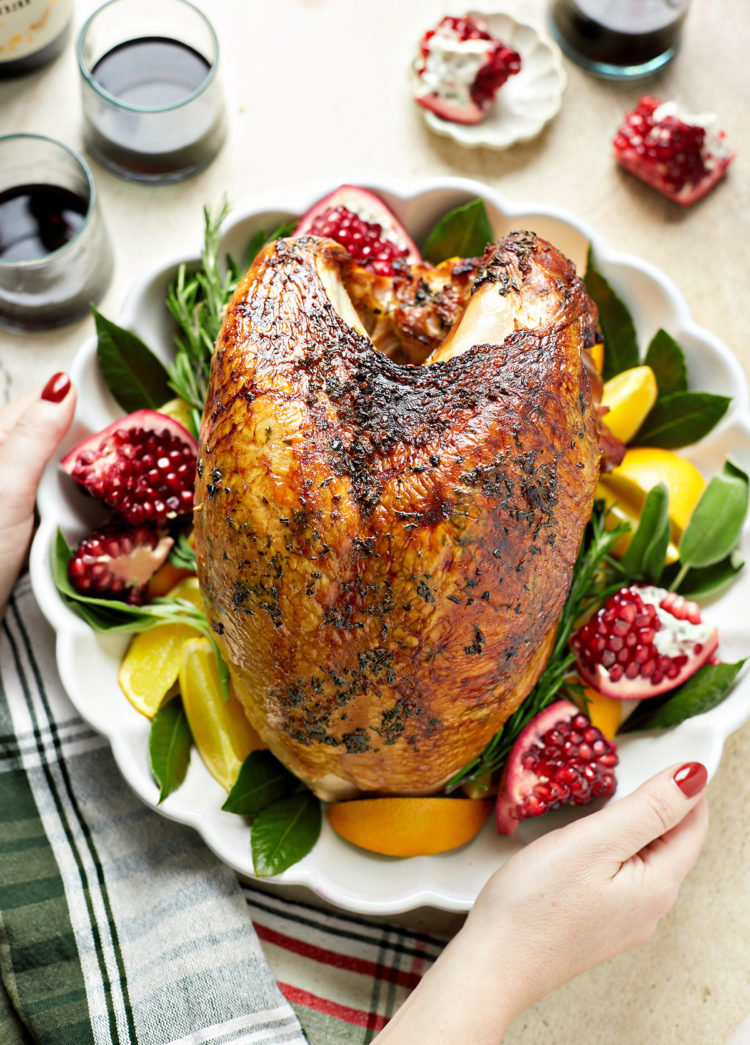
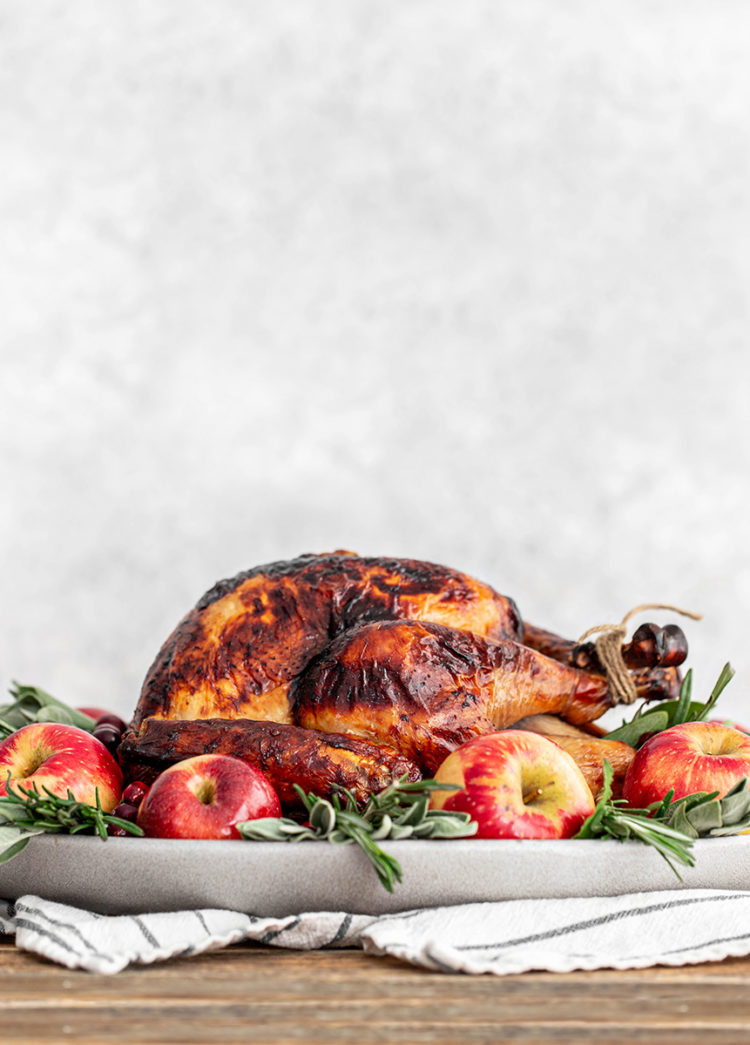
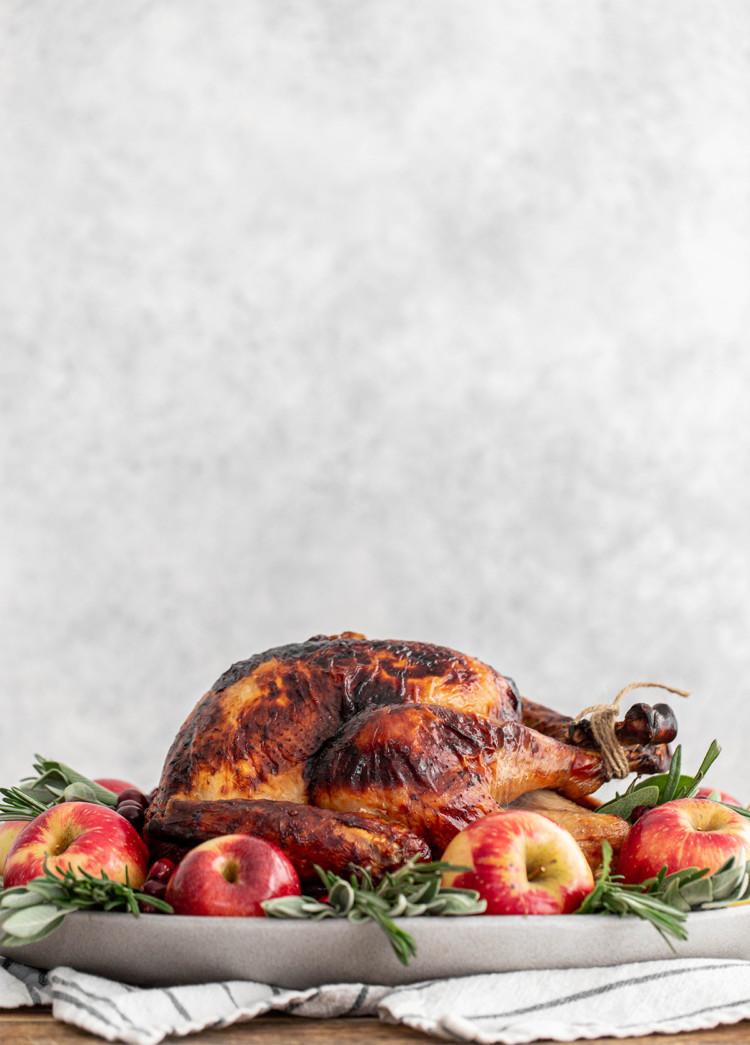
Traeger Smoked Spatchcock Turkey
This simple recipe combines spatchcocking with a long smoke stage for more even cooking and a deeper flavor. The Smoked Spatchcock Turkey is finished with a higher-heat roast to lock in the juices and really crisp up the skin!
This post may include affiliate links. As an Amazon Associate and member of other affiliate programs, I earn a small commission from qualifying purchases.
Get More Consistent Results by Spatchcocking Your Smoked Turkey!
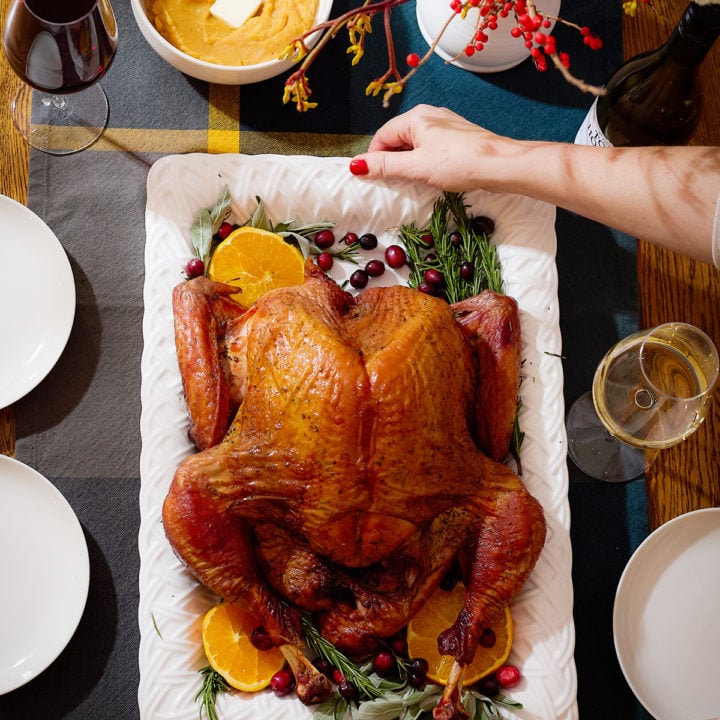
We’ve been smoking a whole turkey on Thanksgiving for I don’t know how many years, but I also love using the spatchcocking technique (i.e. butterflying) for my bird.
Spatchcocking a turkey before smoking requires a little extra legwork upfront, but the results are even juicier and more tender! I know it sounds a little fussy, but flattening the bird helps it cook more evenly on the smoker, so the breasts don’t dry out while the legs catch up.
That’s the real trick to juicy, tender meat. Not just the spatchcocking, but hitting the right internal temps across the board. And since low-and-slow smoking already helps lock in moisture, pairing it with this method just gives you that much more control (and a better bird).
I tested this one more times than I can count, but I finally cracked the code for how to smoke a moist and succulent turkey and also get the skin super crispy.
Here’s why this spatchcock smoked turkey deserves a spot on your holiday table:
✔ Straightforward Instructions: I know that both the “smoking” and “spatchcock” elements of this recipe sound a little intimidating, but I’ve broken down the recipe into easy-to-follow steps that any home cook can master (even if you’ve got minimal experience cooking on pellet grills!).
✔ Simple Brine and Seasoning: You can wet or dry brine your spatchcock turkey before smoking, and the seasoning is limited to my favorite garlic herb butter. The Traeger infuses the turkey with so much smoky flavor that you really don’t need more than that!
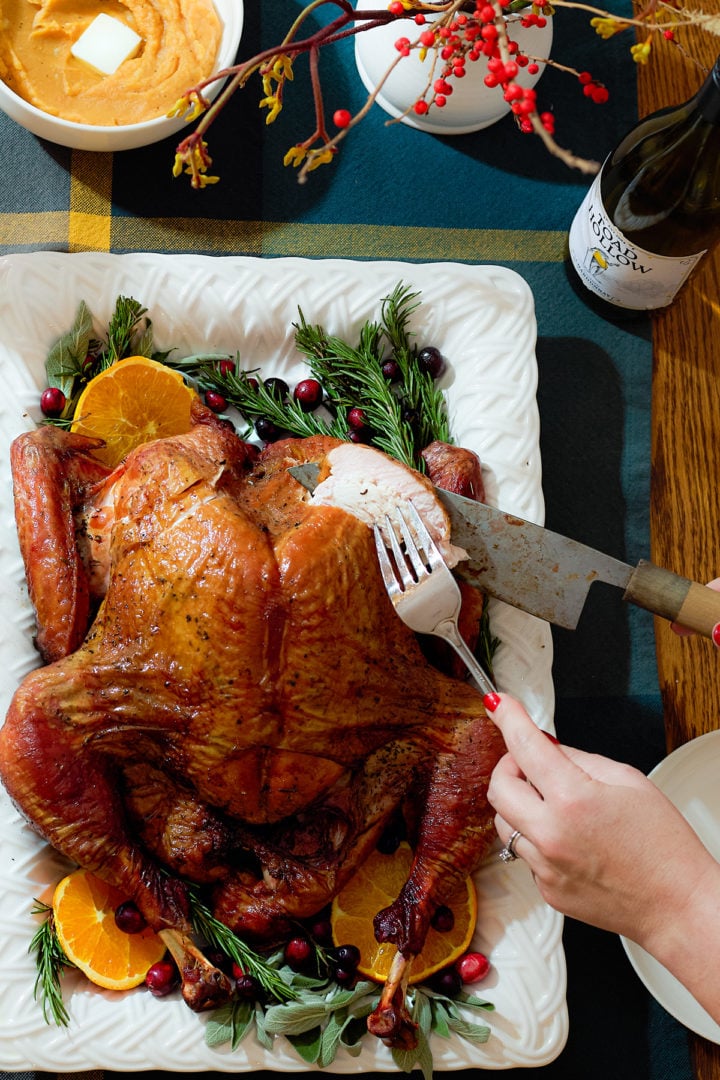
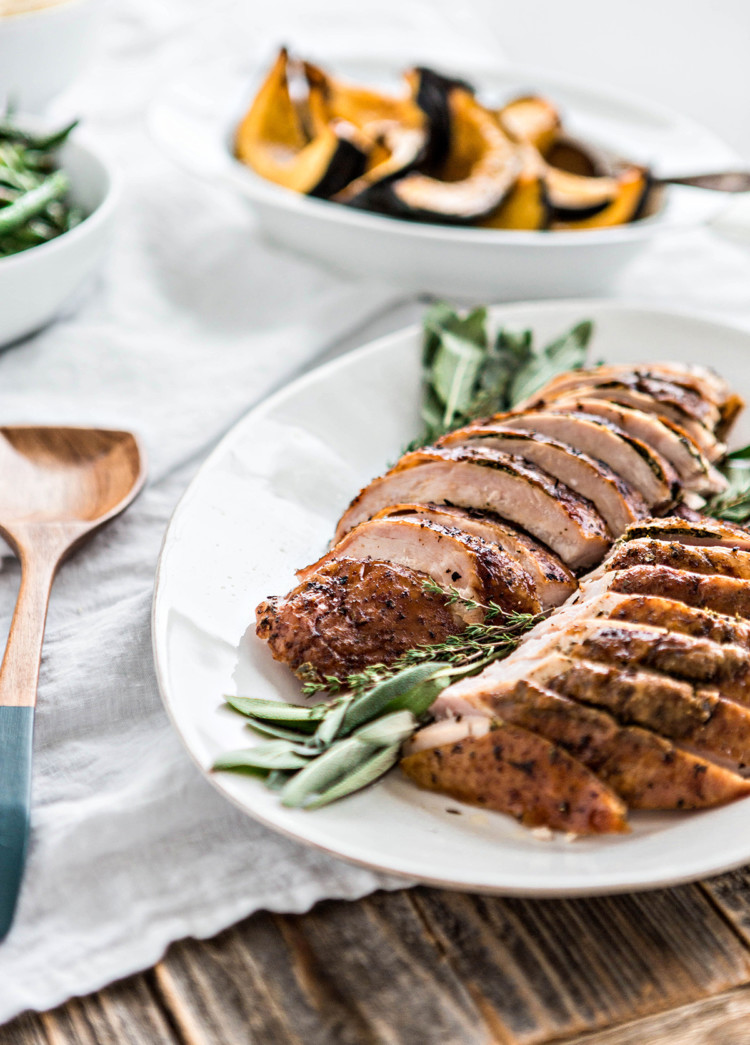
✔ Juicy Meat and Crispy Skin: After a lengthy smoke stage, you have the option to finish the turkey on the grill or in the oven to really crisp up the skin.
Happy Thanksgiving!
-Katie
Here’s What You’ll Need
A full list of ingredients with their measurements can be found in the recipe card below, but let’s go over everything you’ll need to brine and smoke a spatchcock turkey on a pellet grill.
- Whole Turkey — This recipe works best with a 12- to 16-pound turkey, but I’ve provided tips in the recipe card below on how to adjust the smoke time for smaller birds.
- Brine of Choice — You may use either a wet or dry brine when smoking a spatchcock turkey. I’ve provided more detailed notes below.
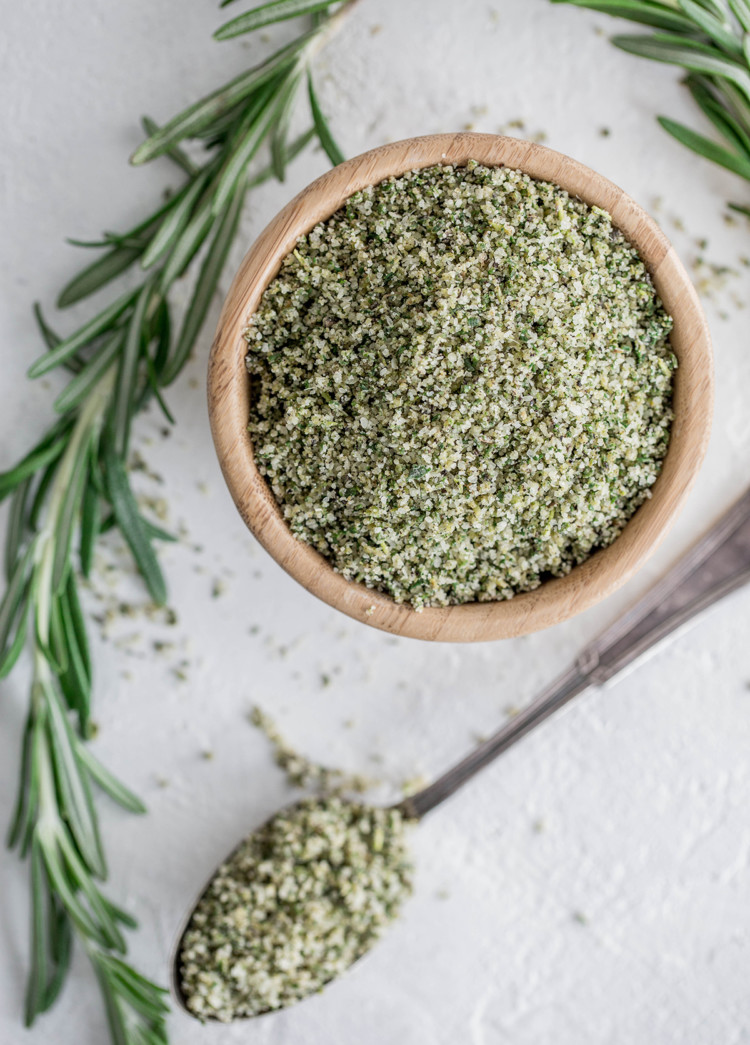
- Garlic Herb Butter — You’ll need 6 to 8 oz. of herb butter for a 12- to 16-pound turkey.
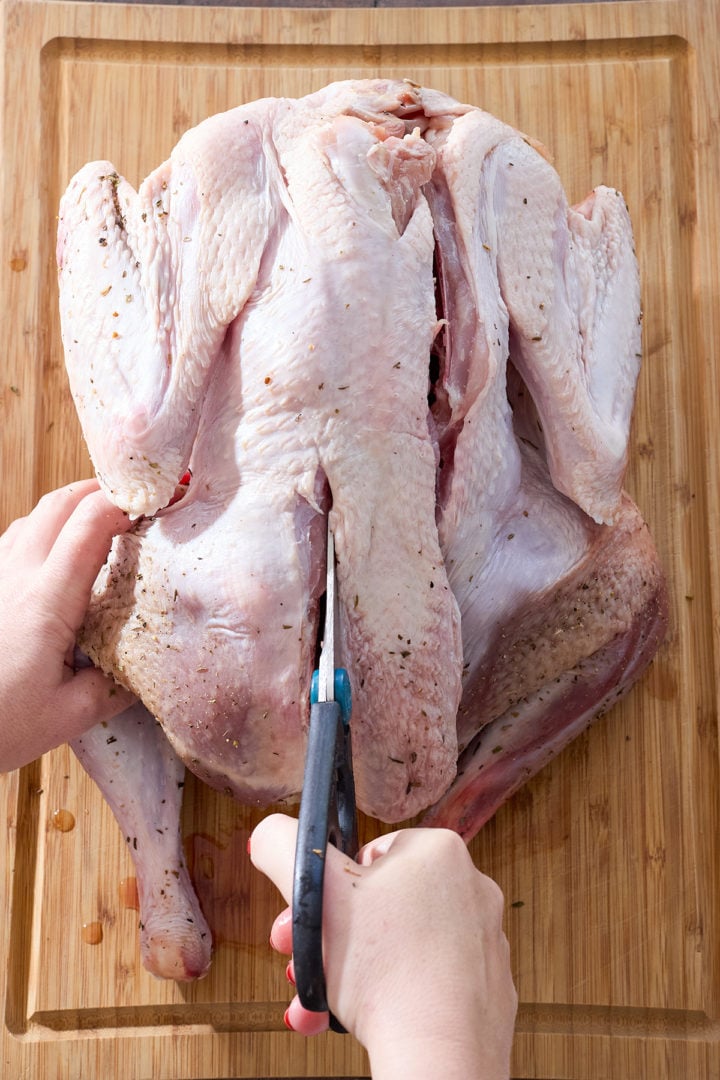
- Kitchen Shears — To spatchcock a turkey, you’ll use kitchen shears to cut alongside the backbone from the tail to the neck. You can also use a sharp chef’s knife, but kitchen shears are easier to handle, in my opinion.
- Cutting Board — You’ll need a large one for resting the turkey after smoking.
- Probe Thermometer — Using a thermometer is the only guaranteed way to tell when the turkey is done and to prevent overcooking.
- Traeger — Any pellet grill will work, but we use the Traeger that we’ve had for years and love.
- Wood Pellets — We usually use apple (sweet and mild), pecan (rich and nutty), oak (classic smoking wood), or hickory (mellow smoky flavor).


Wet vs Dry Brine: Which Is Better for Smoking a Turkey?
Dry Brine: Takes up less space in the fridge, seasons meat deeply, and creates a crispier skin (especially if air-dried afterward!). To dry brine a turkey, rub the salt and seasonings directly on the skin and/or meat. Set uncovered or very loosely covered in the fridge to dry brine.
Get the recipe: Garlic Herb Turkey Dry Brine
Wet Brine: Takes up much more space in the fridge, but it adds more moisture overall to the turkey. To wet brine a turkey, submerge it in a saltwater solution with aromatics. The skin will soften in a wet brine, but air-drying afterwards helps restore skin dryness for better crisping.
Get the recipe: Citrus Herb Turkey Brine, Apple Cider Turkey Brine, or Rosemary Beer Turkey Brine
How to Smoke a Spatchcock Turkey
- Brine the turkey as instructed. If you used a wet brine, pat the turkey dry after removing it from the brine. (Do not rinse!)
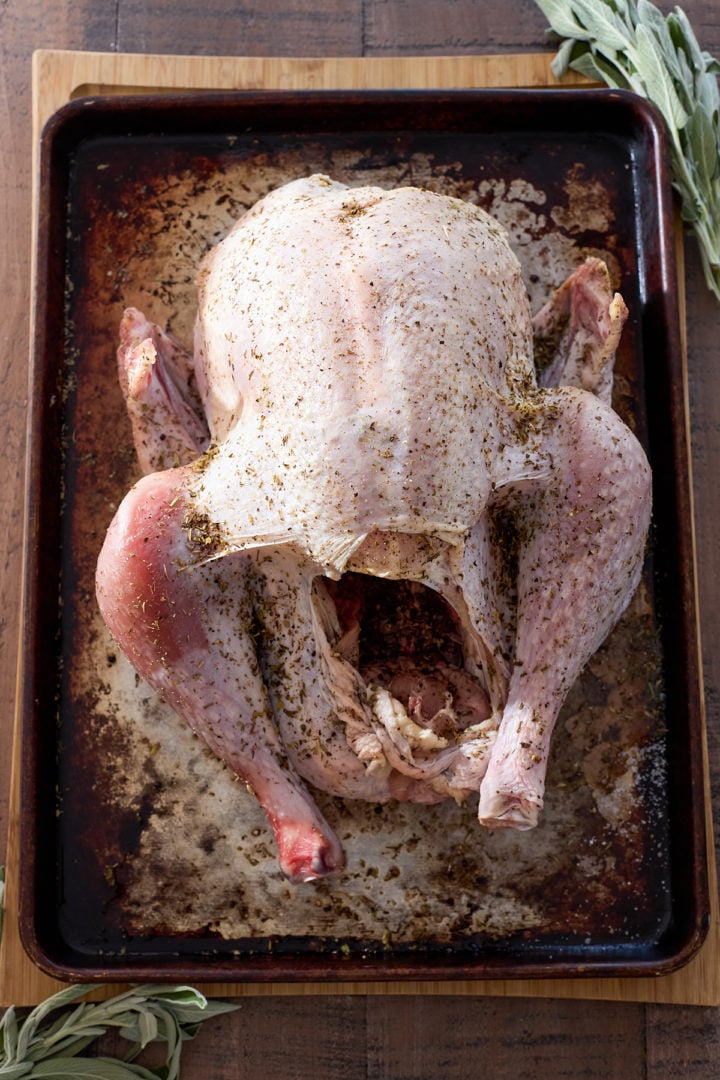
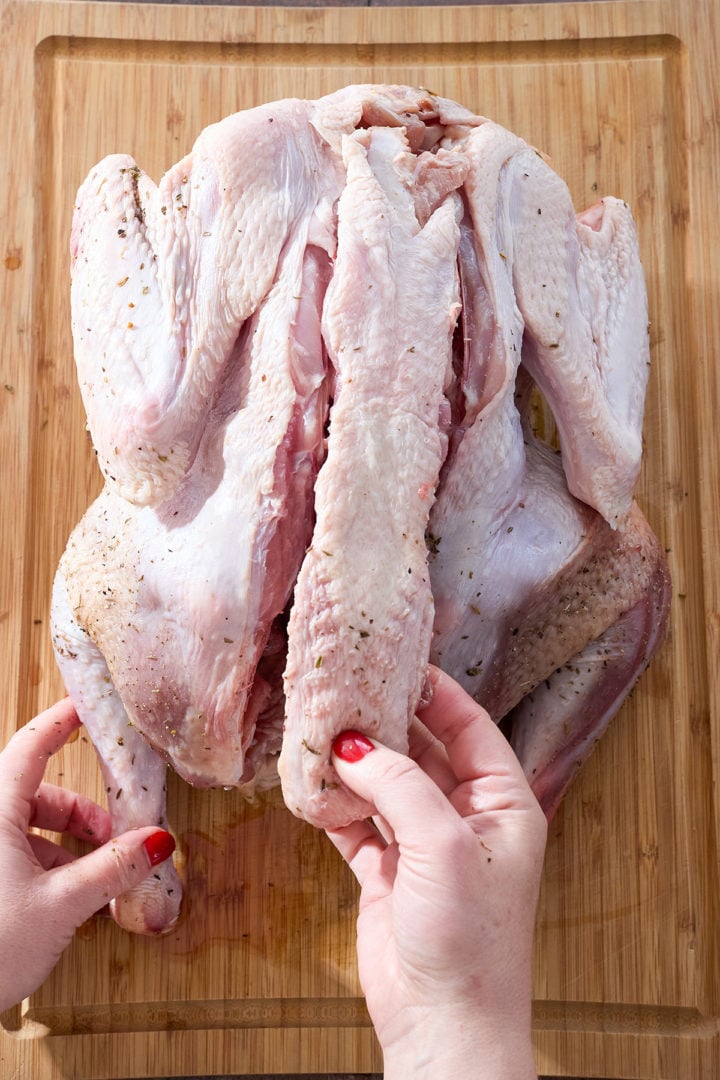
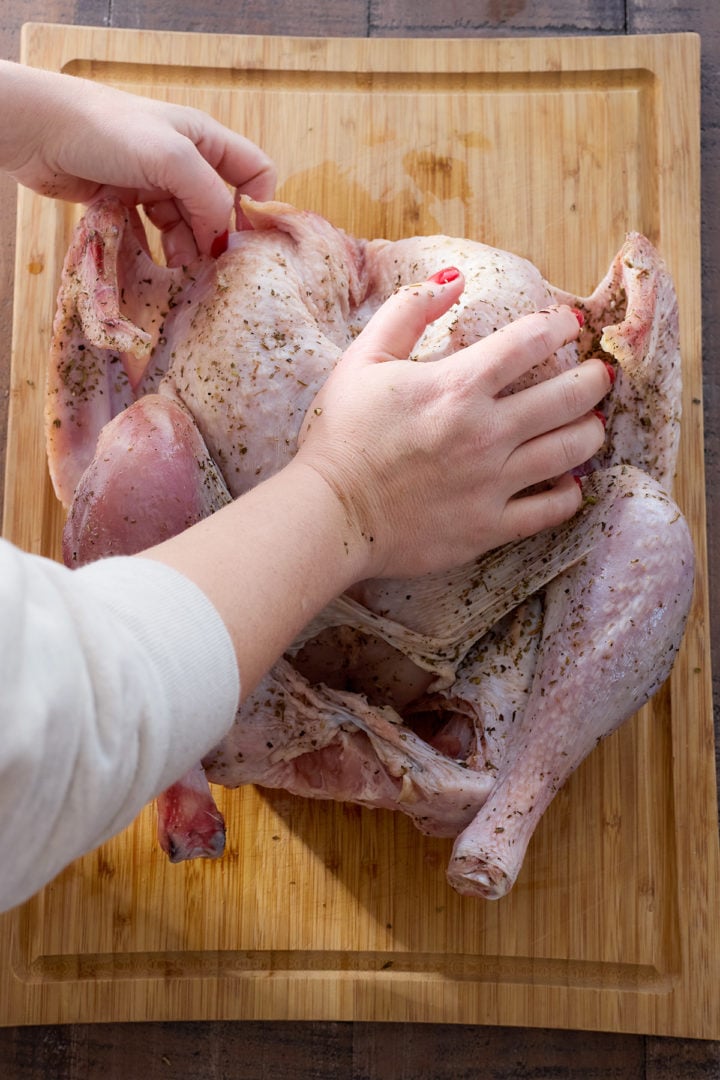
- Spatchcock the turkey. Place the turkey breast side-down on a cutting board, then use kitchen shears to cut along the backbone from tail to neck. Repeat on the other side, then remove the backbone. Flip the turkey over and press down firmly on the breastbone to flatten it.
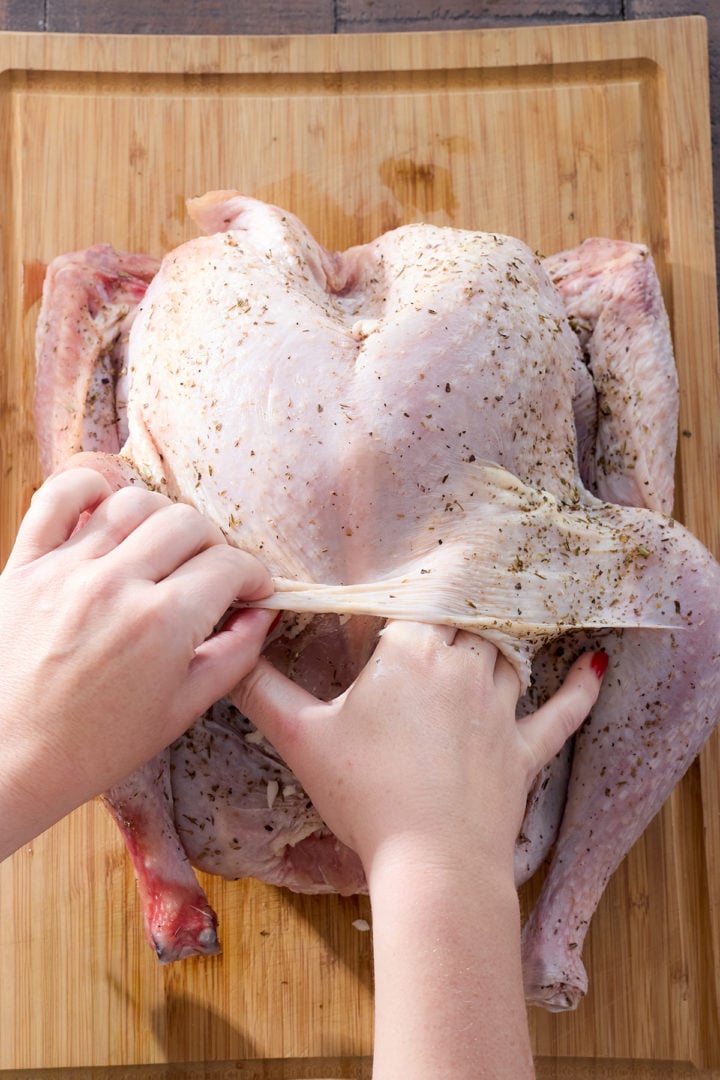
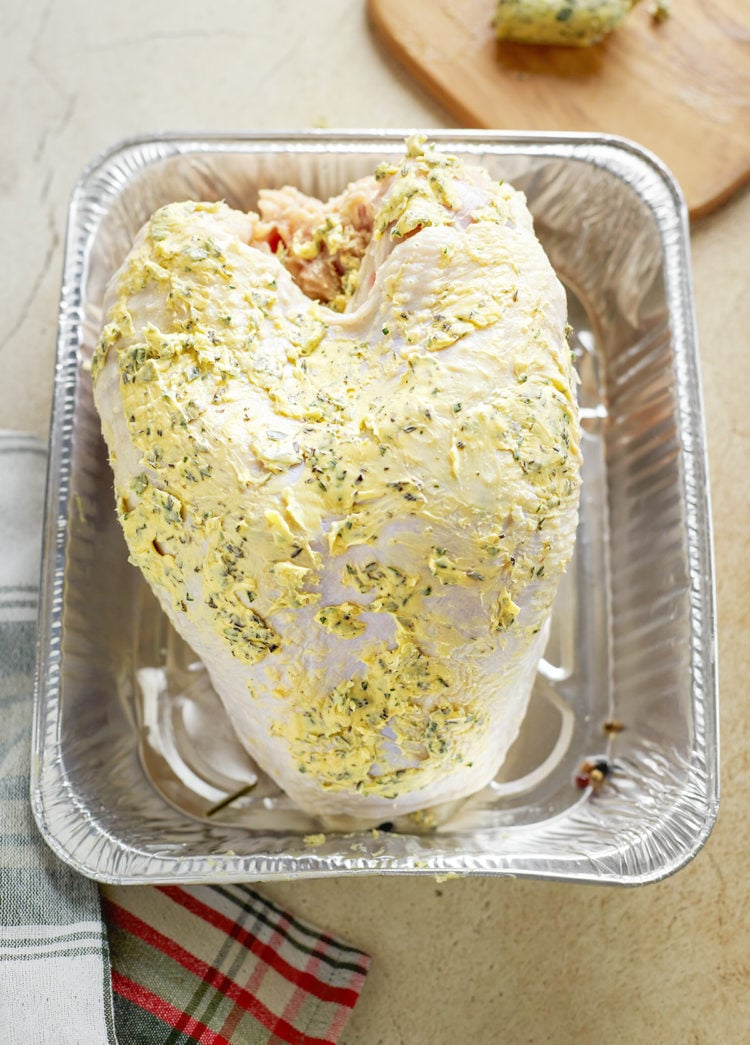
- Rub with garlic herb butter. Unlike a traditional roast turkey, you do NOT want to rub the butter on top of the turkey skin just yet. That will prevent it from soaking up lots of the smoky flavor. Instead, spread the butter underneath the turkey skin to baste the meat from the inside without blocking smoke from sticking to the skin’s exterior.
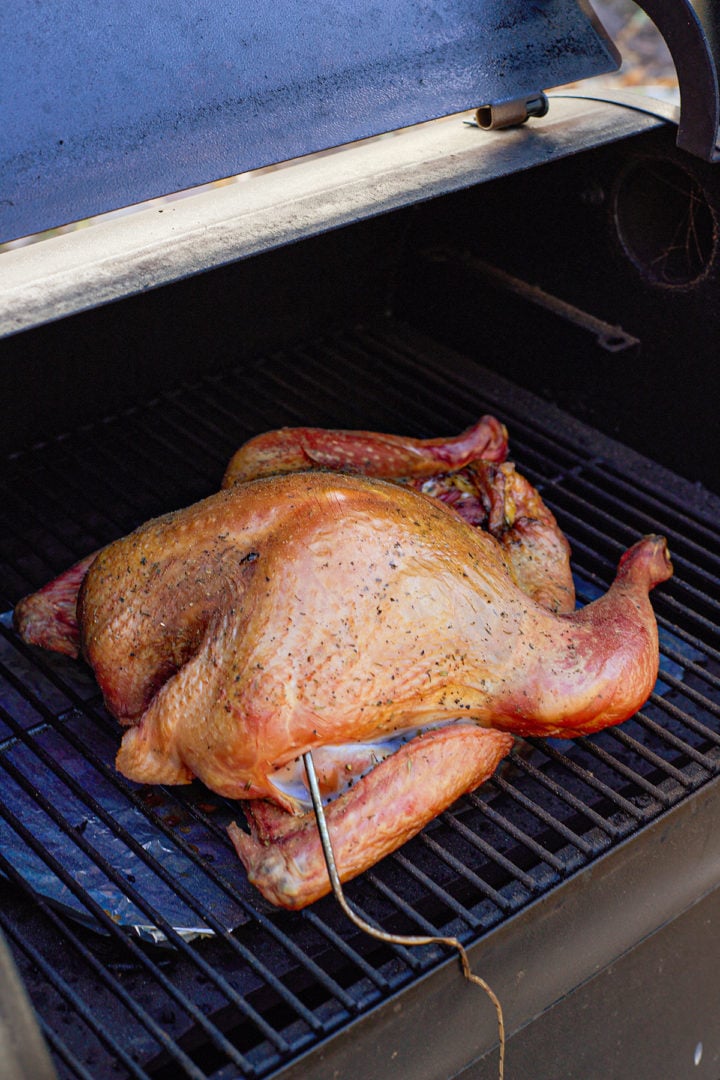
- Smoke for 4 hours. I always insert a probe thermometer into the thickest part of the thigh so I’ll know exactly when the bird reaches 120ºF.
- Roast to crisp up the skin. Okay, now you can butter the outside of the turkey before cranking up the temperature to finish cooking the bird and crisp up the skin.
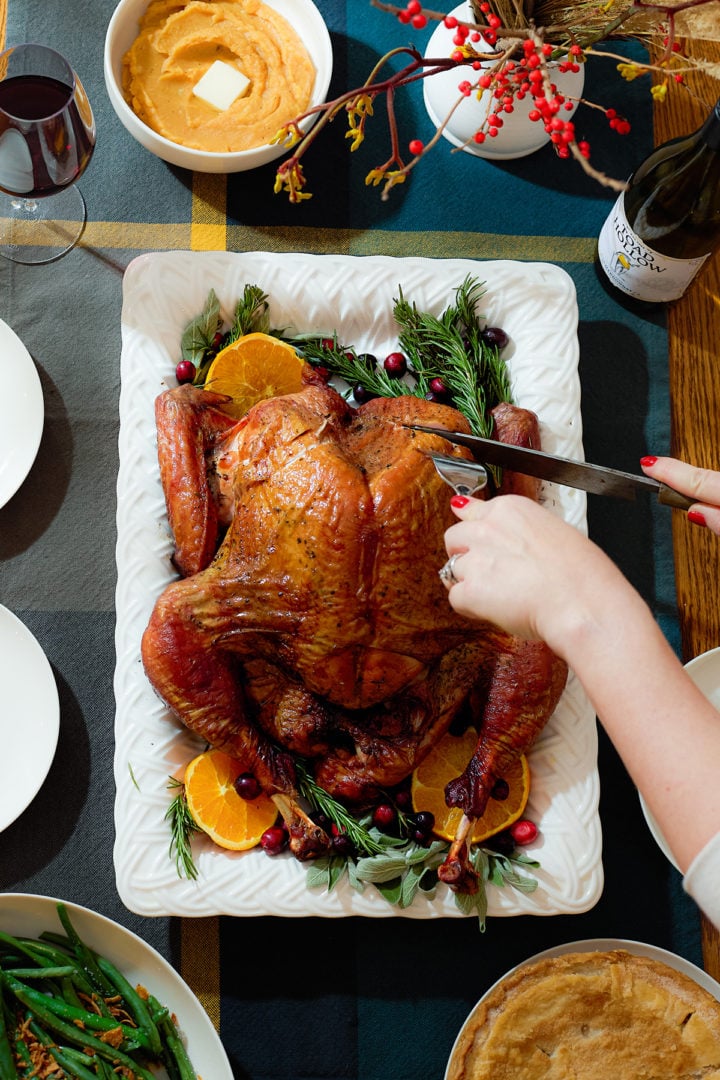
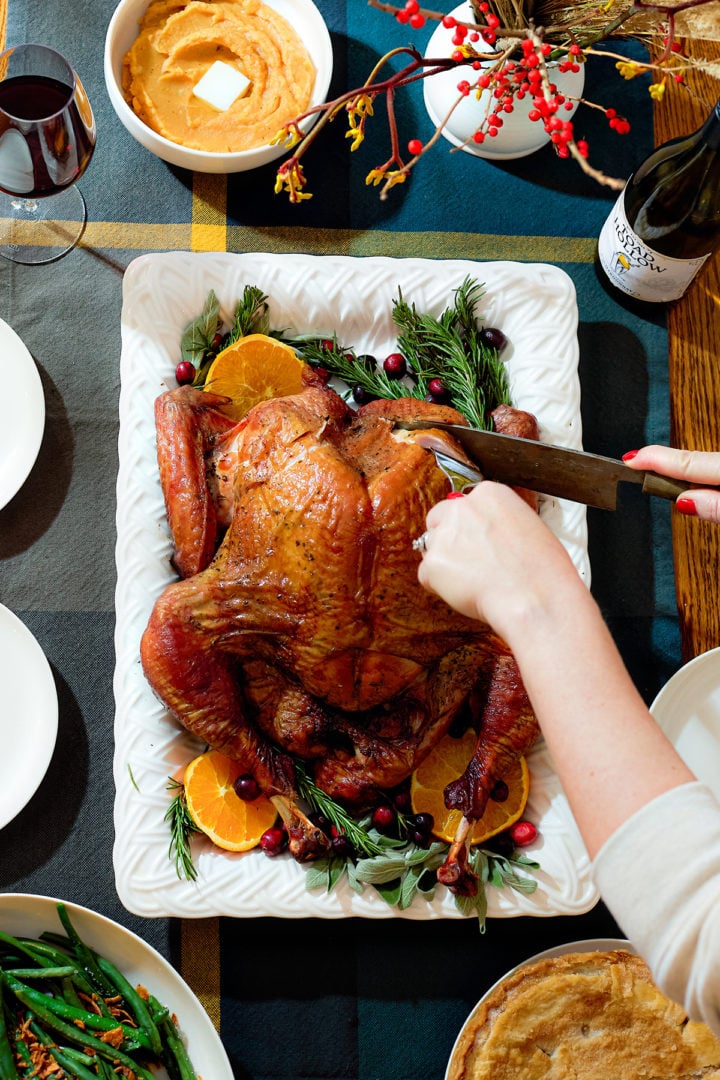
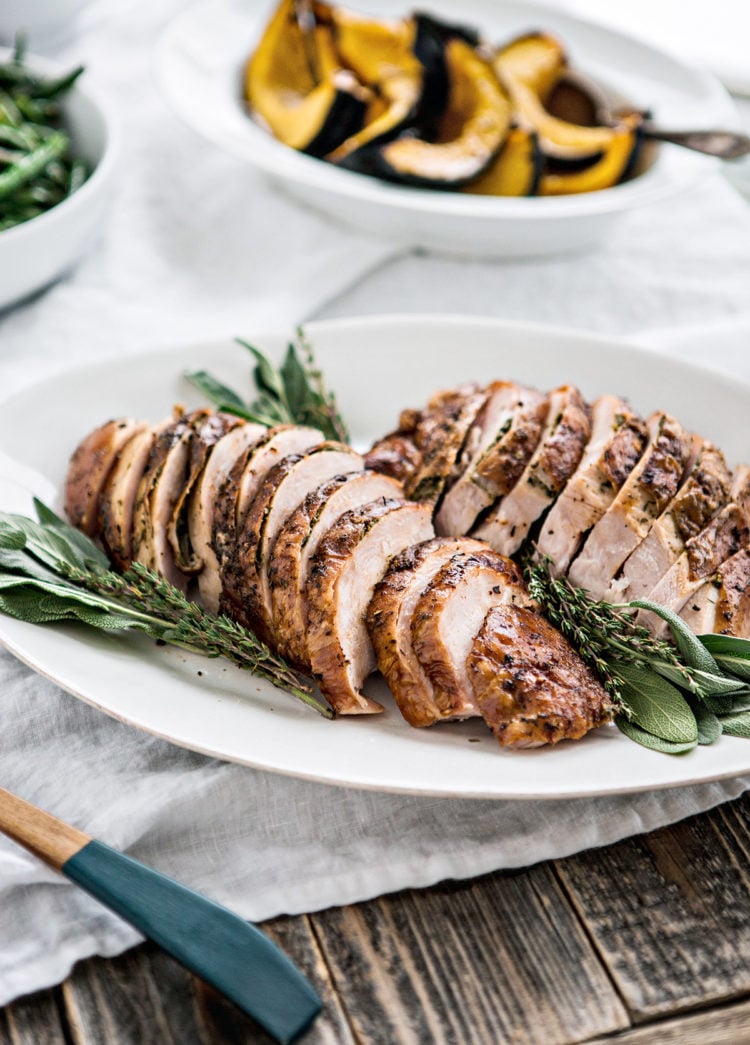
- Rest before carving. Always give a whole turkey 20 to 30 minutes to rest before slicing so the juices have time to redistribute.
If you want extra crispy skin, place the turkey on a rack over a sheet pan in the fridge, uncovered, for 12–24 hours right after spatchcocking.
Smoke Times and Internal Temps to Note
For a 12- to 16- pound spatchcock turkey, keep the following smoke times and temperatures in mind:
- Smoke for 4 hours at roughly 160ºF. The turkey is “done” at this stage when it reaches 120ºF at the thickest part.
- Roast on a 325ºF grill. Increase the temperature to 350ºF in the last 30 minutes of cooking.
- Cook until the breast reaches 160–162°F and the thighs reach 170–172°F. The carry-over heat from the pellet grill will bring the internal temperature of the breast meat up to 165ºF during the 20- to 30-minute rest period. Then, your bird is safe to eat!

Katie’s Tips for the Juiciest Smoked Spatchcock Turkey
- Skip buttering the outside (at least at first). I know it’s tempting to slather the whole bird before it hits the smoker, but butter on the skin too early can block that gorgeous smoky flavor from really sticking. Instead, tuck your garlic herb butter under the skin before smoking so it bastes the meat from the inside. Then, once the turkey has finished its low-temp smoke, that’s the time to brush the outside with butter before cranking up the heat to finish and crisp the skin.
- Cook your turkey based on temperature, not time. The smoke and cook times of your spatchcock turkey will vary slightly from my recipe based on size. I prefer using a 12- to 16-pound turkey when following this method, so you’ll need to adjust your cook times if your bird is a different size (this is why using a probe thermometer is so important!).
- Don’t lift the lid! Heat and smoke escape every time you lift the lid of your Traeger to check on your turkey and can really mess with the cook times on cold days. Your probe thermometer will tell you when the turkey is done, so just trust the process and keep the lid closed.
- Air dry your turkey for crispier skin. Brining, spatchcocking, and then air drying overnight in the fridge will create ultra crispy skin and moist, juicy meat. It’s one extra step, I know, but air drying really is worth it if you’ve got the time to do so!
Hosting a smaller crowd this Thanksgiving? Try smoking a turkey breast instead! And if you’d rather make a classic smoked turkey (i.e. minus the spatchcocking), I’ve got a great recipe for that too.
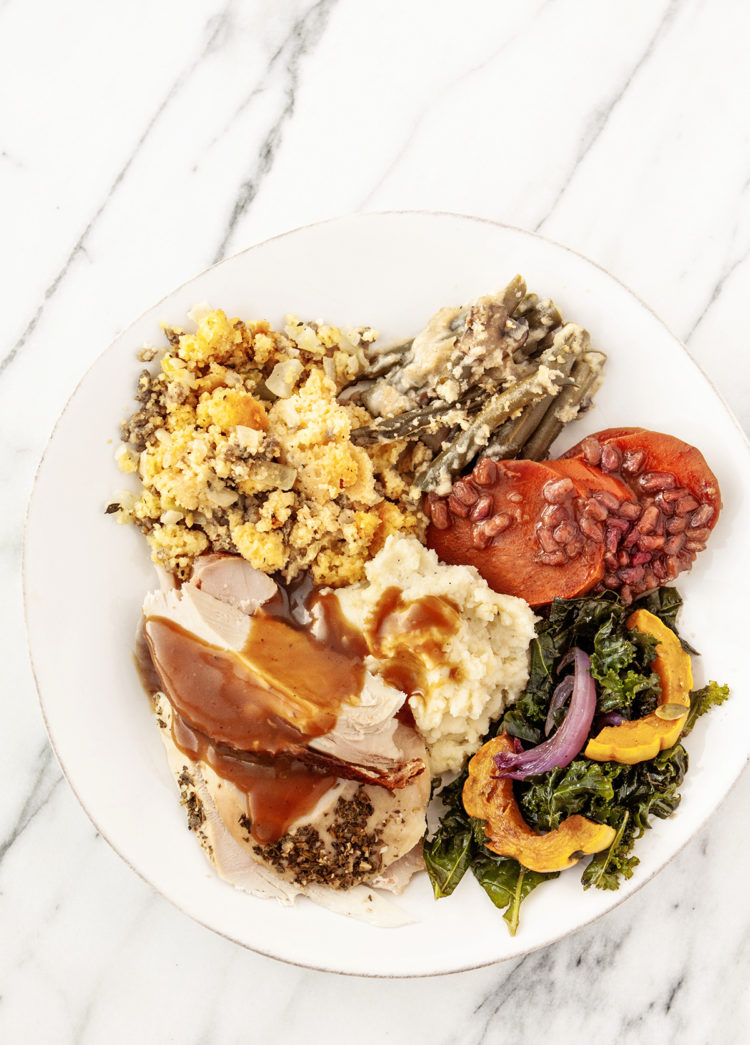
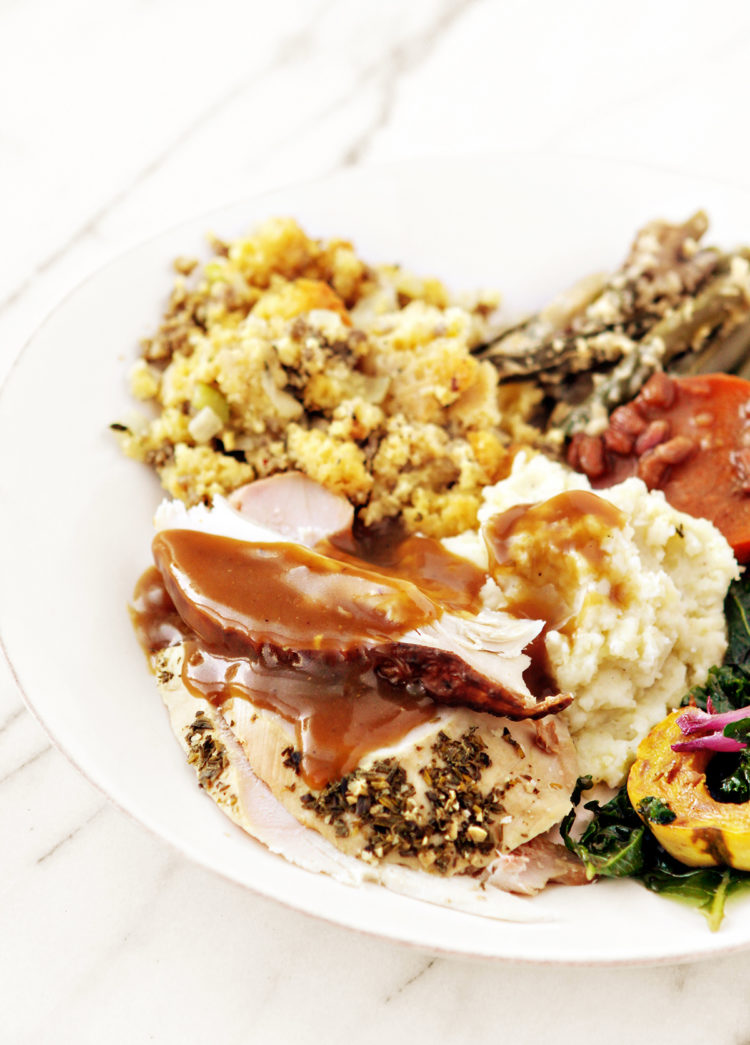
Side Dish Suggestions
Whether making a smoked spatchcock turkey for Thanksgiving or Christmas, there are so many delicious (and easy!) side dishes that you can make.
More Thanksgiving Turkey Tutorials
Got questions about turkey timing, dry meat, or crispy skin? Drop them in the comments—I’m happy to help! And be sure to check out the Recipe Index for all my go-to Thanksgiving turkey recipes and step-by-step tutorials for more turkey inspiration.

Stay Inspired in the Kitchen!
Want more delicious recipes, kitchen tips, and meal inspiration? Sign up for the Good Life Eats Newsletter and get:
✔ Tried-and-true recipes—from quick weeknight meals to special occasion favorites.
✔ Seasonal meal ideas—helping you make the most of fresh, in-season ingredients.
✔ Time-saving kitchen tips—boosting your confidence and creativity in the kitchen.
Smoked Spatchcock Turkey Recipe
This simple recipe combines spatchcocking with a long smoke stage for more even cooking and a deeper flavor.
Ingredients
- 12 - 16 pound whole turkey*
- Turkey brine
- 6 to 8 oz Garlic herb butter
Instructions
- Brine the Turkey. Brine the turkey using your favorite wet or dry brine recipe (see your options below). If using a wet brine, pat the bird dry after removing it from the brine.
- Spatchcock the Turkey. Place the turkey breast-side down on a large cutting board. Using sturdy kitchen shears, cut along one side of the backbone from tail to neck. Repeat on the other side to completely remove the backbone. (Save the backbone for making turkey stock.)
- Flip the turkey breast-side up. Press firmly on the breastbone with the heels of your hands to flatten it — you may hear a crack. Tuck the wing tips behind the breast so they don’t burn.
- Optional Air-Dry for Crispier Skin. Place the spatchcocked turkey on a rack over a sheet pan in the fridge, uncovered, for 12–24 hours. This tightens the skin and helps it crisp later.
- Butter Under the Skin. Gently loosen the skin over the breast and thighs without tearing it. Rub herbed butter under the skin directly onto the meat. (Butter under the skin bastes the meat from the inside without blocking smoke from sticking to the skin’s exterior.)
- Pat the outside dry. Do not butter the outside yet so the skin can absorb more smoke flavor.
- Smoke the turkey (4 Hours). Set your Traeger to the Smoke setting (about 160°F). Place the turkey skin-side up directly on the grill grates. Insert a probe thermometer into the thickest part of the breast.
- Close the lid and smoke for up to 4 hours. Important: Keep an eye on the breast temperature. If it reaches 120°F before the 4 hours are done, move to the roast stage early to prevent overcooking.
- Roast the turkey. After smoking, carefully remove the turkey from the grill. Brush the outside with your herbed butter.
- Increase Traeger temperature to 325°F. Return the turkey to the grill and continue cooking until the breast reaches 160–162°F and the thighs reach 170–172°F.
- For the last 30 minutes of cooking, increase the temperature to 350°F to help render fat and crisp the skin. Alternatively, you can finish the bird in the oven to achieve a crispy exterior.
- Rest & Carve. Transfer the turkey to a cutting board and tent loosely with foil. Rest for 20–30 minutes before carving so the juices redistribute. Slice and serve.
Notes
Dry Brine: Takes up less space in the fridge, seasons meat deeply, and creates a crispier skin (especially if air-dried afterward!). To dry brine a turkey, rub the salt and seasonings directly on the skin and/or meat. Set uncovered or very loosely covered in the fridge to dry brine. Try my Garlic Herb Turkey Dry Brine.
Wet Brine: Takes up much more space in the fridge, but it adds more moisture overall to the turkey. To wet brine a turkey, submerge it in a saltwater solution with aromatics. The skin will soften in a wet brine, but air-drying afterwards helps restore skin dryness for better crisping. Try my Citrus Herb Turkey Brine, Apple Cider Turkey Brine, or Rosemary Beer Turkey Brine.
If using a smaller turkey: Smaller turkeys should shorten the smoke to 3 hours to protect the breast.
Recommended Products
As an Amazon Associate and member of other affiliate programs, I earn from qualifying purchases.

Try Smoking a Spatchcock Turkey This Year!
Did You Try This Recipe? I’d love to hear how it turned out! Leave a comment and a review below—your feedback helps others and makes my day.
Share Your Creations!
If you took a photo, tag me on Instagram @goodlifeeats and use #goodlifeeatsrecipes—I’d love to see what you’re cooking up in your kitchen!

Leave a Comment