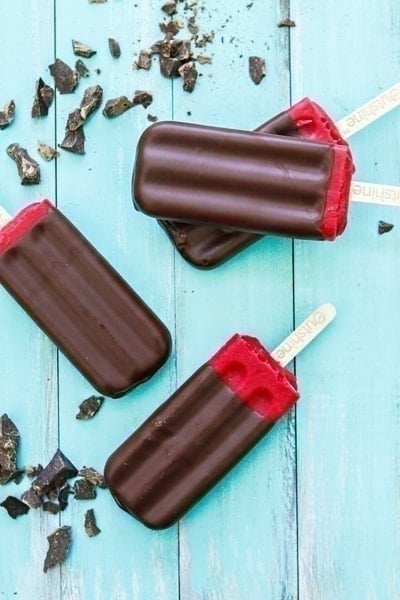
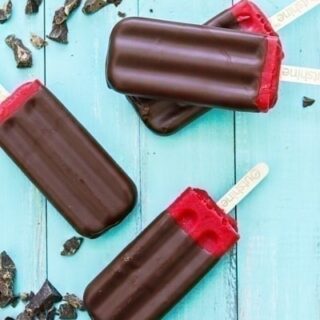
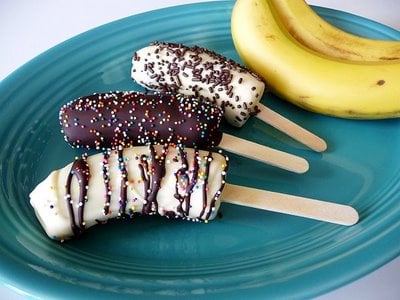
Chocolate Covered Blood Orange Popsicles
Blood Orange Popsicles are dipped in homemade magic shell for a delicious chocolate coating. Orange and chocolate are the perfect pairing in this dessert!
It is kind of amusing that I’m posting about frozen fruit bars today when we’ve barely been above 15 degrees here for the past week. Today was almost 20 and that felt so warm (compared to some of the ridiculous lows we’ve had, like -12…). What kind of a messed up view of the weather is that?
Despite the cold weather and the cold dessert, it was fun and super easy to dip and cover these seasonal Blood Orange Fruit Bars from Outshine in a homemade chocolate magic shell like coating. We devoured them for dessert after decorating our Christmas tree for a fun family night activity.
Outshine has another delicious seasonal fruit bar flavor for wintertime – Grapefruit. I can’t decide which I like best because I have always loved fruity desserts, but the kids were all about the Chocolate Covered Blood Orange Popsicles.

6 Tips for Making Chocolate Covered Popsicles
It was super easy to take these Blood Orange Fruit Bars up a notch by dipping them in chocolate. Just a little indulgence that doesn’t feel guilty at all.
1. Place a parchment paper or wax paper lined tray or cookie sheet in the freezer to place each dipped popsicle on to harden in the freezer.
2. Use coconut oil to thin the chocolate. This makes it more “dip-able,” rather than a globby mess. Coconut oil also hardens quickly which allows this chocolate coating to set up quickly like Chocolate Magic Shell.
3. Don’t cook the chocolate mixture at too high of a temperature. It needs to be just hot enough for the oil and chocolate to melt into a thin consistency. Too hot and it will melt the popsicles.

4. Use a tall glass with a diameter just slightly wider than what you are dipping. This allows you to fully submerge the popsicle without making massive amounts of chocolate coating.
5. Keep the popsicles in the freezer, removing only one at a time to prevent too much softening.
6. After dipping, hold the popsicle upside down to allow any excess chocolate to drip back into the cup. Hold it for a moment or two until the chocolate begins to harden Then, place the popsicle on the tray in the freezer.
More Popsicle Recipes to Try
Popsicles are a great way to beat the heat this summer. They’re a fun and easy snack for kids to prepare that doesn’t heat up the kitchen or make a lot of mess. For more recipes, check out the Recipe Index.
Try these Creamy Strawberry Lemonade Popsicles for a fun take on some favorite summer flavors.
These Fruit Punch Popsicles offer great summer hydration thanks to the Coconut Water.
These Blueberry Smoothie Pops are Healthy popsicles made with blueberries, banana, and yogurt for a cool sweet treat with zero guilt.
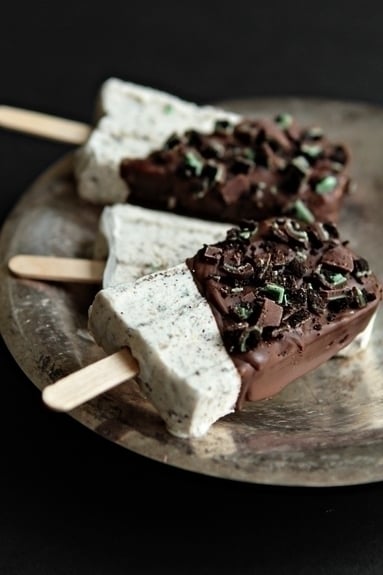
These Mint Chocolate Cheesecake Popsicles are decadent!
Have you ever made chocolate covered popsicles?
Love this recipe for Chocolate Covered Blood Orange Popsicles?
Sign up for Good Life Eats email updates and never miss another recipe!
Chocolate Covered Blood Orange Popsicles
Blood Orange Popsicles are dipped in homemade magic shell for a delicious chocolate coating. Orange and chocolate are the perfect pairing in this dessert!
Ingredients
For the Chocolate Coating
- 5 ounces dark chocolate (such as Ghirardelli 60% Cacao Bittersweet Chocolate), chopped
- 3 tablespoons coconut oil
Instructions
To Make the Chocolate Coating
- Combine the oil and the chocolate in a small saucepan.
- Heat over low heat, stirring periodically, just until the mixture is melted and comes together.
- Transfer to a tall glass or cup - one that is deep enough to accommodate the popsicles, but preferably skinny so that the chocolate fills the glass.
- Let cool until it is room temperature to the touch, but still liquid, about 15 minutes.
To Dip the Popsicles
- Prepare a baking sheet by lining it with parchment paper.
- Dip each popsicle in the glass, making sure to coat all sides.
- Hold the popsicle over the glass to allow any excess chocolate to drip off and the chocolate to harden to the touch.
- Repeat with remaining popsicles.
- Transfer the popsicles to the freezer.
Nutrition Information:
Yield: 6 Serving Size: 1Amount Per Serving: Calories: 250Total Fat: 15gSaturated Fat: 10gTrans Fat: 0gUnsaturated Fat: 3gCholesterol: 2mgSodium: 6mgCarbohydrates: 17gFiber: 2gSugar: 12gProtein: 1g
GoodLifeEats.com offers recipe nutritional information as a courtesy and is an estimate only. This information comes from online calculators. Although GoodLifeEats.com makes every effort to provide accurate information, these figures are only estimates.
I have partnered with Outshine for the post and have been compensated for the work I have done. All opinions are my own.


Ameneh says
Hi dear, for making popsicle, we don’t need to tempper the chocolate??
Katie Kick says
You can if you want, but the way I chose to do it for this recipe the chocolate is not tempered. For more info on tempering chocolate, I have a tutorial on how to temper chocolate.
dina says
they look amazing!
Tee says
I love the pumpkin, gingerbread and peppermint chocolate.
Helen says
We always enjoy clementines! And pomelos are yummy, too
Simone says
Our household is still loving sweet potatoes and any vegetable to put into soup!
Micky says
I love cranberries this time of year.