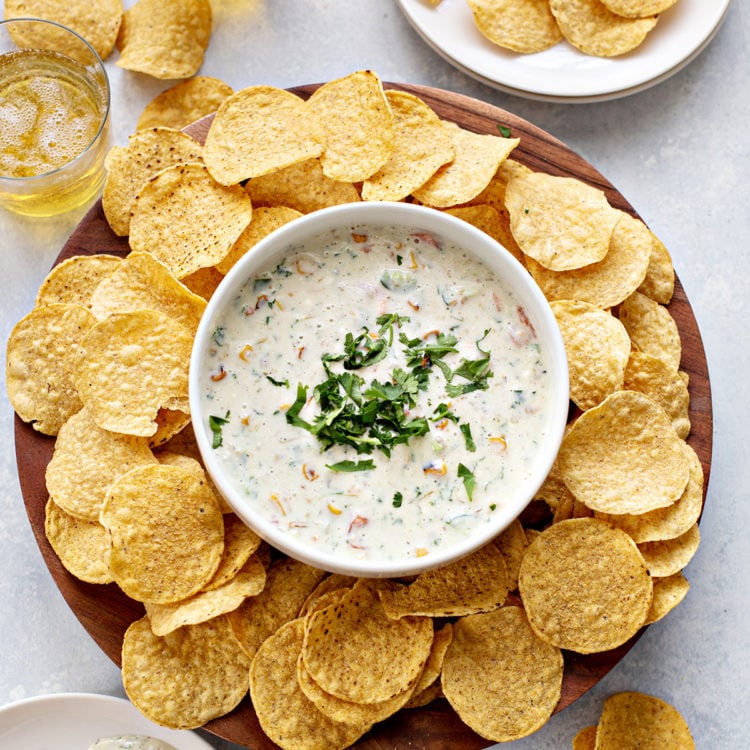
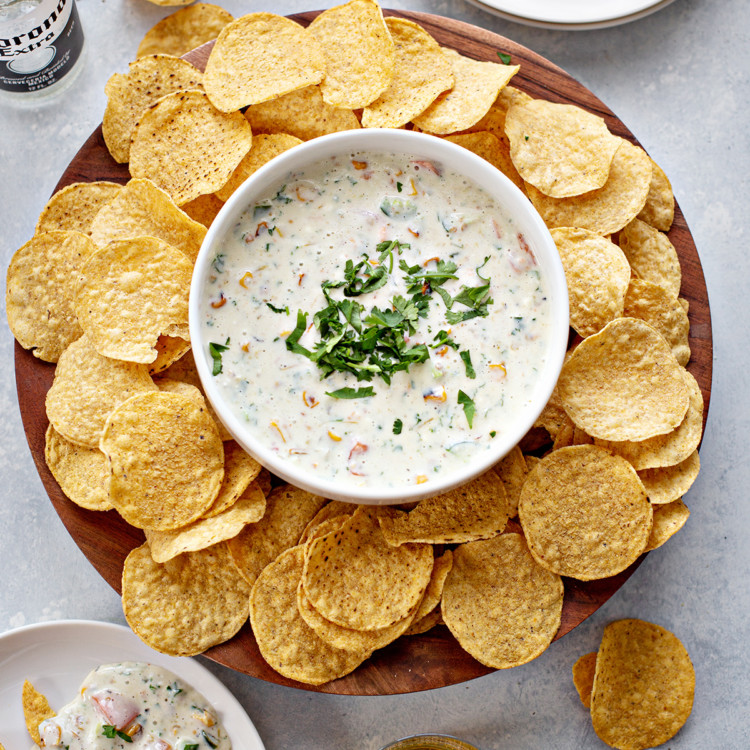
Super Bowl Dips
Do you need a recipe for or something to scoop up with chips? Here are some of our favorite dips for Super Bowl. They are all game day approved, tested by the football fans and the food lovers so they’re sure to be a hit!
Recipes by Category


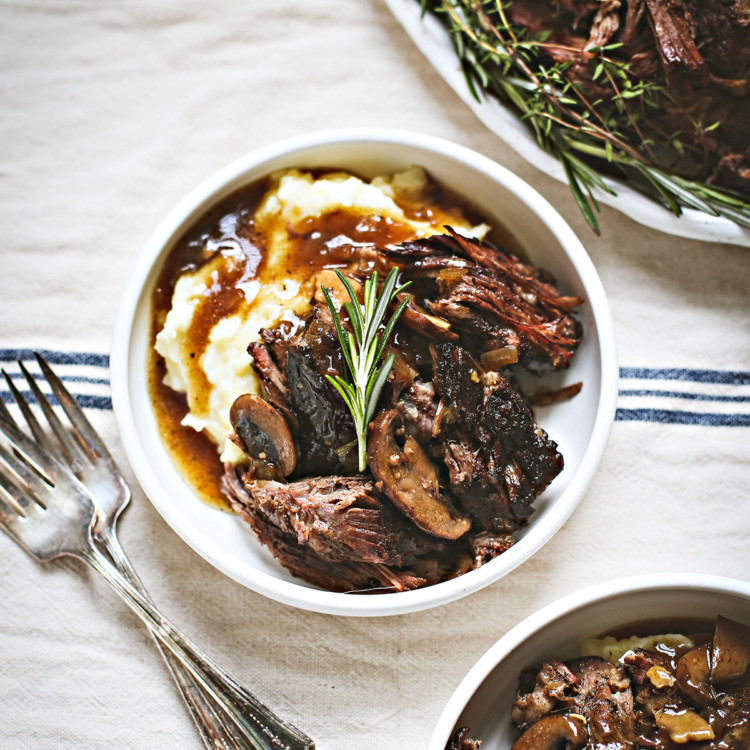
Cold Weather Favorites

Good Life Eats is where I share trusted, flavorful recipes that are made to be cooked, shared, & loved, time and time again.
I’m passionate about creating delicious, beautiful, and approachable food that brings people together. I love discovering new flavors, exploring new places, and sharing the joy of cooking with others.
Browse Recipes By
Tutorials By Category


Winter Produce Guide
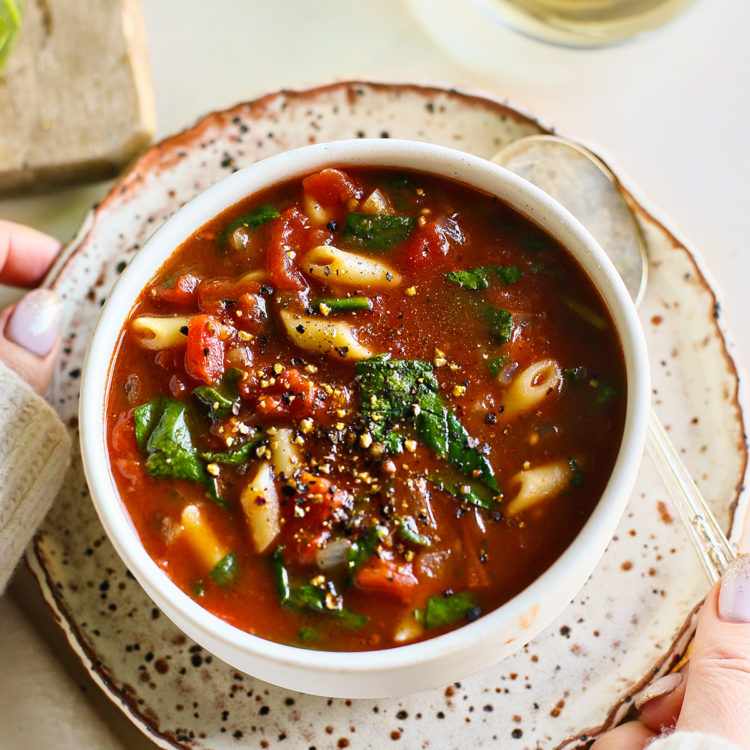
The days are shorter and there’s a chill in the air. Winter is here! In this winter produce guide, I’m sharing which fruits and vegetables are in season now, plus my favorite cozy recipes to cook with them.
Popular Winter Recipes

5 Star Reader Favorites
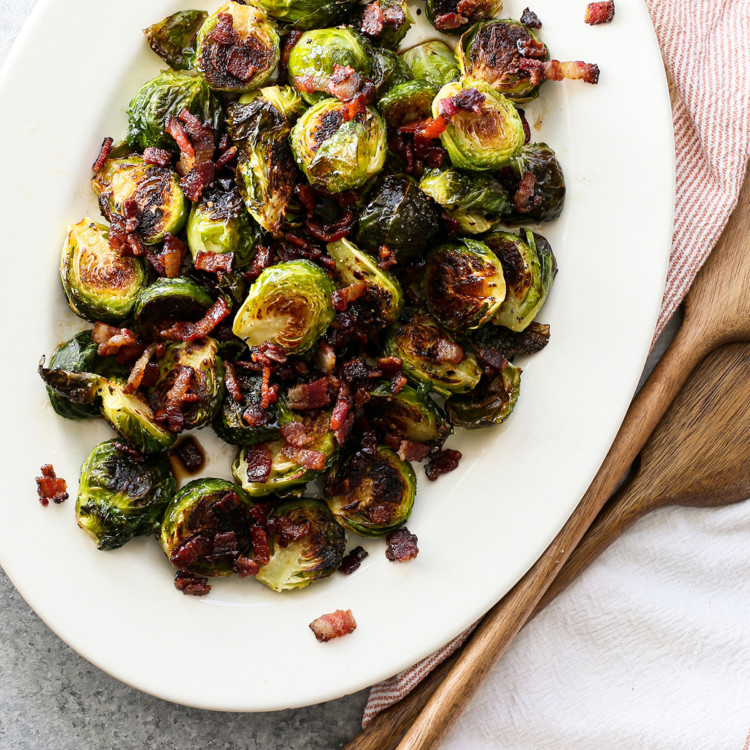
Kristen says –
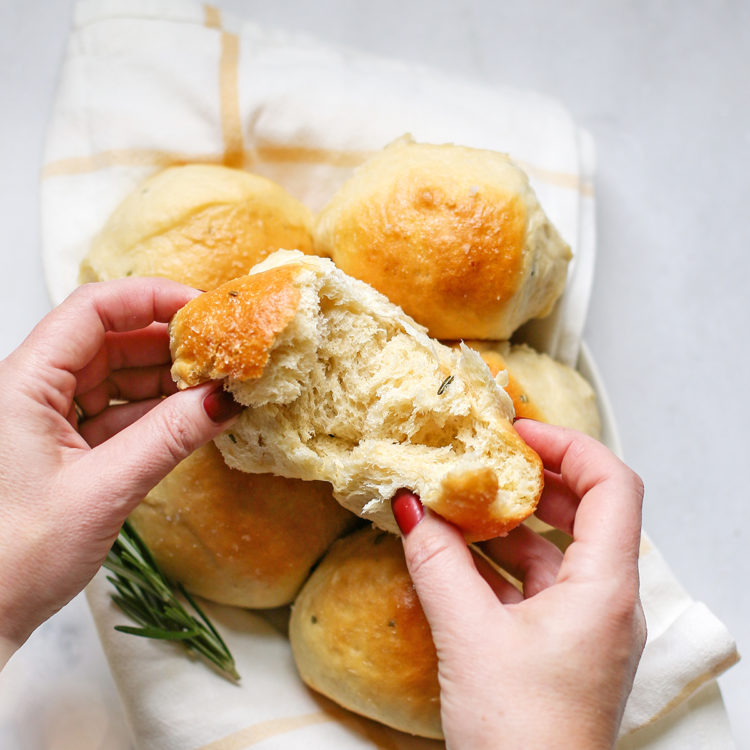
These are fantastic! Mine are just fresh out of the oven and I haven’t found many vegetables that I would actually want to eat as a choice….and these I would choose! They are simply perfect!
I’m printing this one off.
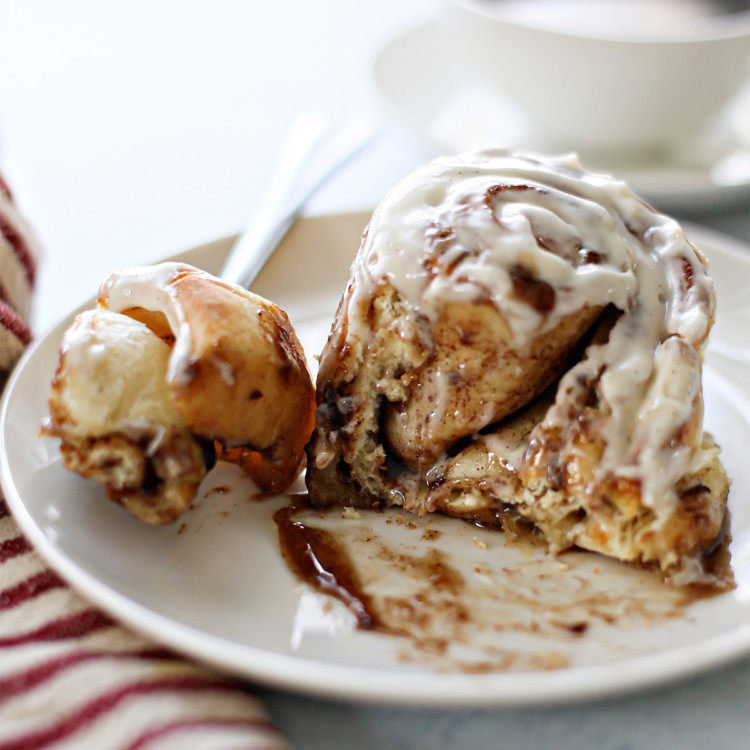
Claire says –
Merry Christmas, Katie! My friend and I made your bourbon cinnamon rolls this morning and they truly are the BEST EVER!! That frosting is unreal!
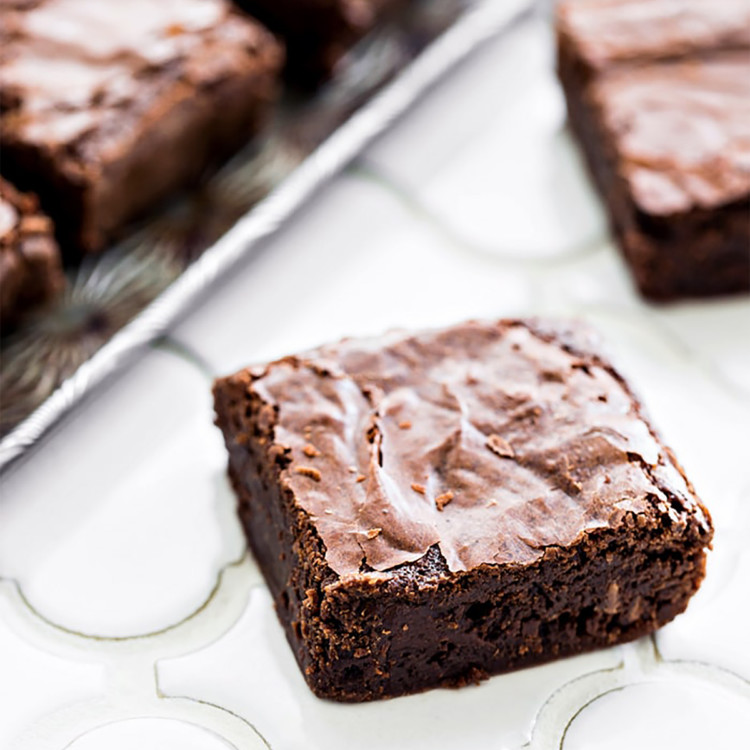
Sarah Jane says –
“Absolutely the best brownies EVER! My first time making scratch brownies, made 1 batch plain and one with chocolate chips. We now have a new family favorite desert. THANK YOU!”
Jenn says –
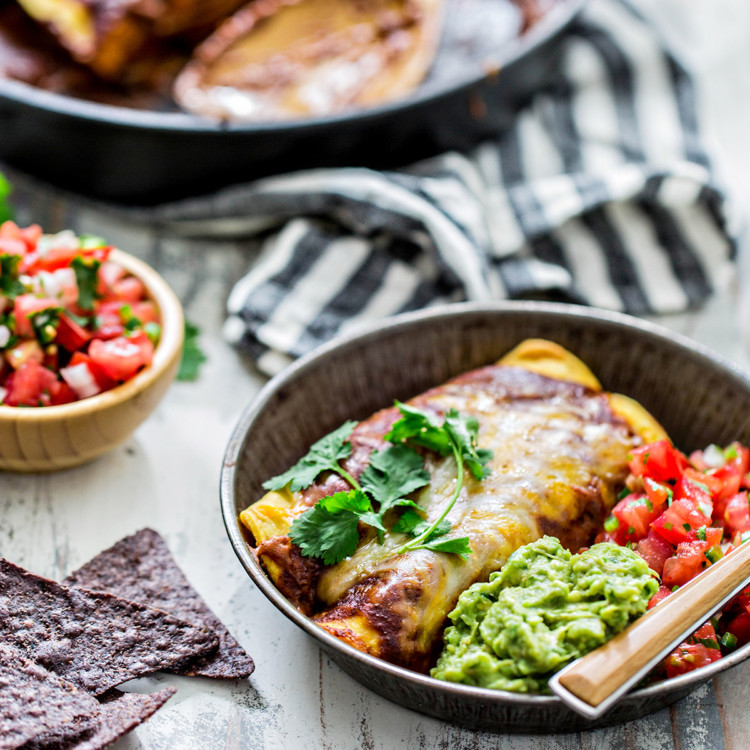
I am a HUGE enchilada fan. I’ve tried numerous recipes from food blogs, cookbooks and restaurants and I can say that I LOVE THESE THE MOST! This is the only enchilada recipe I will use going forward. I love the layers of flavor with the slow cooker chicken….and the gravy is unbelievable!
Sharon says –
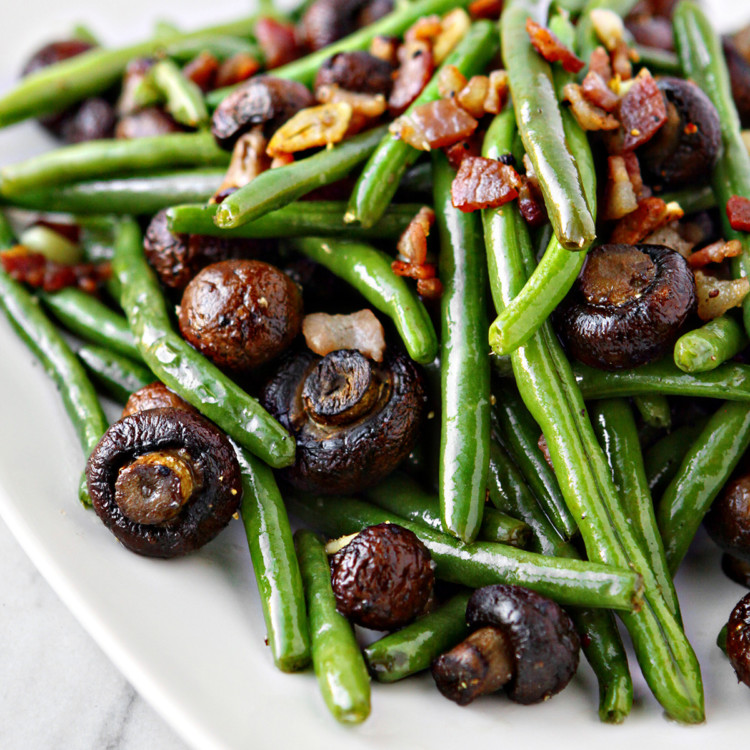
Our Chinese exchange student came home from college for the holidays and I made this green bean side dish to accompany chicken. He does not like cooked vegetables, so I was not sure it would go over. He loved it enough to eat two servings. Thank you for a great recipe. My husband raved about it.